laravel 队列的简单使用
队列
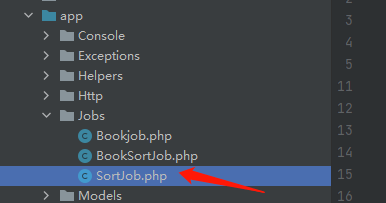
1.创建一个队列文件
php artisan make:job SortJob.php //命名随便起 也可以是 test.php1.1 创建文件如下所示

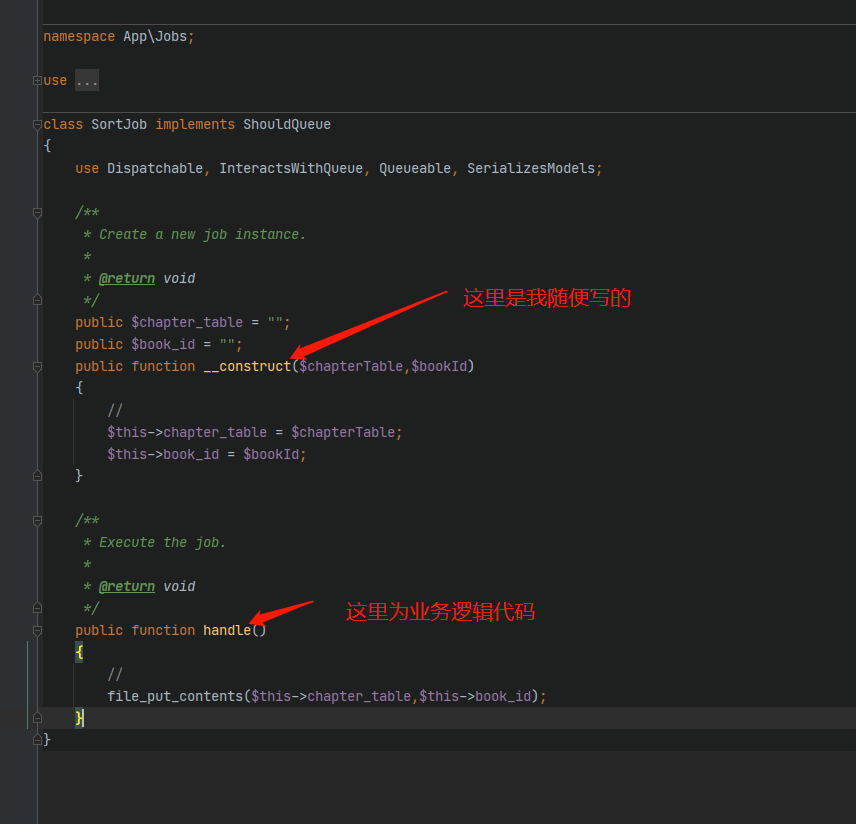
2.文件开发

3.执行数据库迁移
3.1 要使用 database 队列驱动程序,你需要一个数据库表来保存任务。要生成创建此表的迁移,请运行 queue:table Artisan 命令。一旦迁移已经创建,你可以使用 migrate 命令迁移你的数据库:
php artisan queue:table
php artisan migrate
4测试队列 是否能通
4.1 首先要开启监听
php artisan listen:queue4.2 执行调用方法
SortJob::dispatch(参数1,参数2);4.3 查看自己数据表里 failed_jobs 、 jobs 队列表是有有信息
5 关于centos线上平台使用 supervisor
5.1 安装
 yum install python-setuptools
 easy_install supervisor
5.2 配置文件
 echo_supervisord_conf > /etc/supervisord.conf
 mkdir -p /etc/supervisor/conf.d/
5.3 编辑 /etc/supervisord.conf,修改 [include] 区块内容 这样, supervisor 会加载 /etc/supervisor/conf.d/ 下的所有 .conf 文件
[include]
files = /etc/supervisor/conf.d/*.conf
5.4 自动启动 在 github.com/Supervisor/initscripts 下载 CentOS 使用的自动启动服务脚本 centos-systemd-etcs
wget -O /usr/lib/systemd/system/supervisord.service https://github.com/Supervisor/initscripts/raw/master/centos-systemd-etcs5.5 将 supervisord 服务设为自启动
systemctl enable supervisord.service5.6 设置 Laravel 队列
新建 /etc/supervisor/conf.d/laravel-work.conf 文件:
[program:laravel-worker]
process_name=%(program_name)s_%(process_num)02d
command=/usr/local/php/bin/php /data/wwwroot/app.com/artisan queue:work database --sleep=3 --tries=3 --daemon
autostart=true
autorestart=true
user=www
numprocs=8
redirect_stderr=true
stdout_logfile=/data/wwwroot/app.com/storage/logs/queue.log
5.7 启动 supervisor 服务 supervisord
5.8 supervisor 安装及 Laravel 队列设置完毕
如果以后配置文件有修改,或者新增,进入 supervisor 控制台,执行下面的命令
supervisorctl reread
supervisorctl update
supervisorctl start laravel-worker:
6
本作品采用《CC 协议》,转载必须注明作者和本文链接


 关于 LearnKu


推荐文章: