
通过 Laravel 消息通知使用 EasySms 短信服务,让你的代码更简洁
38 / 13 / 创建于 6年前 /
 sureyee 的个人博客
首先什么是EasySms
请走传送门: 又一个轮子:一款满足你的多种发送需求的短信发送组件: overtrue/easy-sms
什么是消息通知
请看文档 消息通知
下面来说说我是如何集成EasySms的。
阅读源码发现,包中提供了许多接口供我们进行扩展,也有很多方法可以进行集成,下面来看看我集成Easysms的一种方法。
通过ServiceProvider集成EasySms服务
-
新增一个
ServiceProvider,名称自定义php artisan make:provider MessageServiceProvider -
在服务提供者中注册服务。
namespace App\Providers; use App\Channels\EasySmsChannel; use App\Gateways\ChanZorGateway; use Illuminate\Notifications\ChannelManager; use Illuminate\Support\ServiceProvider; use Overtrue\EasySms\EasySms; class MessageServiceProvider extends ServiceProvider { /** * Bootstrap services. * * @return void */ public function boot() { } /** * Register services. * * @return void */ public function register() { // 这里将easySms注册为一个单例,并且添加门面访问 $this->app->singleton('easySms', function () { $config = config('easysms'); return new EasySms($config); }); } } -
添加门面,方便访问。(这里并不是必要的,如果不使用门面,在channel中使用
app()->make('easySms')->send()也可以实现)namespace App\Facades; use Illuminate\Support\Facades\Facade; class EasySms extends Facade { protected static function getFacadeAccessor() { return 'easySms'; } } -
app.php中注册门面和服务'providers' => [ App\Providers\MessageServiceProvider::class, ], 'aliases' => [ 'EasySms' => App\Facades\EasySms::class, ]这样服务就集成完毕了,下面我们来添加自定义网关。
添加自定义网关
添加自定义网关需要实现 GatewayInterface,这里我直接集成抽象类 Overtrue\EasySms\Gateways\Gateway。
-
添加自定义网关
namespace App\Gateways; use Overtrue\EasySms\Contracts\MessageInterface; use Overtrue\EasySms\Contracts\PhoneNumberInterface; use Overtrue\EasySms\Gateways\Gateway; use Overtrue\EasySms\Support\Config; use Overtrue\EasySms\Traits\HasHttpRequest; class ChanZorGateway extends Gateway { use HasHttpRequest; const ENDPOINT_HOST = 'http://api.chanzor.com'; const ENDPOINT_URI = '/send'; protected $account; protected $password; protected $sign = null; protected $client; /** * Send a short message. * * @param \Overtrue\EasySms\Contracts\PhoneNumberInterface $to * @param \Overtrue\EasySms\Contracts\MessageInterface $message * @param \Overtrue\EasySms\Support\Config $config * * @return array */ public function send(PhoneNumberInterface $to, MessageInterface $message, Config $config) { $params = [ 'account' => $config->get('account'), 'password' => $config->get('password'), 'content' => $message->getContent() . '【' . $config->get('sign') . '】', 'mobile' => $to->getNumber(), ]; return $this->post(self::ENDPOINT_URI, $params); } protected function getBaseUri() { return self::ENDPOINT_HOST; } } -
定义laravel通知频道
namespace App\Channels; use App\Facades\EasySms; use Overtrue\EasySms\Exceptions\NoGatewayAvailableException; use Overtrue\EasySms\PhoneNumber; class EasySmsChannel { /** * 发送给定通知 * @param Model $notifiable * @param Notification $notification * @return mixed */ public function send($notifiable, $notification) { return EasySms::send($notifiable->routeNotificationFor('easySms'), $notification->toSms($notifiable)); } } -
现在需要在刚刚定义的服务提供者中导入网关否则网关是无法使用的,由于在laravel中开箱即用的只有
database,mail,nexmo,slack这些,所以,也需要将easySms注册到服务提供者中public function boot() { // 导入网关 $this->app->make('easySms')->extend('chanzor', function () { return new ChanZorGateway(config('easysms.gateways.chanzor')); }); // 设置频道 $this->app->make(ChannelManager::class) ->extend('easySms', function ($app) { return $app->make(EasySmsChannel::class); }); }
最后就是定义短信通知类了
namespace App\Notifications;

use Illuminate\Bus\Queueable;
use Illuminate\Notifications\Notification;
use Illuminate\Contracts\Queue\ShouldQueue;
use Illuminate\Notifications\Messages\MailMessage;
use Overtrue\EasySms\Message;

class OrderPaidNotification extends Notification
{
    use Queueable;

    /**
     * Create a new notification instance.
     *
     * @return void
     */
    public function __construct()
    {
        //
    }

    /**
     * Get the notification's delivery channels.
     *
     * @param  mixed  $notifiable
     * @return array
     */
    public function via($notifiable)
    {
        return ['easySms'];
    }

    /**
     * Get the mail representation of the notification.
     *
     * @param  mixed  $notifiable
     * @return Message
     */
    public function toSms($notifiable)
    {
        return (new Message())->setContent( $notifiable->username . ',您好! 这是短信内容。');
    }

    /**
     * Get the array representation of the notification.
     *
     * @param  mixed  $notifiable
     * @return array
     */
    public function toArray($notifiable)
    {
        return [
            //
        ];
    }
}
注意
需要注意的是,定义好之后需要在User中添加一个获取手机号码的方法。
public function routeNotificationForEasySms()
{
    return $this->mobile;
}为什么需要定义这个方法,为了扩展,如果在Channel中写死了之后,User和Admin使用不同的字段名作为手机号码就会出错了。
使用
首先配置easysms的配置项
'gateways' => [
'errorlog' => [
'file' => '/tmp/easy-sms.log',
],
'yunpian' => [
'api_key' => '824f0ff2f71cab52936axxxxxxxxxx',
],
'aliyun' => [
'access_key_id' => '',
'access_key_secret' => '',
'sign_name' => '',
],
'chanzor' => [
'account' => env('SMS_CHANZOR_ACCOUNT'),
'password' => env('SMS_CHANZOR_PASSWORD'),
'sign' => env('SMS_CHANZOR_SIGN')
]
//...
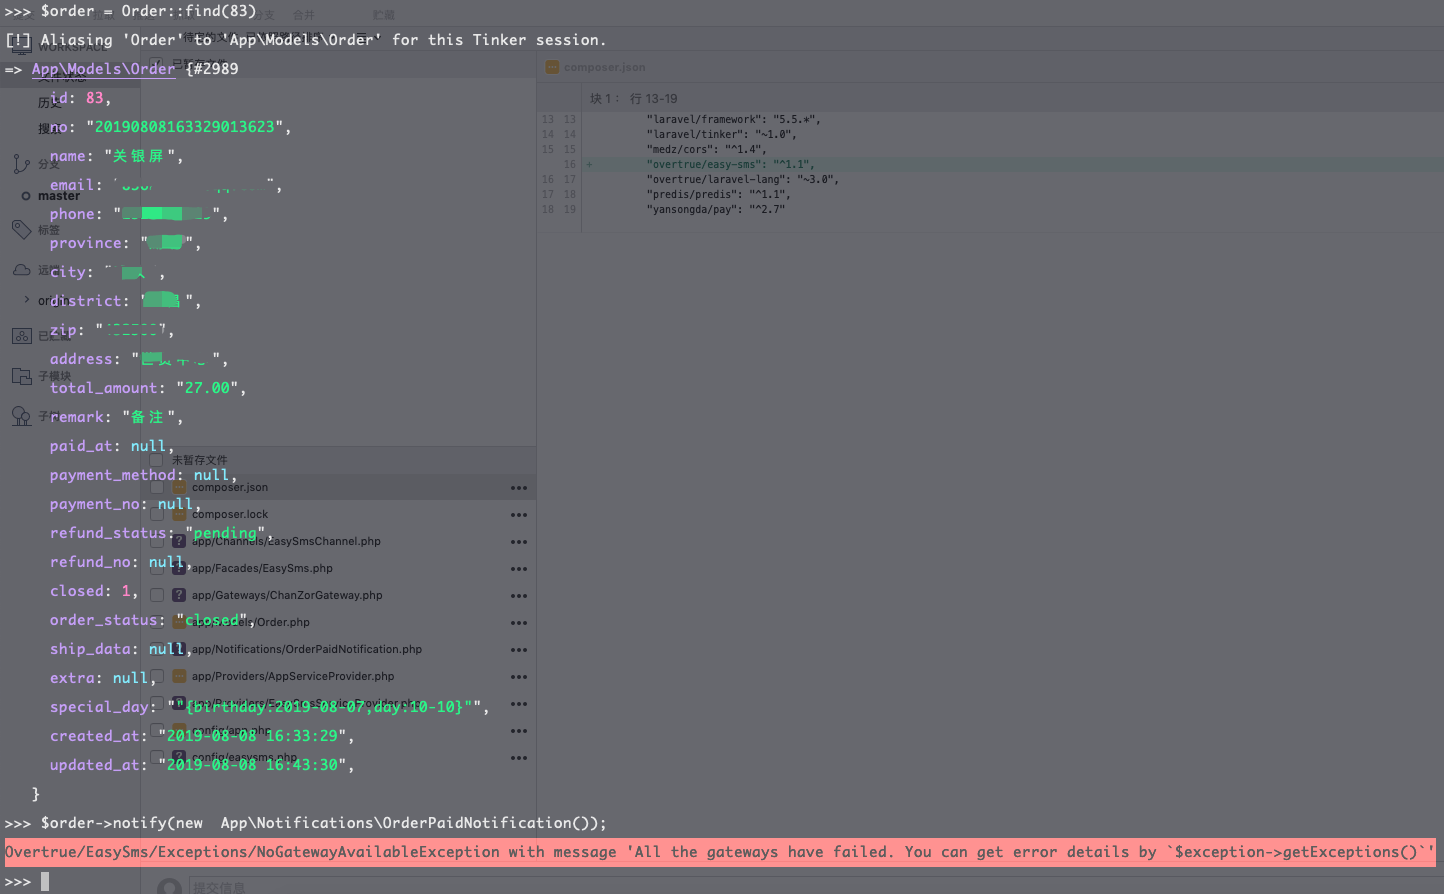
],然后使用laravel开箱的方式进行调用。
$user = App\User::first();
$user->notify(new App\Notifications\OrderPaidNotification());本作品采用《CC 协议》,转载必须注明作者和本文链接


 关于 LearnKu


推荐文章: