
Ubuntu18 上使用 docker 的 nginx 容器模拟负载均衡
0 / 2 / 创建于 6年前
 summer-1994 的个人博客
安装Docker
创建sh文件,也可以一条一条复制运行 vim install-docker.sh
sudo apt-get install apt-transport-https ca-certificates curl software-properties-common

curl -fsSL https://download.docker.com/linux/ubuntu/gpg | sudo apt-key add -

sudo add-apt-repository "deb [arch=amd64] https://download.docker.com/linux/ubuntu $(lsb_release -cs) stable"
sudo apt-get update
sudo apt-get install docker-ce

sudo systemctl enable docker
sudo systemctl start docker
运行安装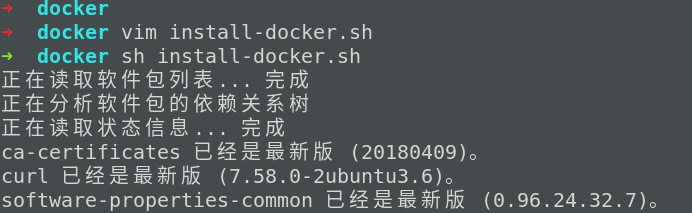
查看docker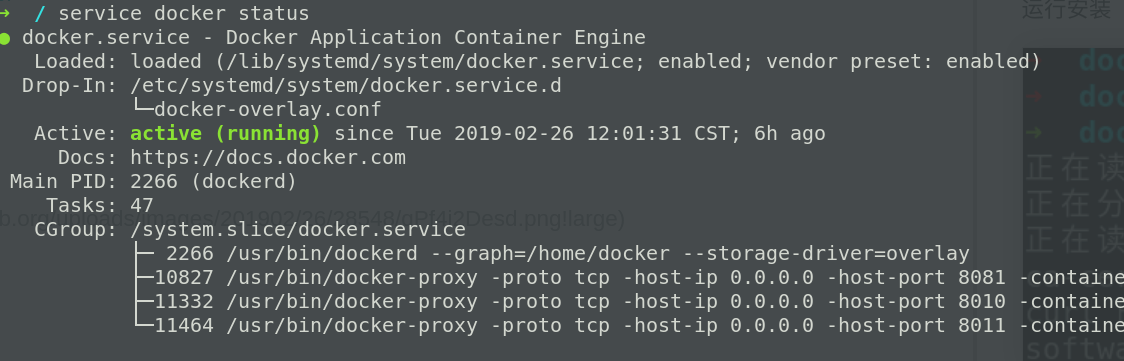
换成国内源vim /etc/docker/daemon.json 没有则新建此文件
{
    "registry-mirrors": [
        "https://registry.docker-cn.com"
    ]
}
保存,然后重启docker serverservice docker restart
拉取nginx镜像&运行容器实例
- 获取nginx镜像
docker pull nginx - 然后使用
docker images可以查看获取的镜像 - 在本地创建
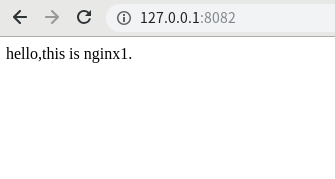
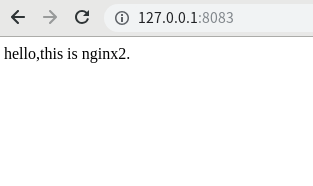
docker/nginx1/index.html文件和docker/nginx2/index.html文件,用于挂载项目文件 - 在index.html文件输入内容 "hello,this is nginx1." 和 "hello,this is nginx2".
- 创建运行nginx容器
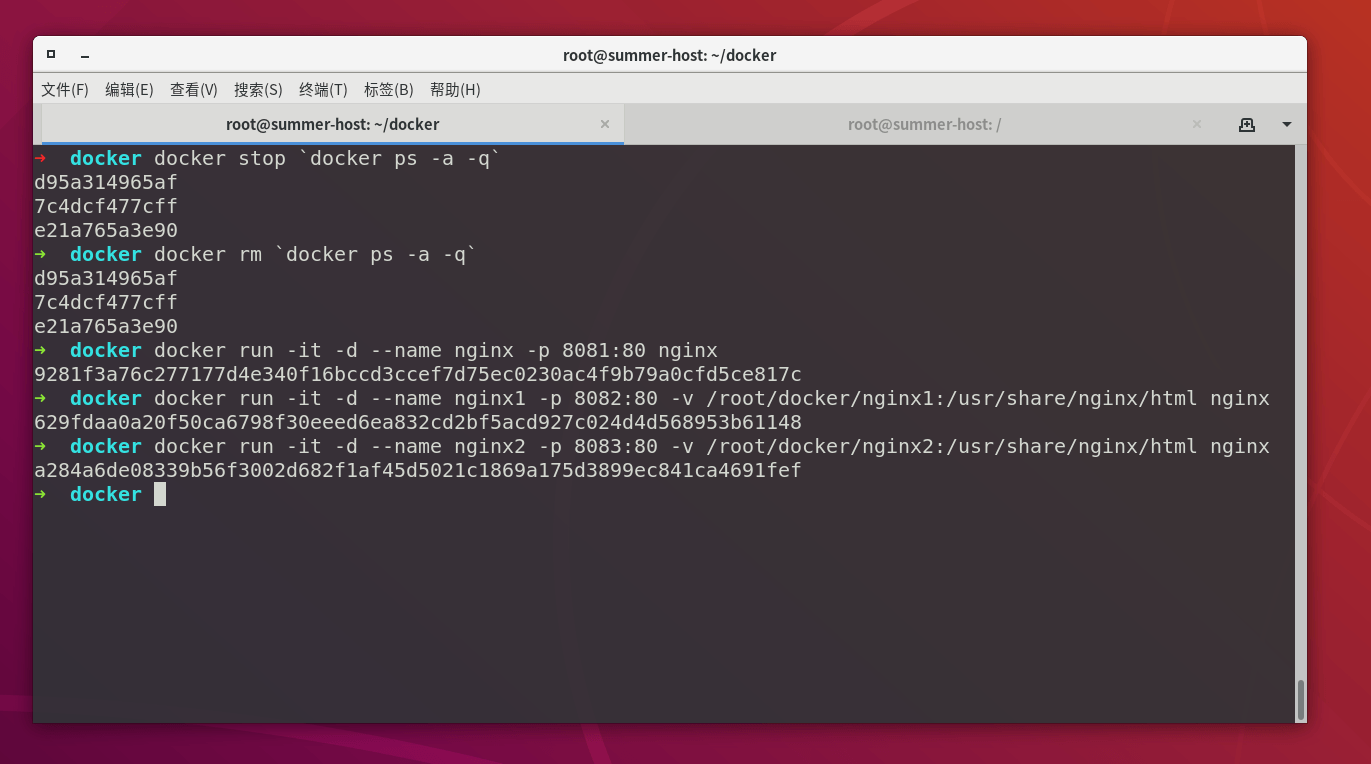
1.模拟转发请求的nginx
docker run  -d --name nginx -p 8081:80 nginx
2.模拟第一台服务器的nginx
docker run  -d --name nginx1 -p 8082:80 -v /root/docker/nginx1:/usr/share/nginx/html nginx
3.模拟第二台服务器的nginx
docker run  -d --name nginx2 -p 8083:80 -v /root/docker/nginx2:/usr/share/nginx/html nginx
-d:守护进程,在后台运行-v:挂载文件,挂载刚刚创建的docker/nginx1目录-p:表示本地映射容器内的端口 (本地8081映射容器内的80)--name :取名称
在浏览器输入127.0.0.1:8081、127.0.0.1:8082、127.0.0.1:8083可以访问容器内的index.html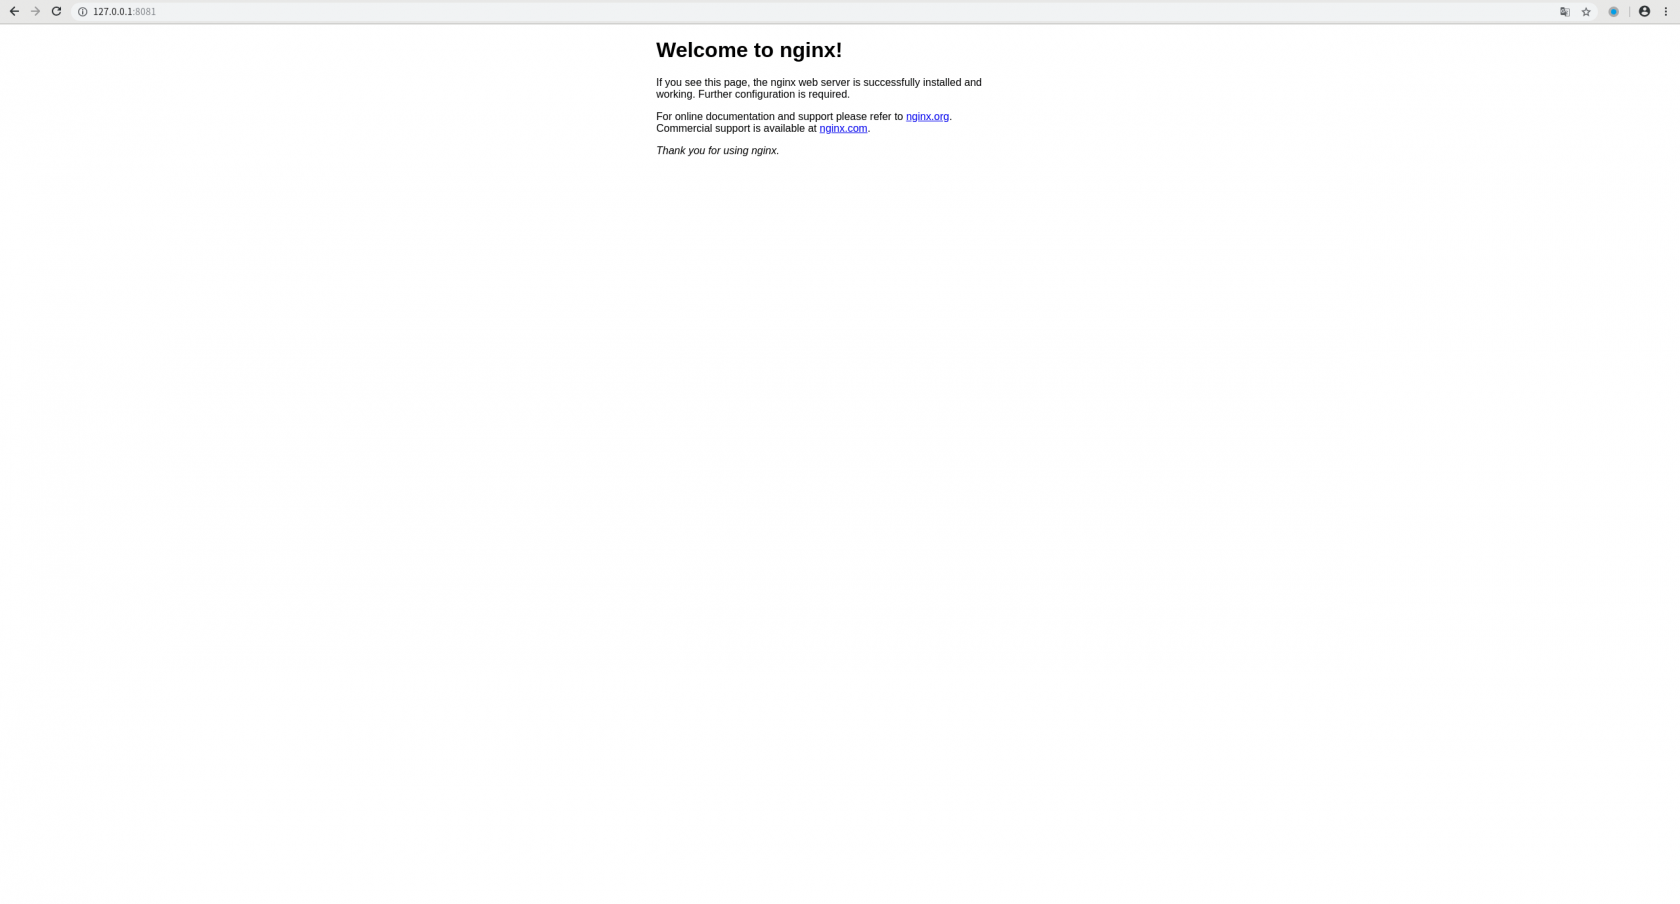
查看容器状态docker ps -a
进入容器nginx,安装vimdocker exec -it nginx /bin/bashsudo apt-get updatesudo apt-gei install vim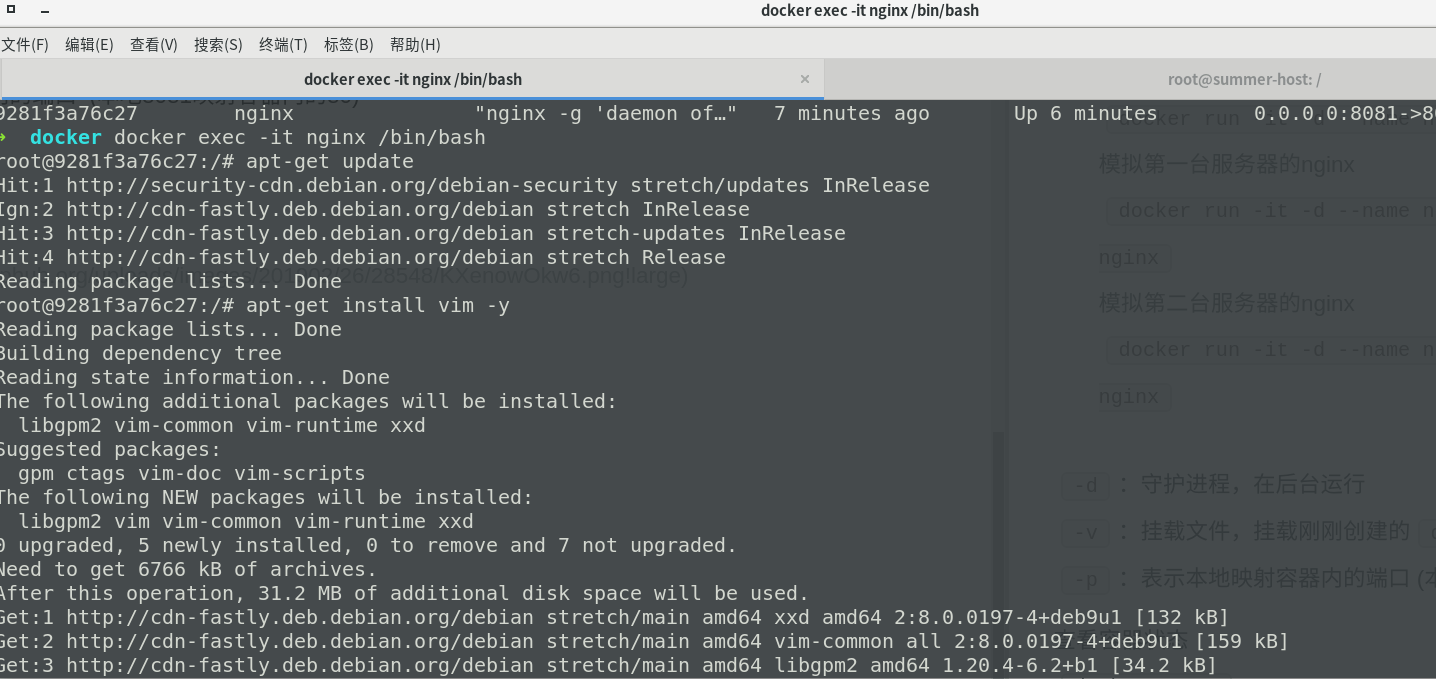
到这里环境就装完了,接下来是nginx的配置.
修改nginx的配置
-
编辑
vim /etc/nginx/nginx.conf文件,注意这里的ip是宿主机的ipupstream webapp { server 192.168.1.187:8082; server 192.168.1.187:8083; }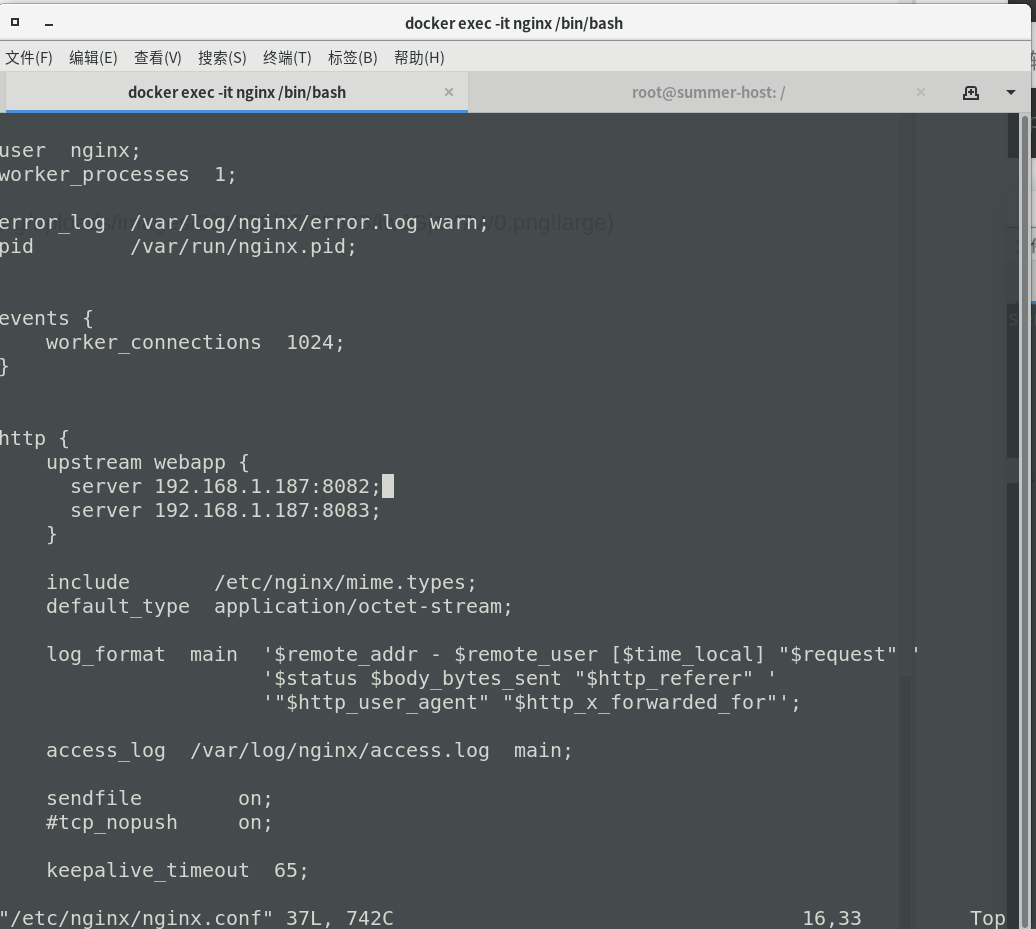
-
编辑
vim /etc/nginx/conf.d/default.conf文件,在location / {}引入刚刚写的webapp.proxy_pass http://webapp;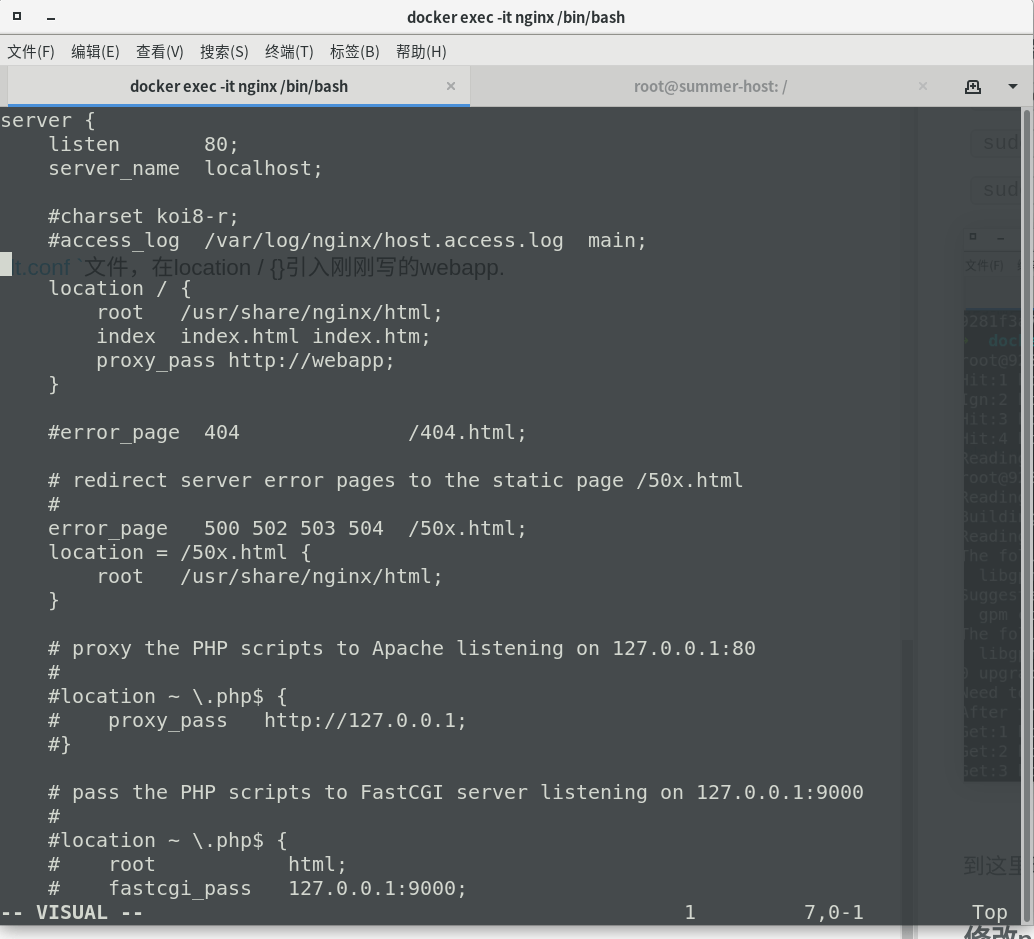
-
重启nginx
service nginx restart
测试
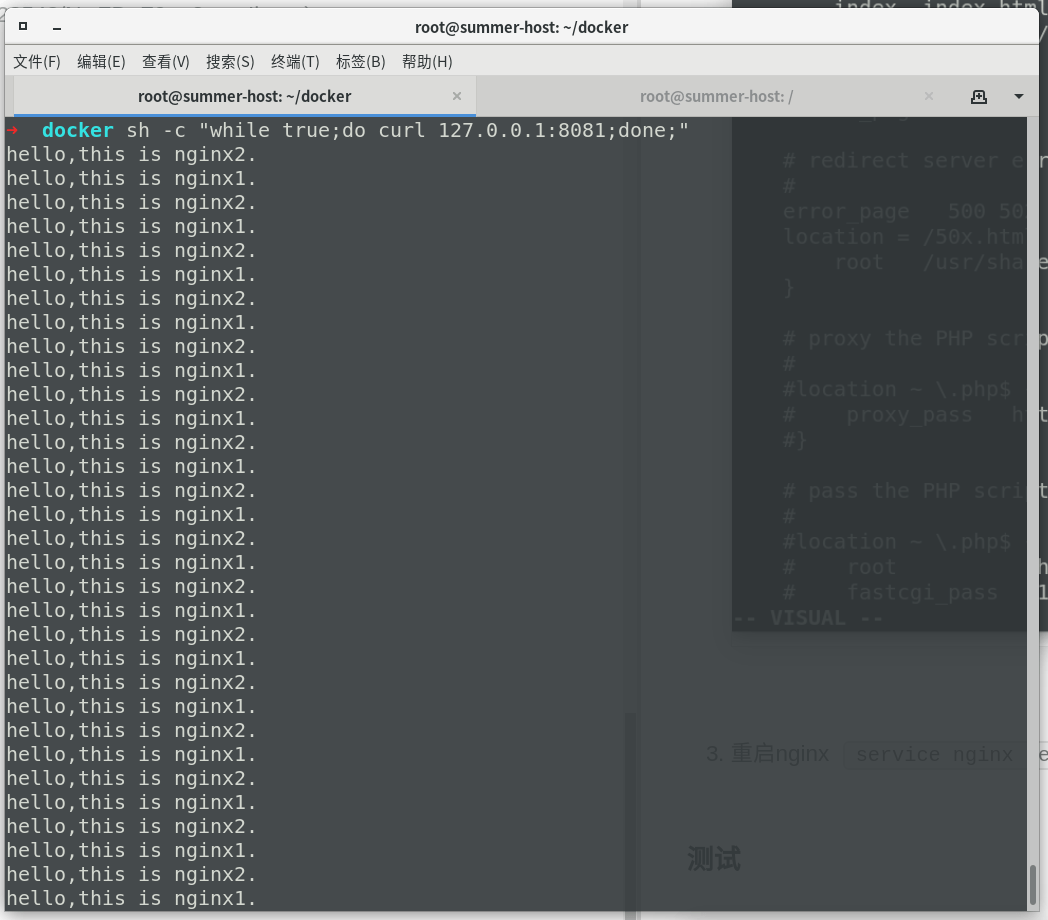
upstream依照轮询(默认)方式进行负载,每一个请求按时间顺序逐一分配到不同的后端服务器。假设后端服务器down掉。能自己主动剔除。尽管这样的方式简便、成本低廉。但可靠性低和负载分配不均衡。
upstream有很多分配策略:如weight、ip_hash等。
本作品采用《CC 协议》,转载必须注明作者和本文链接


 关于 LearnKu


推荐文章: