
docker-compose 部署 Laravel 项目全记录
74 / 26 / 创建于 6年前 /
 tsin 的个人博客
更新记录
- 2021-9-20 更新:acme.sh 的默认证书签发机构变成了 ZeroSSL,导致证书无法续签解决,见评论:博客:docker-compose 部署 Laravel 项目全记录
说明
- 使用的主机提供商是腾讯云
- 使用部署 L05 电商教程项目作为例子
- 域名自备,除了主域名A解析,再添加一条CNAME泛域名解析
- 主机上已安装好docker和docker-compose
- 以下操作,docker-compose配置文件的路径为
/home/ubuntu/docker - 进入容器的方式,可以用
docker-compose exec {service_name}(需在docker-compose.yml所在目录下操作),也可以在任意目录运行:docker exec -it {container_name} bash(nginx容器的话,bash换为sh) - 为了记录的连贯性,将这个过程中遇到的问题放到文章最后,遇到的时候再去查阅。
docker-compose 环境搭建
docker-compose 环境搭建参考我之前写的文章:博客:docker-compose 搭建 dnmp 总结(附踩坑指南)
运行以下命令下载 docker-compose 配置:
git clone https://github.com/HubQin/dnmp.git docker几点说明:
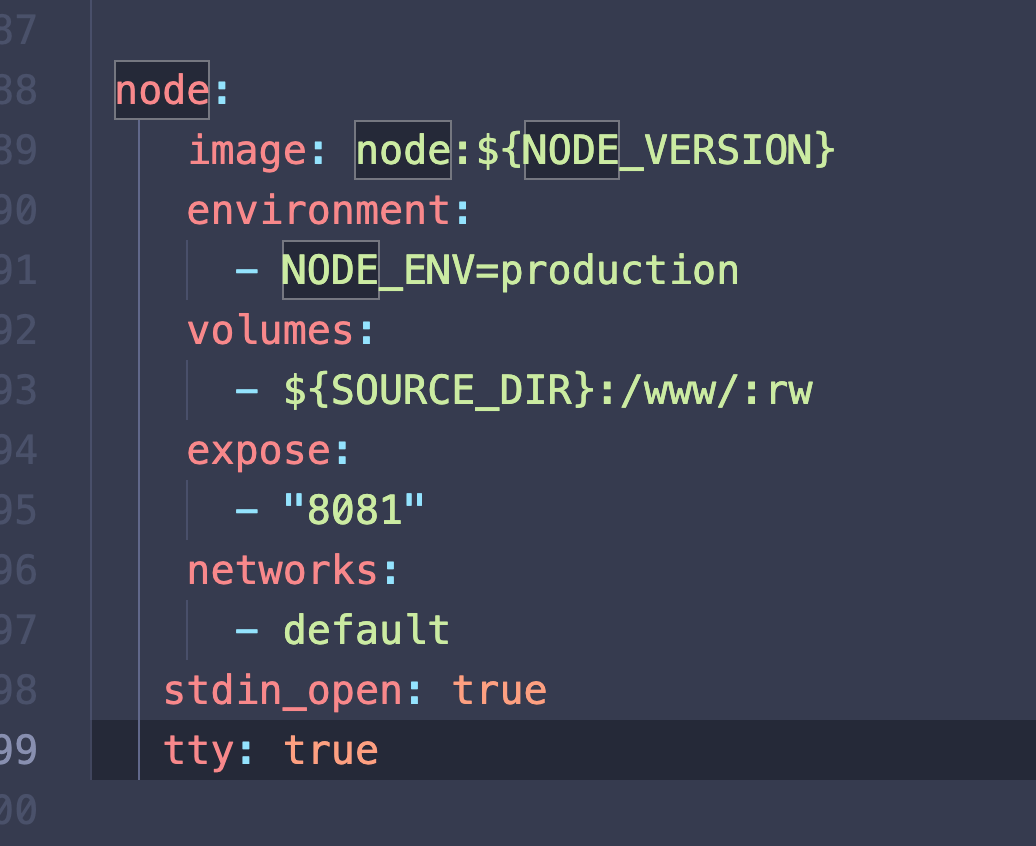
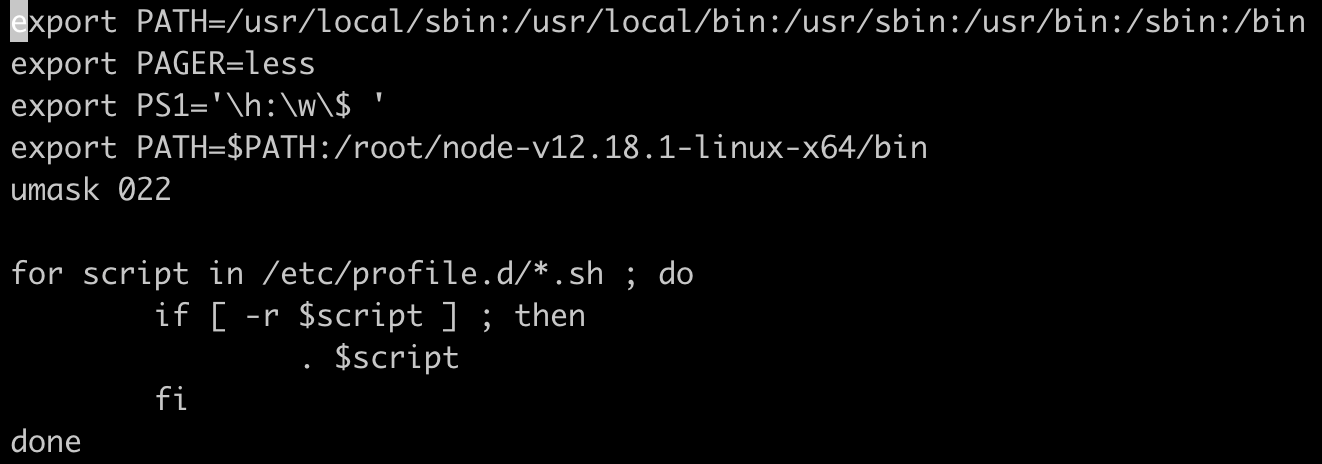
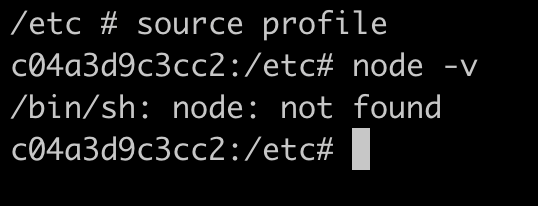
- 由于需要用到
npm安装和编译前端资源,所以把它内置到php-fpm服务所在的容器里,安装前注意将dockerfiles/Dockerfile.php73文件中Node安装部分指令注释去掉 docker-compose.yml文件中,mysql部分,数据库管理员密码改为自己需要的密码Redis配置文件(/home/ubuntu/docker/conf/redis/redis.conf)设置注释掉绑定ip的指令,比如注释掉:bind 127.0.0.1,另外,需要给redis设置密码,在配置文件中修改:requirepass=xxxxxx(你的redis密码)php-fpm容器还内置的supervisor进程监护工具
以上修改完成,在/home/ubuntu/docker目录下运行以下命令启动各项服务:docker-compose up -d
用到的服务容器明细如下:
- php-fpm 7.3
- mysql 最新版本(当前是8.0.18)
- redis 最新版本(当前是 5.0.7)
- Nginx 最新版本(当前是 1.17.6)
Laravel项目安装和配置
服务启动后,会在docker-compose.yml的上一级创建一个名为project的文件夹(在本例子中的完整路径是/home/ubuntu/docker),将Laravel项目的代码放在这里。
代码下载之后,复制一份项目根目录下的.env.example文件,命名为.env并做如下修改:
APP_NAME=Larashop  # <-- 应用名
APP_ENV=production # <-- 运行环境
APP_KEY=base64:oTbcE5B35aiLYtMvxdsaDzplwBYTa5DHX4IfeQ06bws= # <-- 后面将运行命令生成
APP_DEBUG=false # <-- 关闭调试(部署过程方便调试可先设为true)
APP_URL=larashop.ishare.cool #  <-- 网站地址

LOG_CHANNEL=stack

DB_CONNECTION=mysql
DB_HOST=mysql # <-- mysql主机,注意是填MySQL在docker-compose中的服务名
DB_PORT=3306
DB_DATABASE=laravel-shop # <-- 数据库名称
DB_USERNAME=root
DB_PASSWORD=xxxxxx # <-- 数据库密码,填写在docker-compse.yml文件中设置的密码

BROADCAST_DRIVER=log
CACHE_DRIVER=file
QUEUE_CONNECTION=redis # <-- 队列驱动
SESSION_DRIVER=file
SESSION_LIFETIME=120

REDIS_HOST=redis # <-- redis主机,填写规则同mysql
REDIS_PASSWORD=xxxxxx # <-- 填写在 redis.conf中设置的密码(requirepass)
REDIS_PORT=6379

MAIL_DRIVER=smtp
MAIL_HOST=smtp.qq.com
MAIL_PORT=465
MAIL_USERNAME=xxxxxx@qq.com # <-- 你的邮箱
MAIL_PASSWORD=xxxxxx # <--从邮箱服务商获取的密码
MAIL_ENCRYPTION=ssl
MAIL_FROM_ADDRESS=xxxxxx@qq.com # <-- 你的邮箱
MAIL_FROM_NAME=Larashop # <-- 应用名运行docker exec -it docker_mysql_1 bash进入 mysql 所在容器,登录mysql创建一个数据库。
运行docker exec -it docker_php-fpm73_1 bash进入 php 所在的容器(容器名称可以通过docker ps命令查看), 切换到项目代码所在目录(本例子是在var/www/html/larashop文件夹下),依次做如下操作:
// 安装依赖
composer install –no-dev –prefer-dist –optimize-autoloader

// 安装和编译前端资源
npm install –prod
npm run prod

// 生成key
php artisan key:generate

// 数据表迁移
php artisan migrate –force

// 创建软连接
php artisan storage:link

// 路由、配置、事件缓存
php artisan route:cache
php artisan config:cache
php artisan event:cache
Nginx 配置
在docker/conf/nginx/conf.d新建一个xxx.conf文件,这里暂时先不配置 https,先配置如下:
注意的注释
server {
    listen 80;
    server_name larashop.ishare.cool;
    # 注意 这里写的是nginx容器中的目录
    root /var/www/html/larashop/public;
    index index.php index.html index.htm;
    location / {
         try_files $uri $uri/ /index.php$is_args$args;
    }
    location ~ \.php$ {
        try_files $uri /index.php =404;
        # 注意这里需使用 服务名:端口 的形式
        fastcgi_pass php-fpm73:9000;
        fastcgi_index index.php;
        fastcgi_buffers 16 16k;
        fastcgi_buffer_size 32k;
        fastcgi_param SCRIPT_FILENAME $document_root$fastcgi_script_name;
        #fixes timeouts
        fastcgi_read_timeout 600;
        include fastcgi_params;
    }

    location ~ /\.ht {
        deny all;
    }

    location ~ /\.(?!well-known).* {
        deny all;
    }
}配置完成之后,运行docker exec -it docker_nginx_1 sh进入Nginx容器,运行nginx -s reload重载配置。
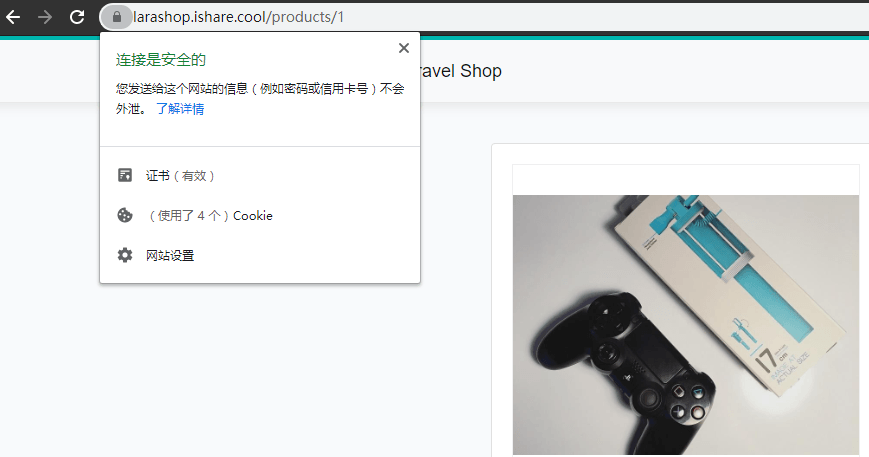
至此,站点就应该可以访问了。
配置 Supervisor 进程监护
由于程序中使用了 laravel 中的任务队列、消息队列,需要一个进程监护工具来守护队列监听程序,这里使用 supervisor。
关于Supervisor的使用,可以参考我之前写的这篇:博客:Supervisor 使用总结
在本例中,supervisor配置如下:
[program:queue]
process_name=%(program_name)s_%(process_num)02d
directory=/var/www/html/larashop
command=php artisan queue:work --tries=3 --sleep=3 --daemon
autostart=true
autorestart=true
numprocs=1
user=root
stopasgroup=true
killasgroup=true
redirect_stderr=true
stdout_logfile=/var/www/html/larashop/storage/logs/queue.log
配置文件位于:
docker/conf/supervisor/supervisord.conf
配置完成后记得重启 supervisor。根据以上配置,有任务被队列消费,会将日志写到storage/logs/queue.log,效果如下所示:

配置HTTPS
证书生成
这里使用Let's Encrypt,生成工具选用acme.sh。关于acme.sh的使用,通读它的wiki文档,基本就可以了解如何使用了。
既然我们使用了docker部署,能用docker的就都用上docker,acme.sh也不例外,所以我们将使用acme.sh的docker镜像neilpang/acme.sh来生成证书。运行如下命令就够了:
docker run --rm  -it  \
  -v "/home/ubuntu/docker/ssl":/acme.sh  \
  -e DP_Id="{your-key-id}" \
  -e DP_Key="{your-key-token}" \
  neilpang/acme.sh --issue --log --dns dns_dp -d ishare.cool -d *.ishare.cool
以上命令说明:
由于我使用的是腾讯云的域名,DP_Id 和 DP_Key 可以到DNSPod上创建并获取
-v "/home/ubuntu/docker/ssl":/acme.sh将主机上的docker/ssl目录挂在到容器的/acme.sh目录,这样证书生成之后,就会出现在docker/ssl目录这里想要配置了泛域名,所以使用
-d ishare.cool -d *.ishare.cool
生成的结果如下: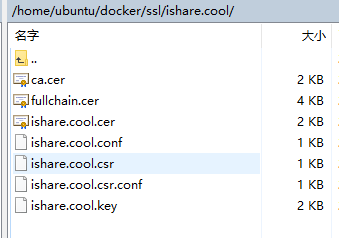
acme.sh的 wiki 文档说证书60天自动更新,是否能自动更新,只好等60天在验证了 :cry2020-5-30 更新:60天后证书真的失效了,
docker pull neipang/acme.sh更新镜像,然后将上面的脚本--issue改为--renew,执行脚本更新证书。
2021-1-23 更新:自动更新证书的问题好久没有解决,现在解决方法如下:
云主机终端运行:sudo crontab -e打开定时任务文件进行编辑,写入任务命令并保存:0 2 1 * * docker run --rm -v "/home/ubuntu/docker/ssl":/acme.sh -e DP_Id="{你的DP_id}" -e DP_Key="{你的DP_key}" neilpang/acme.sh --renew --force --log --dns dns_dp -d ishare.cool -d *.ishare.cool && bash -c "cd ~/docker && docker-compose restart nginx"这里设置了每月1日凌晨2:00运行一次脚本。证书路径和DP_id、DP_key、域名注意替换为你自己的。
修改 Nginx 主配置文件
/home/ubuntu/docker/conf/nginx/nginx.conf做如下修改:
user  nginx;
worker_processes  2; # 根据主机CPU核心数类配置(lscpu查看)

error_log  /var/log/nginx/error.log warn;
pid        /var/run/nginx.pid;


events {
    worker_connections  1024; # 主机上运行 ulimit -n 查看
}


http {
    include       /etc/nginx/mime.types;
    default_type  application/octet-stream;

    log_format  main  '$remote_addr - $remote_user [$time_local] "$request" '
                      '$status $body_bytes_sent "$http_referer" '
                      '"$http_user_agent" "$http_x_forwarded_for"';

    access_log  /var/log/nginx/access.log  main;

    sendfile            on;
    tcp_nopush          on;
    tcp_nodelay         on;

    keepalive_timeout   60;

    types_hash_max_size 2048;

    client_body_buffer_size 10K;
    client_header_buffer_size 1k;
    client_max_body_size 8m;
    large_client_header_buffers 2 1k;

    client_body_timeout 12;
    client_header_timeout 12;
    send_timeout 10;


    gzip             on;
    gzip_comp_level  2;
    gzip_min_length  1000;
    gzip_proxied     expired no-cache no-store private auth;
    gzip_types       text/plain application/x-javascript text/xml text/css application/xml;

    include /etc/nginx/conf.d/*.conf;
}
Nginx安全增强以及SSL配置
- 运行以下命令生成DH文件:
openssl dhparam -out /home/ubuntu/docker/ssl/dhparam.pem 2048 - 新建ssl文件(
/home/ubuntu/docker/ssl/options-ssl-nginx.conf)并添加以下内容:
ssl_session_cache        shared:SSL:10m;
ssl_session_timeout      60m;

ssl_session_tickets      on;

ssl_stapling             on;
ssl_stapling_verify      on;

resolver                 8.8.4.4 8.8.8.8  valid=300s;
resolver_timeout         10s;
ssl_prefer_server_ciphers on;

ssl_certificate          /etc/nginx/ssl/ishare.cool/fullchain.cer;
ssl_certificate_key      /etc/nginx/ssl/ishare.cool/ishare.cool.key;

ssl_protocols            TLSv1 TLSv1.1 TLSv1.2;

ssl_ciphers "EECDH+AESGCM:EDH+AESGCM:ECDHE-RSA-AES128-GCM-SHA256:AES256+EECDH:DHE-RSA-AES128-GCM-SHA256:AES256+EDH:ECDHE-RSA-AES256-GCM-SHA384:DHE-RSA-AES256-GCM-SHA384:ECDHE-RSA-AES256-SHA384:ECDHE-RSA-AES128-SHA256:ECDHE-RSA-AES256-SHA:ECDHE-RSA-AES128-SHA:DHE-RSA-AES256-SHA256:DHE-RSA-AES128-SHA256:DHE-RSA-AES256-SHA:DHE-RSA-AES128-SHA:ECDHE-RSA-DES-CBC3-SHA:EDH-RSA-DES-CBC3-SHA:AES256-GCM-SHA384:AES128-GCM-SHA256:AES256-SHA256:AES128-SHA256:AES256-SHA:AES128-SHA:DES-CBC3-SHA:HIGH:!aNULL:!eNULL:!EXPORT:!DES:!MD5:!PSK:!RC4";

add_header Strict-Transport-Security "max-age=16070400;includeSubDomains;preload";
add_header  X-Frame-Options  deny;
add_header  X-Content-Type-Options  nosniff;
add_header x-xss-protection "1; mode=block";
add_header Content-Security-Policy "default-src 'self'; script-src 'self' 'unsafe-inline' 'unsafe-eval' blob: https:; connect-src 'self' https:; img-src 'self' data: https: blob:; style-src 'unsafe-inline' https:; font-src data: https:";

ssl_dhparam /etc/nginx/ssl/dhparam.pem;
该配置将通过include指令包含到虚拟主机文件中。
修改虚拟主机文件
/home/ubuntu/docker/conf/nginx/conf.d/larashop.ishare.cool修改为以下内容:
# 重定向所有http请求
server {
    listen 80;
    server_name larashop.ishare.cool;
    return 301 https://$host$request_uri;
}

server {

    listen 443 ssl http2;
    server_name larashop.ishare.cool;

    # 加载ssl配置文件
    include /etc/nginx/ssl/options-ssl-nginx.conf;

    # 注意 这里写的是nginx容器中的目录
    root /var/www/html/larashop/public;

    index index.php index.html index.htm;

    location / {
         try_files $uri $uri/ /index.php$is_args$args;
    }

    location = /favicon.ico { access_log off; log_not_found off; }
    location = /robots.txt  { access_log off; log_not_found off; }

    location ~ \.php$ {
        try_files $uri /index.php =404;
        # 注意这里使用php-fpm服务名
        fastcgi_pass php-fpm73:9000;
        fastcgi_index index.php;
        fastcgi_buffers 16 16k;
        fastcgi_buffer_size 32k;
        fastcgi_param SCRIPT_FILENAME $document_root$fastcgi_script_name;
        #fixes timeouts
        fastcgi_read_timeout 600;
        include fastcgi_params;
    }

    location ~* .(jpg|jpeg|png|gif|ico|css|js)$ {
        expires 365d;
    }

    location ~ /\.ht {
        deny all;
    }

    location ~ /\.(?!well-known).* {
        deny all;
    }
}
修改完成后,重启nginx容器——在/home/ubuntu/docker目录运行:docker-compose restart nginx即可使前面所作的修改生效。
到这里,HTTPS就配置好了。关于证书生成和nginx的配置,可以参考以下文章:
- docker nginx 利用阿里 key secret 配置泛域名证书
- How To Optimize Nginx Configuration
- 本博客 Nginx 配置之性能篇
- Nginx 配置 HTTPS 服务器
- Let’s Encrypt 泛域名证书申请及配置
可能会遇到的问题
/var/www/html/larashop/storage/logs/laravel.log” could not be opened: failed to open stream: Permission denied
解决:
stackoverflow.com/questions/234115...sudo chown -R $USER:www-data storage sudo chown -R $USER:www-data bootstrap/cache // 这两行可选 chmod -R 775 storage chmod -R 775 bootstrap/cacheyansongda/pay v2.9.0 requires ext-bcmath * -> the requested PHP extension bcmath is missing from your system
解决:缺少bcmatch扩展,进入php容器,运行:docker-php-ext-install bcmath安装。laravel连接redis提示:Connection Refuse
解决:redis.conf 配置文件中去掉ip地址绑定,同时设置密码(requirepass字段)Refused to load the font ‘data:application/font-woff2…’ because it violates the following Content Security Policy directive: “font-src https:”.
解决:修改/home/ubuntu/docker/ssl/options-ssl-nginx.conf文件中的Content-Security-Policy配置,font-src后面加上data:以支持base64编码图片的显示。
项目地址
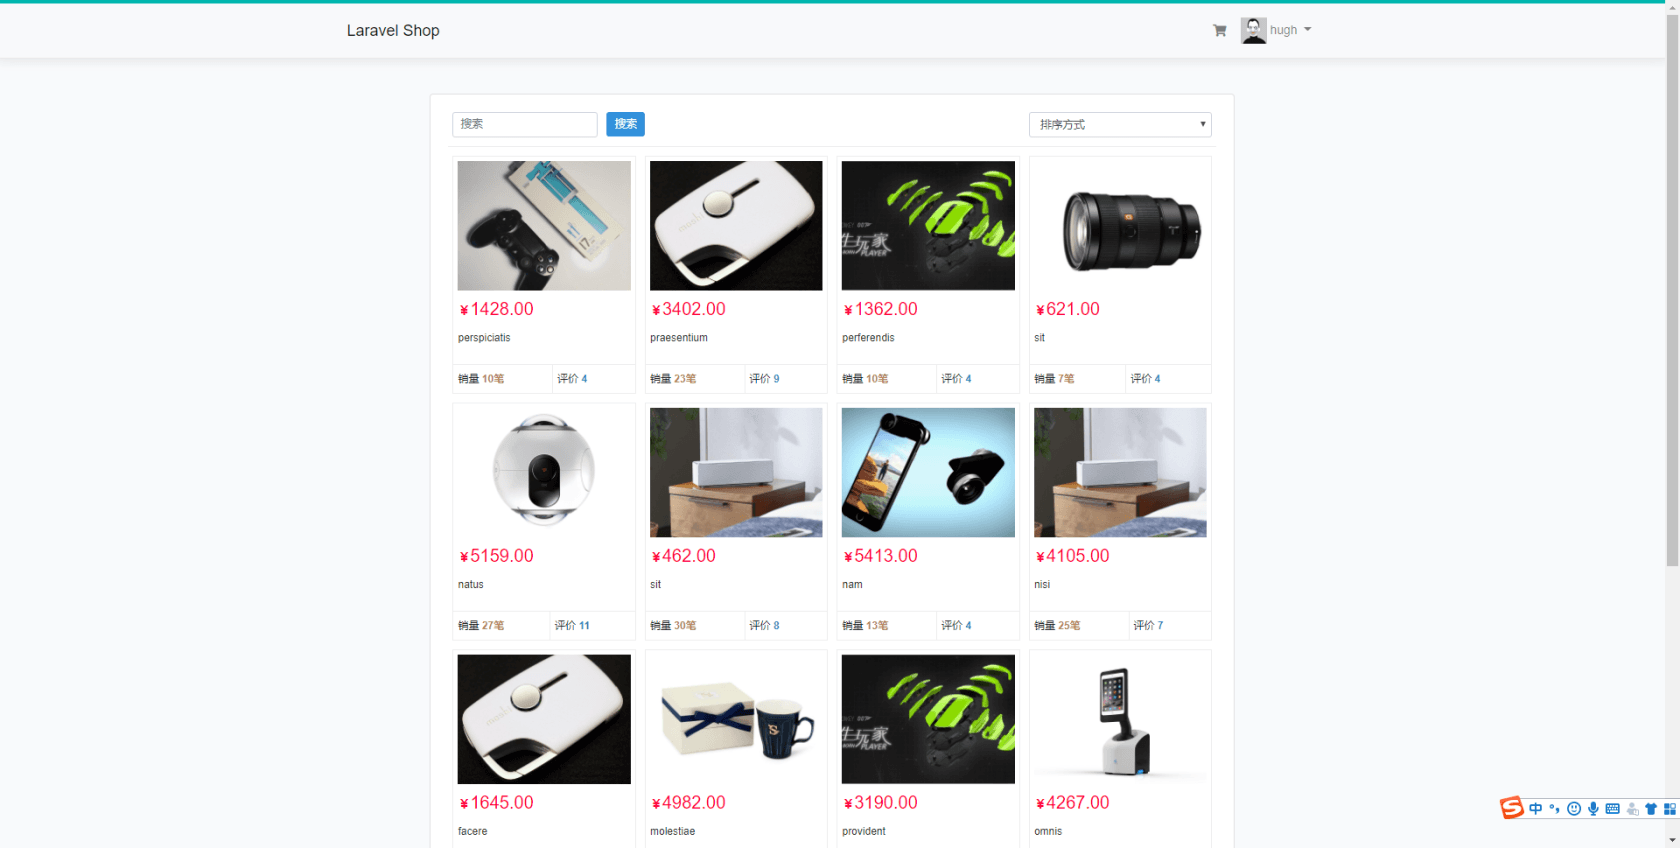
最后晒一下成果:larashop.ishare.cool/products
本作品采用《CC 协议》,转载必须注明作者和本文链接


 关于 LearnKu


推荐文章: