
SpringBoot+vue 前后端的分离项目笔记 [一] 项目搭建
1 / 1 / 创建于 6年前 /
 semlie1994 的个人博客
最近学习研究springboot+vue项目,发现很好用,网上教程比较杂,所以写下这篇笔记,留作自用。
1、搭建环境
vue安装:(基本流程已忘,基本是按着这个来的)
教程:安装VUE教程 - 归尘2016 - 博客园
SpringBoot:环境搭建更早,基本只需要具备:java1.8
开发工具都是使用:IDEA
2、Vue项目创建
教程:Springboot Vue Login(从零开始实现Springboot+Vue登录)
这个教程我基本只参考了前半截,没添加element框架,也没有使用Springboot搭建不是用这个教程
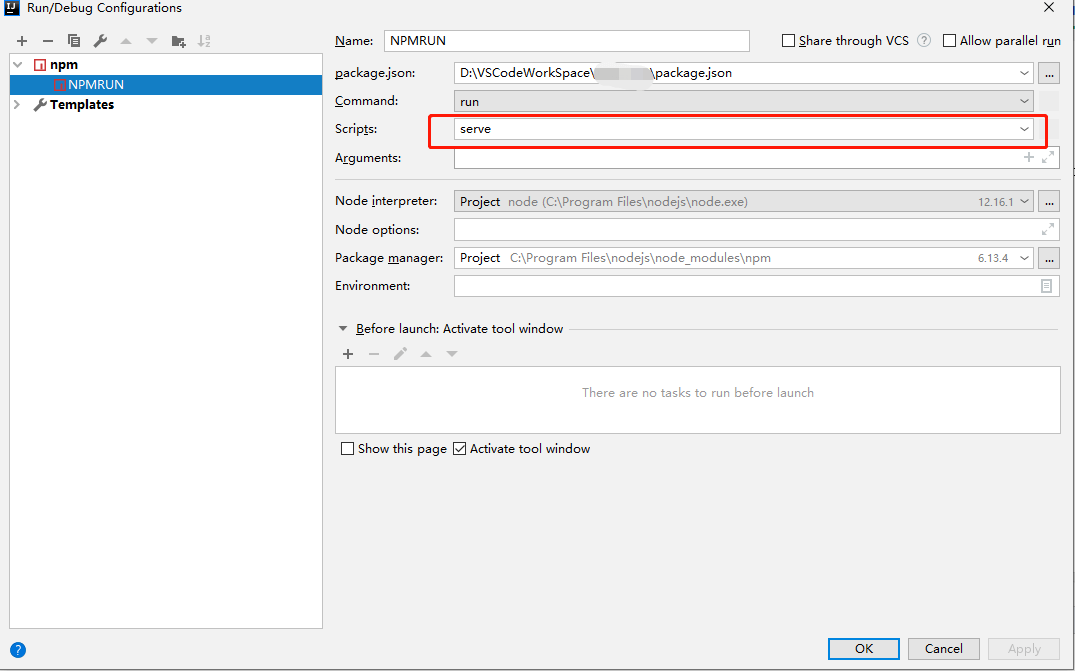
创建完成之后用idea打开,配置好npm之后就可以直接启动vue:
教程:idea启动vue项目
如果是按上面教程创建项目,那用idea启动项目时有个地方要改:
3、SpringBoot项目创建
可以直接访问官方网站创建:start.spring.io
也可以用IDEA创建:快速创建springBoot项目
创建之后不要忘了改变端口:
application.properties
server.port=9090SpringBoot项目在IDEA可以直接启动
跨域访问问题在上面教程中有提到,可以参考:Springboot Vue Login(从零开始实现Springboot+Vue登录)
出现的问题:pom.xml中的jar包没加载出来,解决办法就是添加镜像
教程:maven国内镜像配置
4、Vue与SpringBoot简单交互(验正码)
在验证码方面,我主要是由后段生成图片与对应的码给前端,验证工作交给前端
Vue方面
1、axios配置
request.js
import axios from 'axios' //引入 axios
// 创建 axios 实例
const service = axios.create({
    baseURL: 'http://192.168.1.129:9090/', // api 的 base_url
    timeout: 15000, // 请求超时时间
});
main.js
import axios from './utils/request';
Vue.prototype.$axios = axios;
2、登录页
login.vue
<template>
    <div class="page">
        <form :model="loginForm" class="form form-horizontal" action="#/" method="post">
            <input id="text"  type="text" v-model="loginForm.username"  placeholder="请输入账号"  name="username">
            <input id="pass" type="password" v-model="loginForm.password" placeholder="请输入密码"  name="password" >
            <label class="hq"><input id="text2" type="text" placeholder="请输入验证码" v-model="loginForm.inputCode" name="captcha">
                <img class="rzm"  :src='imgcode' @click="getIdentifyingCode(true)" >
            </label>
            <p class="submit">登录</p>
        </form>
    </div>
</template>
<script>
    export default {
        name: "login1",
        data(){
            return{
                imgcode:'',
                code:'',
                loginForm:{
                    username:'',
                    password:'',
                    inputCode:'',
                },
                userToken:''
            }
        },
        created:function() {
            this.getIdentifyingCode();
        },
        methods:{
            /*获取验证码*/
            getIdentifyingCode: function () {
                this.$axios.get('user/getImgCode')
                    .then((response) => {
                        this.imgcode = response.data.data;
                        this.code = response.data.imgCode;
                        // console.log(this.code)
                    })
                    .catch((error) => {
                        console.log(error);
                    });
            }
        }

    }
</script>
SpringBoot方面(教程忘记保存,直接贴上代码吧)
ImgValidateCodeUtil.java
import javax.imageio.ImageIO;
import java.awt.*;
import java.awt.image.BufferedImage;
import java.io.ByteArrayOutputStream;
import java.util.Base64;
import java.util.HashMap;
import java.util.Map;
import java.util.Random;
public class ImgValidateCodeUtil {
    private static Random random = new Random();
    /**
     * 验证码的宽
     */
    private static int width = 160;
    /**
     * 验证码的高
     */
    private static int height = 40;
    /**
     * 验证码的干扰线数量
     */
    private static int lineSize = 30;
    /**
     * 验证码词典
     */
    private static String randomString = "0123456789abcdefghijklmnopqrstuvwxyz";
    /**
     * 获取字体
     * @return
     */
    private static Font getFont() {
        return new Font("Times New Roman", Font.ROMAN_BASELINE, 40);
    }
    /**
     * 获取颜色
     * @param fc
     * @param bc
     * @return
     */
    private static Color getRandomColor(int fc, int bc) {
        fc = Math.min(fc, 255);
        bc = Math.min(bc, 255);
        int r = fc + random.nextInt(bc - fc - 16);
        int g = fc + random.nextInt(bc - fc - 14);
        int b = fc + random.nextInt(bc - fc - 12);
        return new Color(r, g, b);
    }
    /**
     * 绘制干扰线
     * @param g
     */
    private static void drawLine(Graphics g) {
        int x = random.nextInt(width);
        int y = random.nextInt(height);
        int xl = random.nextInt(20);
        int yl = random.nextInt(10);
        g.drawLine(x, y, x + xl, y + yl);
    }
    /**
     * 获取随机字符
     * @param num
     * @return
     */
    private static String getRandomString(int num) {
        num = num > 0 ? num : randomString.length();
        return String.valueOf(randomString.charAt(random.nextInt(num)));
    }
    /**
     * 绘制字符串
     * @param g
     * @param randomStr
     * @param i
     * @return
     */
    private static String drawString(Graphics g, String randomStr, int i) {
        g.setFont(getFont());
        g.setColor(getRandomColor(108, 190));
        String rand = getRandomString(random.nextInt(randomString.length()));
        randomStr += rand;
        g.translate(random.nextInt(3), random.nextInt(6));
        g.drawString(rand, 40 * i + 10, 25);
        return randomStr;
    }
    /**
     * 生成随机图片,返回 base64 字符串
     * @param
     * @return
     */
    public static Map<String, String> getImgCodeBaseCode(int length) {
        Map<String, String> result = new HashMap<>();
        // BufferedImage类是具有缓冲区的Image类,Image类是用于描述图像信息的类
        BufferedImage image = new BufferedImage(width, height, BufferedImage.TYPE_INT_BGR);
        Graphics g = image.getGraphics();
        g.fillRect(0, 0, width, height);
        // 获取颜色
        g.setColor(getRandomColor(105, 189));
        // 获取字体
        g.setFont(getFont());
        // 绘制干扰线
        for (int i = 0; i < lineSize; i++) {
            drawLine(g);
        }
        // 绘制随机字符
        String randomCode = "";
        for (int i = 0; i < length; i++) {
            randomCode = drawString(g, randomCode, i);
        }
//        System.out.println("验证码是:" + randomCode);
        g.dispose();
        result.put("imgCode", randomCode);
        String base64Code = "";
        try {
            //返回 base64
            ByteArrayOutputStream bos = new ByteArrayOutputStream();
            ImageIO.write(image, "PNG", bos);
            byte[] bytes = bos.toByteArray();
            Base64.Encoder encoder = Base64.getEncoder();
            base64Code = encoder.encodeToString(bytes);
        } catch (Exception e) {
            e.printStackTrace();
        }
        result.put("data", "data:image/png;base64," + base64Code);
        return result;
    }
}
LoginControll.java
@RestController
@SpringBootApplication
@RequestMapping("/user")
public class LoginControll {
    //生成验证码
    @RequestMapping(value = "/getImgCode")
    @ResponseBody
    public Map<String, String> getImgCode() {
        Map<String, String> result = new HashMap<>();
        try {
            result = ImgValidateCodeUtil.getImgCodeBaseCode(4);
        } catch (Exception e) {
            System.out.println(e);
        }
        return result;
    }
}
结果:
![SpringBoot+vue 前后端的分离项目笔记 [一] 项目搭建](https://cdn.learnku.com/uploads/images/202005/15/60327/IM5i9DnNGV.png!large)
本作品采用《CC 协议》,转载必须注明作者和本文链接


 关于 LearnKu


推荐文章: