
SpringBoot系列--自动装配原理2
0 / 0 / 创建于 5年前 /
 Kuroko 的个人博客
前言:SpringBoot功能强大的地方在于将常用的场景抽取成了一个个场景启动器start,通过这些场景启动器,再加上我们定制化的配置,便可以使用相关的功能。但是有些情况下,这些场景启动器无法满足我们的需求,需要自定义场景启动器。
我们先看下SpringBoot帮我们封装的场景启动器
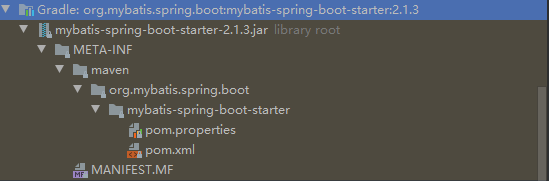
可以看出,在mybatis-spring-boot-starter这个场景启动器中,并没有代码
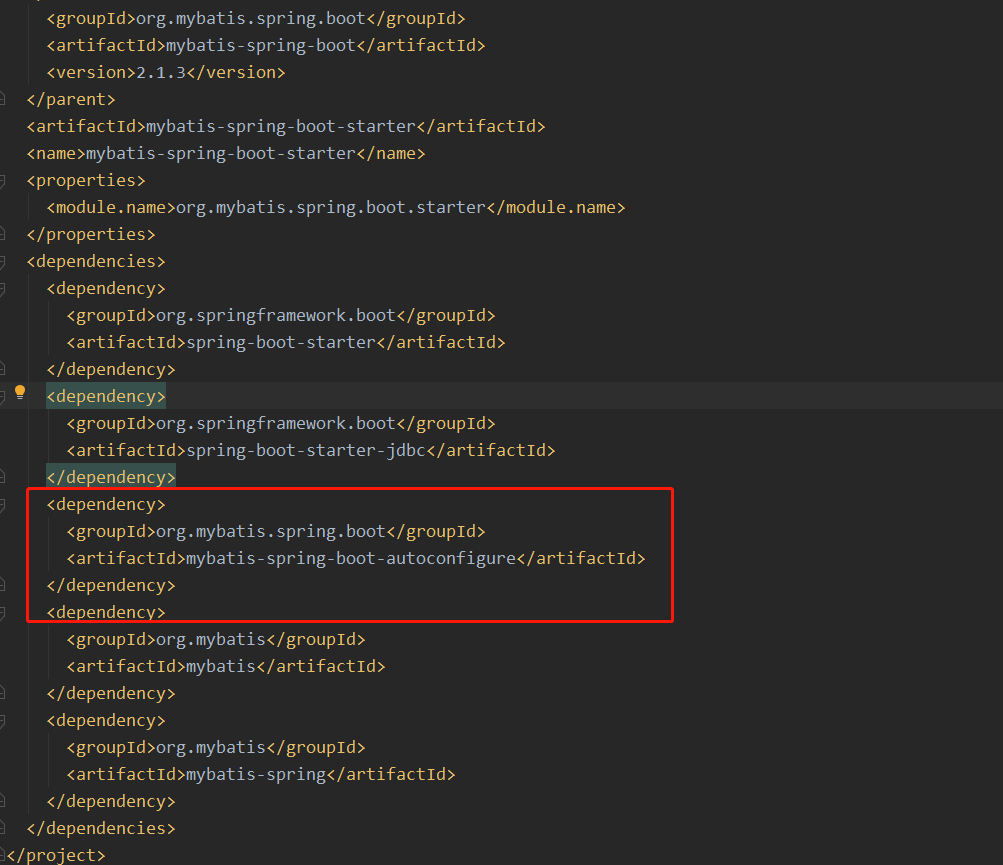
在他的pom文件中我们找到它其实是依赖了一个mybatis-spring-boot-autoconfigure
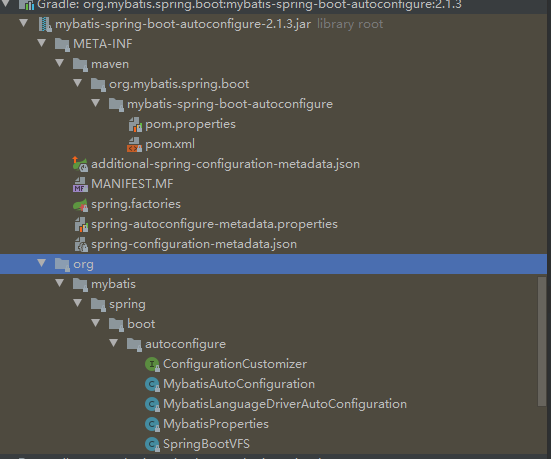
在这个mybatis-spring-boot-autoconfigure中我们看到了mybatis相关的功能代码
所以我们得出结论:
- 启动器(starter)是一个空的jar文件,仅仅提供辅助性依赖管理,这些依赖可能用于自动装配或其他类库。
- 需要专门写一个类似spring-boot-autoconfigure的配置模块
- 用的时候只需要引入启动器starter,就可以使用自动配置了
如何自定义SpringBootStart
自定义Start步骤流程
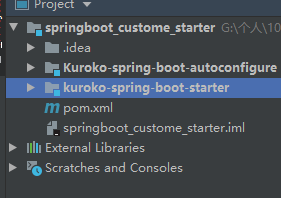
1、创建一个父maven项目
项目名:springboot-customer-start
maven配置
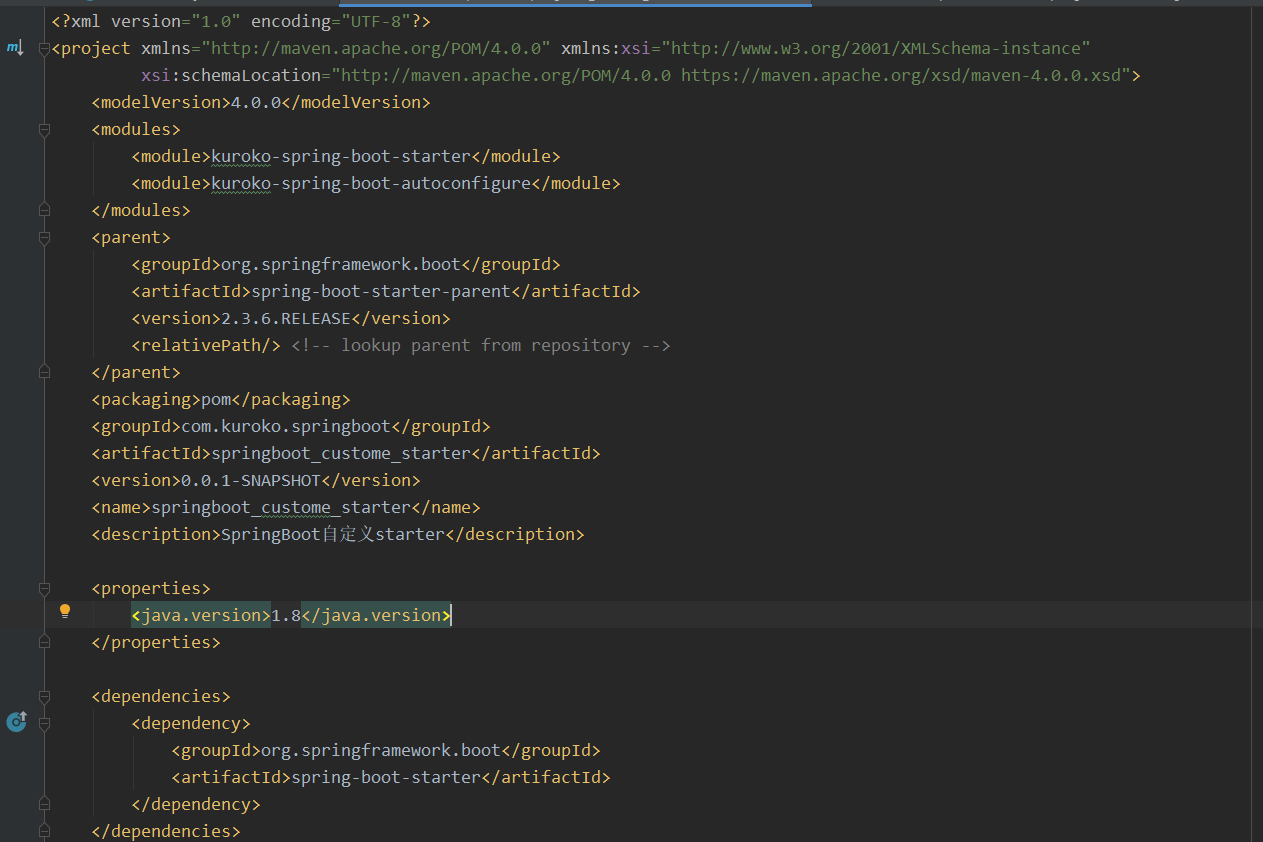
1、kuroko-spring-boot-starter配置
<?xml version="1.0" encoding="UTF-8"?>
<project xmlns="http://maven.apache.org/POM/4.0.0"
         xmlns:xsi="http://www.w3.org/2001/XMLSchema-instance"
         xsi:schemaLocation="http://maven.apache.org/POM/4.0.0 http://maven.apache.org/xsd/maven-4.0.0.xsd">
    <parent>
        <artifactId>springboot_custome_starter</artifactId>
        <groupId>com.kuroko.springboot</groupId>
        <version>0.0.1-SNAPSHOT</version>
    </parent>
    <modelVersion>4.0.0</modelVersion>
    <description>
        启动器(starter)是一个空的jar文件,
        仅仅提供辅助性依赖管理,
        这些依赖需要自动装配或其他类库。
    </description>

    <artifactId>kuroko-spring-boot-starter</artifactId>

    <dependencies>
        <!--引入autoconfigure-->
        <dependency>
            <groupId>com.kuroko.springboot</groupId>
            <artifactId>kuroko-spring-boot-autoconfigure</artifactId>
            <version>0.0.1-SNAPSHOT</version>
        </dependency>

        <!--如果当前starter 还需要其他的类库就在这里引用-->
    </dependencies>

</project>
2、kuroko-spring-boot-autoconfigure配置
<?xml version="1.0" encoding="UTF-8"?>
<project xmlns="http://maven.apache.org/POM/4.0.0"
         xmlns:xsi="http://www.w3.org/2001/XMLSchema-instance"
         xsi:schemaLocation="http://maven.apache.org/POM/4.0.0 http://maven.apache.org/xsd/maven-4.0.0.xsd">
    <parent>
        <artifactId>springboot_custome_starter</artifactId>
        <groupId>com.kuroko.springboot</groupId>
        <version>0.0.1-SNAPSHOT</version>
    </parent>
    <modelVersion>4.0.0</modelVersion>

    <artifactId>kuroko-spring-boot-autoconfigure</artifactId>
    <dependencies>
        <dependency>
            <groupId>org.springframework.boot</groupId>
            <artifactId>spring-boot-starter-web</artifactId>
        </dependency>
        <!--‐导入配置文件处理器,配置文件进行绑定就会有提示-->
        <dependency>
            <groupId>org.springframework.boot</groupId>
            <artifactId>spring-boot-configuration-processor</artifactId>
            <optional>true</optional>
        </dependency>

        <dependency>
            <groupId>cn.hutool</groupId>
            <artifactId>hutool-all</artifactId>
            <version>5.4.0</version>
            <optional>true</optional>
        </dependency>

    </dependencies>
</project>
3、HelloAutoConfitguration
/***
 * 给web应用自动添加一个首页
 */
@Configuration
@ConditionalOnProperty(value = "kuroko.hello.name")
@EnableConfigurationProperties(HelloProperties.class)
@ConditionalOnClass(StrUtil.class)
public class HelloAutoConfitguration {

    @Autowired
    HelloProperties helloProperties;

    @Bean
    public IndexController indexController(){
        return new IndexController(helloProperties);
    }
}
4、HelloProperties
@ConfigurationProperties("kuroko.hello")
public class HelloProperties {
    private String name;

    public String getName() {
        return name;
    }

    public void setName(String name) {
        this.name = name;
    }
}
5、IndexController
@RestController
public class IndexController {
HelloProperties helloProperties;
public IndexController(HelloProperties helloProperties) {
this.helloProperties=helloProperties;
}
@RequestMapping("/")
public String index(){
return helloProperties.getName()+"欢迎您";
}
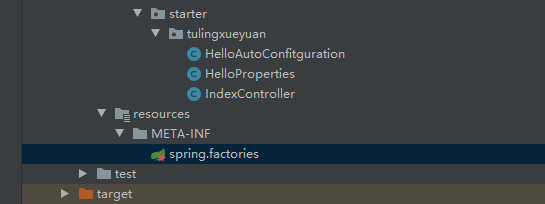
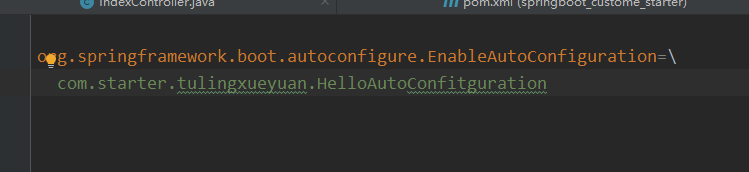
}6、spring.factories
在 resources 下创建文件夹 META-INF 并在 META-INF 下创建文件 spring.factories ,内容如下:
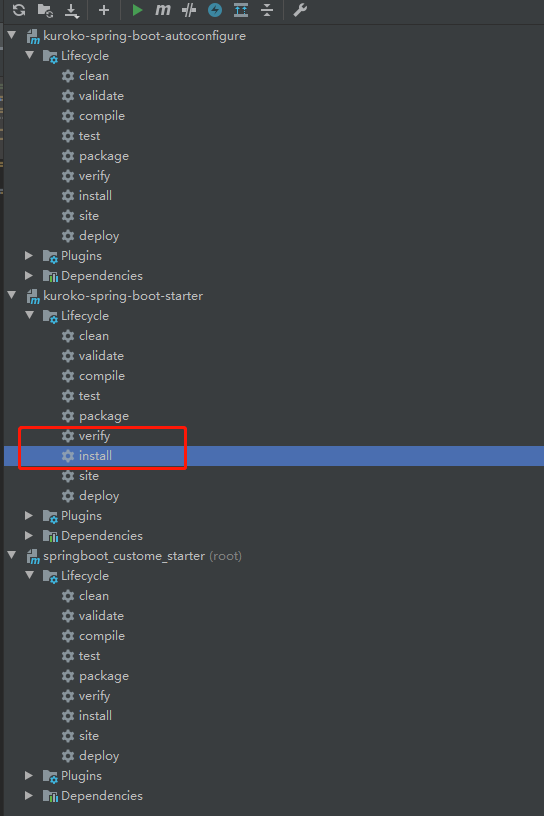
将配置好的kuroko-spring-boot-starter、kuroko-spring-boot-autoconfigure安装成本地jar包
创建测试类test-springboot-start
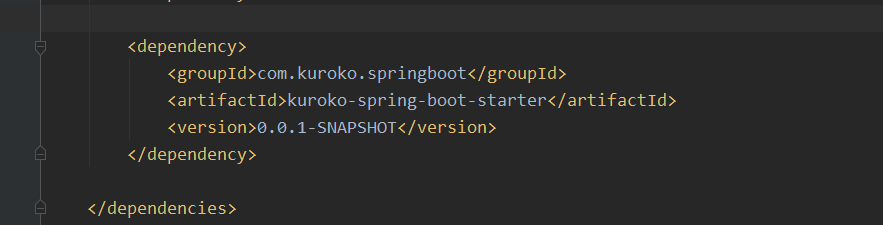
引入自定义启动类:kuroko-spring-boot-starter

配置配置文件
完成!!!
本作品采用《CC 协议》,转载必须注明作者和本文链接


 关于 LearnKu


