
10分钟带你搞定slice底层原理!
0 / 0 / 创建于 4年前
 shier_cat 的个人博客
本篇整理的内容是基于go 1.18 版本。
前言
在工作中,slice一定是你用的最多的数据类型之一。本篇文章来带你快速了解slice的底层原理。
首先,slice的代码存放在/src/runtime/slice.go 文件中。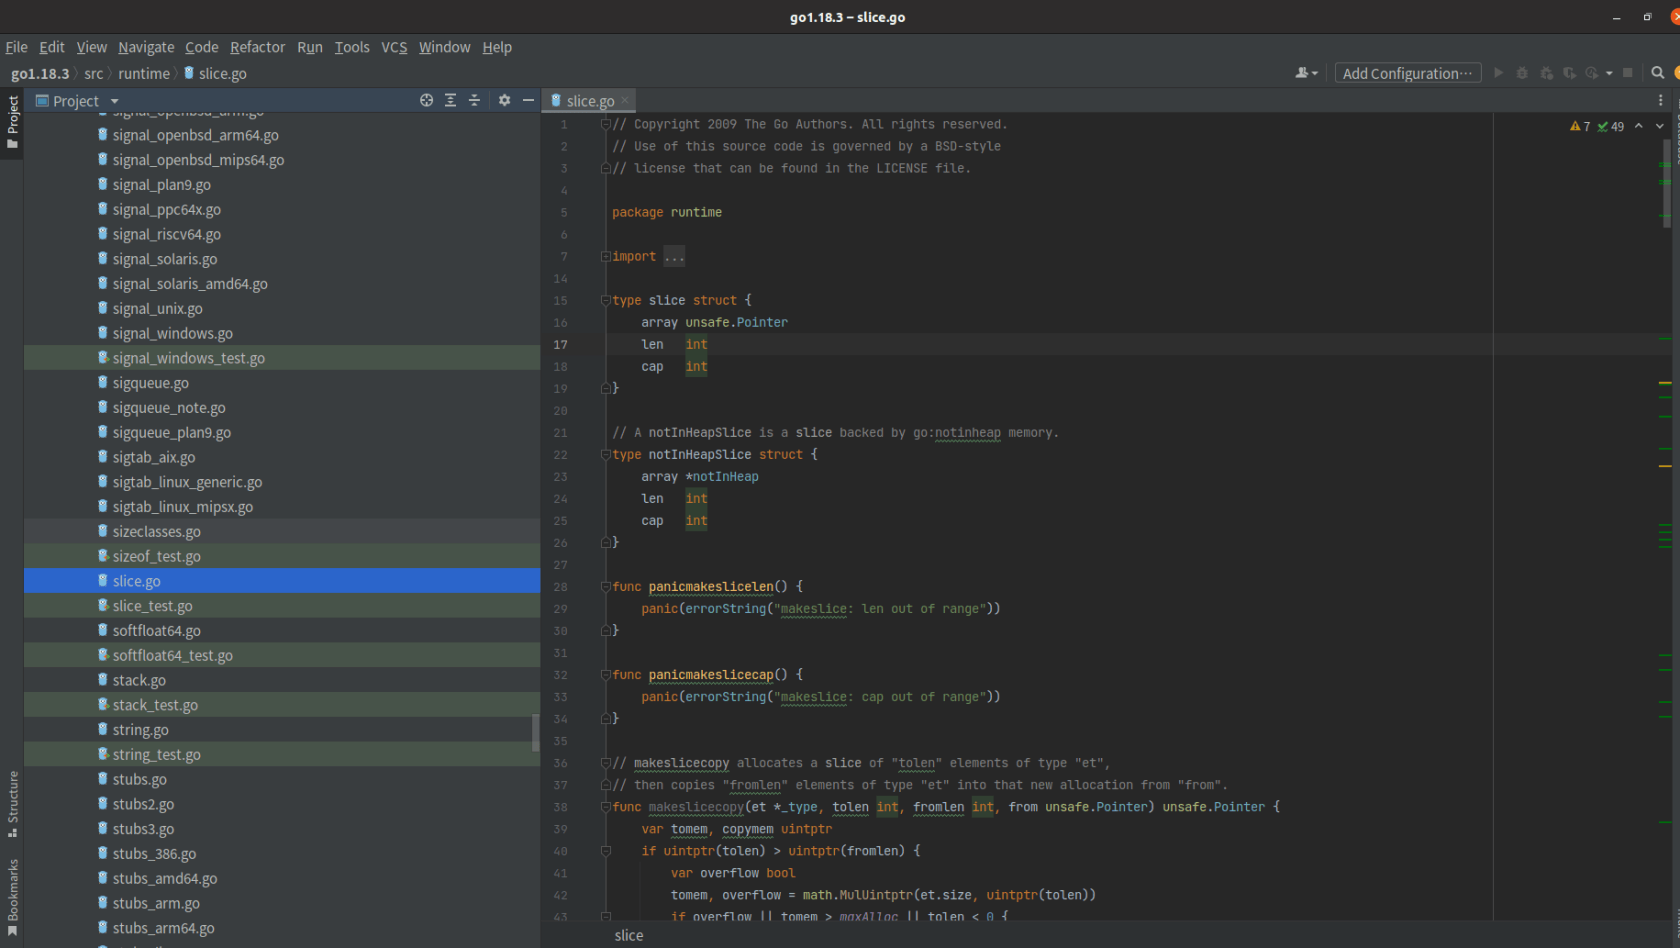
底层结构
type slice struct {
    array unsafe.Pointer
    len   int
    cap   int
}
slice一共有3个字段。其中,array代表底层数组的指针,len 代表 slice的长度,cap代表slice的长度,也是底层数组的长度。
在创建slice时,容量和长度是相等的。例如,创建一个长度为5的切片,那么它的容量也是5。
扩容机制
我们知道,数组的长度不可变化的。当调用append时,如果append后的长度超过slice的容量(底层数组的长度),就会发生扩容。
发生扩容后,底层数组会被替换,那么新底层数组的长度又是多少呢?
来,直接贴源码。
newcap := old.cap
    doublecap := newcap + newcap
    if cap > doublecap {
        newcap = cap
    } else {
        const threshold = 256
        if old.cap < threshold {
            newcap = doublecap
        } else {
            // Check 0 < newcap to detect overflow
            // and prevent an infinite loop.
            for 0 < newcap && newcap < cap {
                // Transition from growing 2x for small slices
                // to growing 1.25x for large slices. This formula
                // gives a smooth-ish transition between the two.
                newcap += (newcap + 3*threshold) / 4
            }
            // Set newcap to the requested cap when
            // the newcap calculation overflowed.
            if newcap <= 0 {
                newcap = cap
            }
        }
    }

var overflow bool
    var lenmem, newlenmem, capmem uintptr
    // Specialize for common values of et.size.
    // For 1 we don't need any division/multiplication.
    // For goarch.PtrSize, compiler will optimize division/multiplication into a shift by a constant.
    // For powers of 2, use a variable shift.
    switch {
    case et.size == 1:
        lenmem = uintptr(old.len)
        newlenmem = uintptr(cap)
        capmem = roundupsize(uintptr(newcap))
        overflow = uintptr(newcap) > maxAlloc
        newcap = int(capmem)
    case et.size == goarch.PtrSize:
        lenmem = uintptr(old.len) * goarch.PtrSize
        newlenmem = uintptr(cap) * goarch.PtrSize
        capmem = roundupsize(uintptr(newcap) * goarch.PtrSize)
        overflow = uintptr(newcap) > maxAlloc/goarch.PtrSize
        newcap = int(capmem / goarch.PtrSize)
    case isPowerOfTwo(et.size):
        var shift uintptr
        if goarch.PtrSize == 8 {
            // Mask shift for better code generation.
            shift = uintptr(sys.Ctz64(uint64(et.size))) & 63
        } else {
            shift = uintptr(sys.Ctz32(uint32(et.size))) & 31
        }
        lenmem = uintptr(old.len) << shift
        newlenmem = uintptr(cap) << shift
        capmem = roundupsize(uintptr(newcap) << shift)
        overflow = uintptr(newcap) > (maxAlloc >> shift)
        newcap = int(capmem >> shift)
    default:
        lenmem = uintptr(old.len) * et.size
        newlenmem = uintptr(cap) * et.size
        capmem, overflow = math.MulUintptr(et.size, uintptr(newcap))
        capmem = roundupsize(capmem)
        newcap = int(capmem / et.size)
    }
有兴趣的同学,可以看下源码。我直接把结论打上了。
- 如果新申请长度大于 2 倍的旧容量,那么最终容量就是新的切片长度 。
- 如果旧容量小于256,那么最终容量就是旧容量的两倍 。
- 如果旧容量大于256,最终容量不一定是多少,因为涉及到移位。(大概是之前容量的1.25倍)
- 如果最终容量计算值溢出,则最终容量就是新的切片长度。
注意,我们只需知晓扩容的原理即可,不必纠结扩容后具体的数字。
思考题
留一道思考题,如果这道题答对了,说明你对go的指针、切片掌握的很不错哦~
func main() {
    a := []int{1,2,3}
    slice(a)
    fmt.Println("1", a)

    slicePtr1(&a)2
    fmt.Println("2", a)

    slicePtr2(&a)
    fmt.Println("3", a)

    slicePtr3(&a)
}

func slice(s []int) {
    s[0] = 10
    s = append(s, 10)
    s[1] = 10
}

func slicePtr1(s *[]int) {
    (*s)[0] = 20
    *s = append(*s, 20)
    (*s)[1] = 20
}

func slicePtr2(s *[]int) {
    b := *s
    b[0] = 30
    b = append(b, 30)
    b[1] = 30
}

func slicePtr3(s *[]int) {
    b := *s
    b = append(b, 40)
    fmt.Println("4", b)
    *s = append(*s, 50)
    fmt.Println("5", b)
}
//请问最后会打印出什么?
题目答案我将会在评论区公布~
最后
最后,放一下我的个人知识库,有兴趣的同学可以关注一下~
www.yuque.com/shier-zone
本作品采用《CC 协议》,转载必须注明作者和本文链接


 关于 LearnKu


推荐文章: