
Ubuntu 20. 04 免费搭建使用SSL
3 / 0 / 创建于 3年前 /
 zhaocrazy 的个人博客
一、 ssh 链接到服务器 移除旧软件
移除 certbot-auto 和任何 Certbot OS 包,如果你曾经下载过sudo apt-get remove certbot, sudo dnf remove certbot, or sudo yum remove certbot
二、安装 snapd
sudo apt update
sudo apt install snapd
$ sudo snap install hello-world
hello-world 6.4 from Canonical✓ installed
$ hello-world
Hello World!
三、安装 certbot
sudo snap install --classic certbot可选: sudo snap install core; sudo snap refresh core
四、软连接 Certbot 命令
sudo ln -s /snap/bin/certbot /usr/bin/certbot五、选择如何运行
自动创建验证文件与修改 nginx 配置文件 (域名对应空目录可能会执行出错)
sudo certbot --nginx

#执行成功后 需要重启
sudo fuser -k 80/tcp

sudo fuser -k 443/tcp

sudo service nginx start
自动创建验证文件与手动修改nginx 配置文件
sudo certbot certonly --nginx六 测试自动重新生成文件是否成功
sudo certbot renew --dry-run报错:
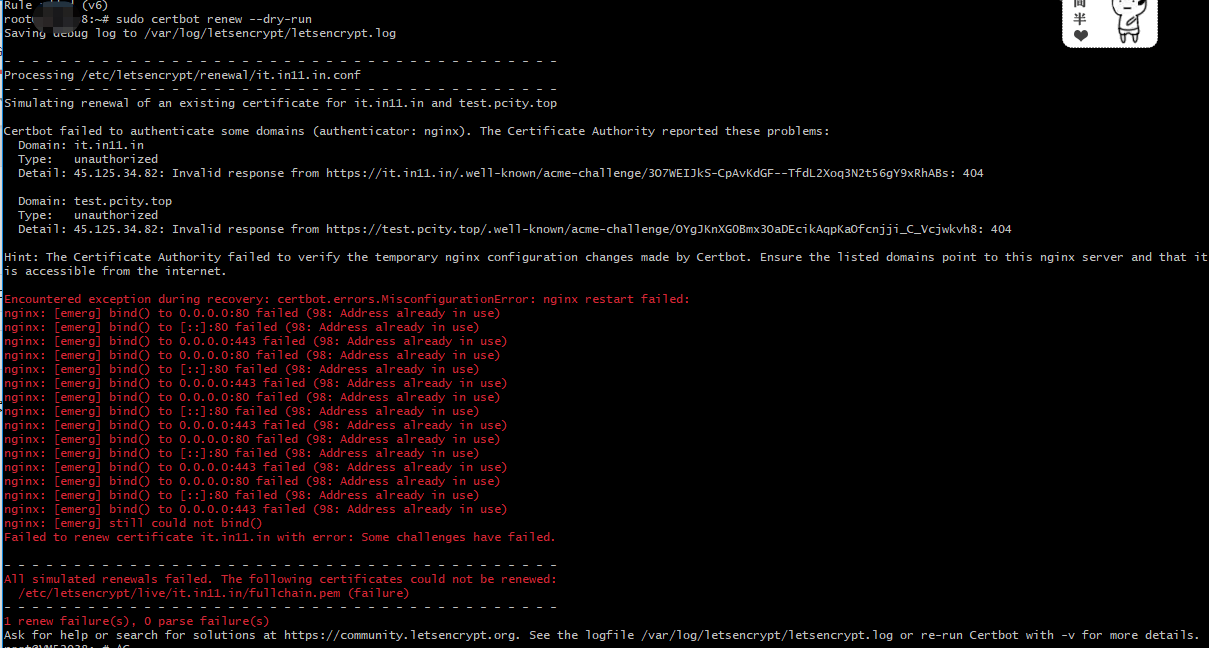
解决:
在域名对应的配置文件 新增
.
.
.
#新增规则
location ~ /.well-known {
     root /var/www/wpit/wordpress;
     allow all;
}
listen 443 ssl http2;  # 由listen 443 ssl;修改
.
.
.
2 赋权
sudo chown -R www-data:www-data /var/www/项目根目录重新执行命令成功如下
.
.
Congratulations, all simulated renewals succeeded:
七 配置定时任务 crontab -e 强制每个月更新
0 0 1 * * /usr/bin/certbot renew --force-renewal
5 0 1 * * /usr/sbin/service nginx restart
八 日志所在 Nginx配置文件
Saving debug log to    /var/log/letsencrypt/letsencrypt.log
nginx webiste config file /etc/nginx/sites-available/xxxx.conf参考链接:certbot.eff.org/instructions?ws=ng...
本作品采用《CC 协议》,转载必须注明作者和本文链接


 关于 LearnKu


推荐文章: