
打造好用的mac iterm编辑器
9 / 0 / 创建于 2年前 /
 kunSir 的个人博客
1. Homebrew国内源
Brew介绍
macOS 和 Linux 缺失软件包的管理器
Homebrew 能干什么?
使用 Homebrew 安装 Mac(或Linux)没有预装但你需要的东西。
Homebrew自身如何使用
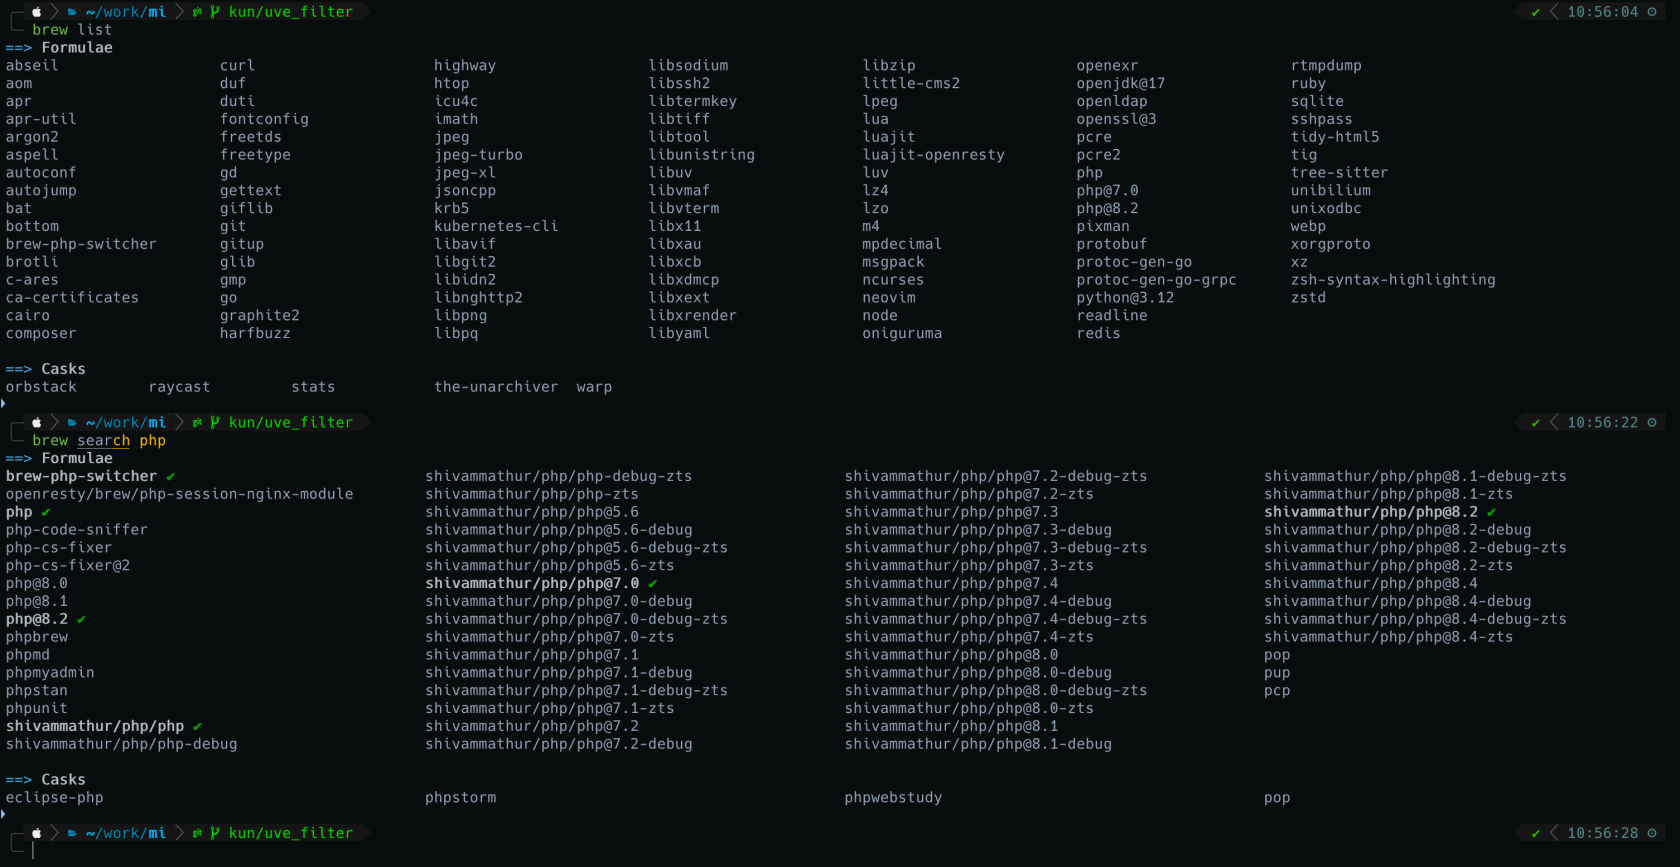
知道软件包具体名称,直接 brew install 软件包名 只知道一小部分名称,用 brew search 小部分名称 查询即可 例如brew search go 就会把带go的软件包全部列出 具体可根据 brew help 查看
由于中所周知的原因,我们切到国内源
苹果电脑安装脚本:
/bin/zsh -c “$(curl -fsSL https://gitee.com/cunkai/HomebrewCN/raw/master/Homebrew.sh)"
苹果电脑卸载脚本:
/bin/zsh -c “$(curl -fsSL https://gitee.com/cunkai/HomebrewCN/raw/master/HomebrewUninstall.sh)"
2.安装git
brew install git
3.安装 oh my zsh
//二选一
1.sh -c “$(curl -fsSL https://mirror.ghproxy.com/https://raw.githubusercontent.com/ohmyzsh/ohmyzsh/master/tools/install.sh)"
安装字体
打开 https://github.com/ryanoasis/nerd-fonts/releases,滑动页面找到 Assets 区域,找到Hack.zip下载安装
安装主题
git clone –depth=1 github.com/romkatv/powerlevel10k.g... ${ZSH_CUSTOM:-$HOME/.oh-my-zsh/custom}/themes/powerlevel10k
vim ~/.zshrc
POWERLEVEL9K_MODE=”nerdfont-complete”
ZSH_THEME=”powerlevel10k/powerlevel10k”
安装插件
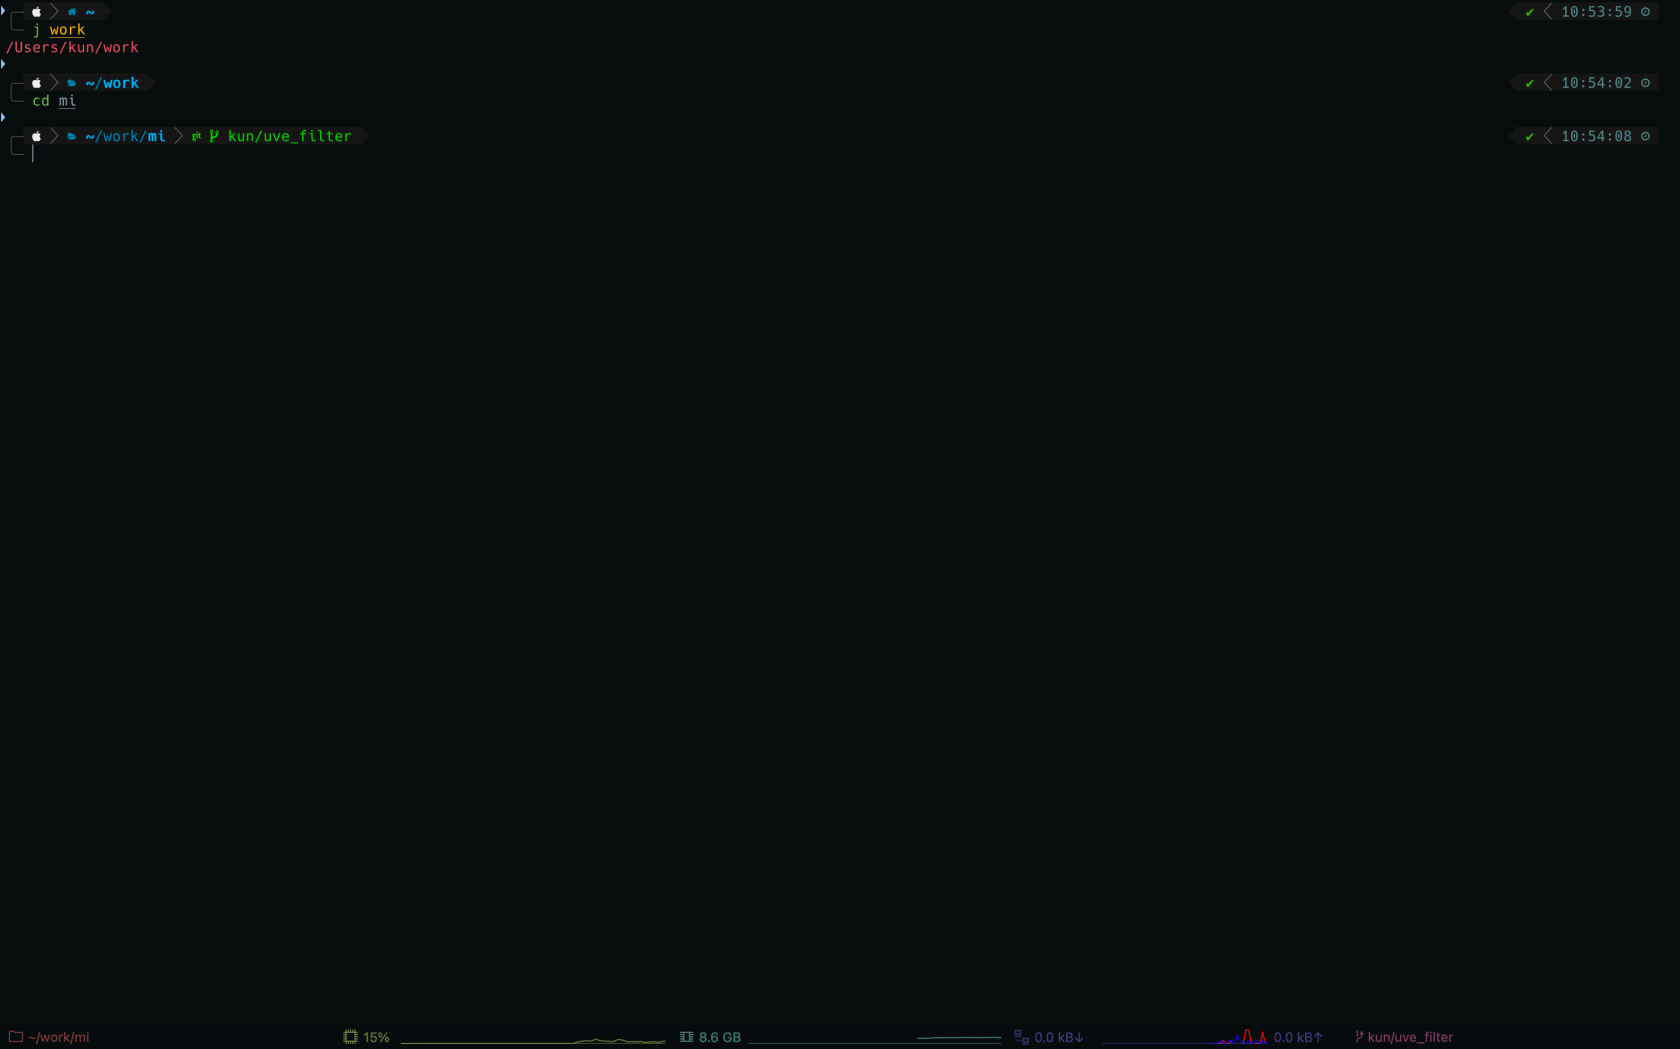
autojump

brew install autojump
打开 ~/.zshrc 加一行代码:
[[ -s $(brew –prefix)/etc/profile.d/autojump.sh ]] && . $(brew –prefix)/etc/profile.d/autojump.sh
然后就是 source 一下就生效了。
- 安装:
plugins=(... autojump),需要额外 安装 autojump,才可以用j命令
autosuggestions

URL:autosuggestions
brew install zsh-autosuggestions推荐理由:基于操作历史的提示和自动补全,但有可能造成黏贴长文本卡住(因为它加了文字动效
安装:三方插件,clone 到
$ZSH_CUSTOM/plugins后加入列表 `plugins=(… zsh-autosuggestions)
syntax-highlighting
推荐理由:绿色、红色,命令是否敲对提前知晓
安装:三方插件,
git clone https://github.com/zsh-users/zsh-syntax-highlighting.git ${ZSH_CUSTOM:-~/.oh-my-zsh/custom}/plugins/zsh-syntax-highlightingclone 到$ZSH_CUSTOM/plugins后加入列表 `plugins=(… zsh-syntax-highlighting)
colored-man-pages
安装:
plugins=(... colored-man-pages)
colors
alias lc=’colorls -lA –sd’
设置了别名之后,就像我一样,输入 lc 就好了。
bat
跟cat类似比cat命令 多颜色
brew install bat
Htop
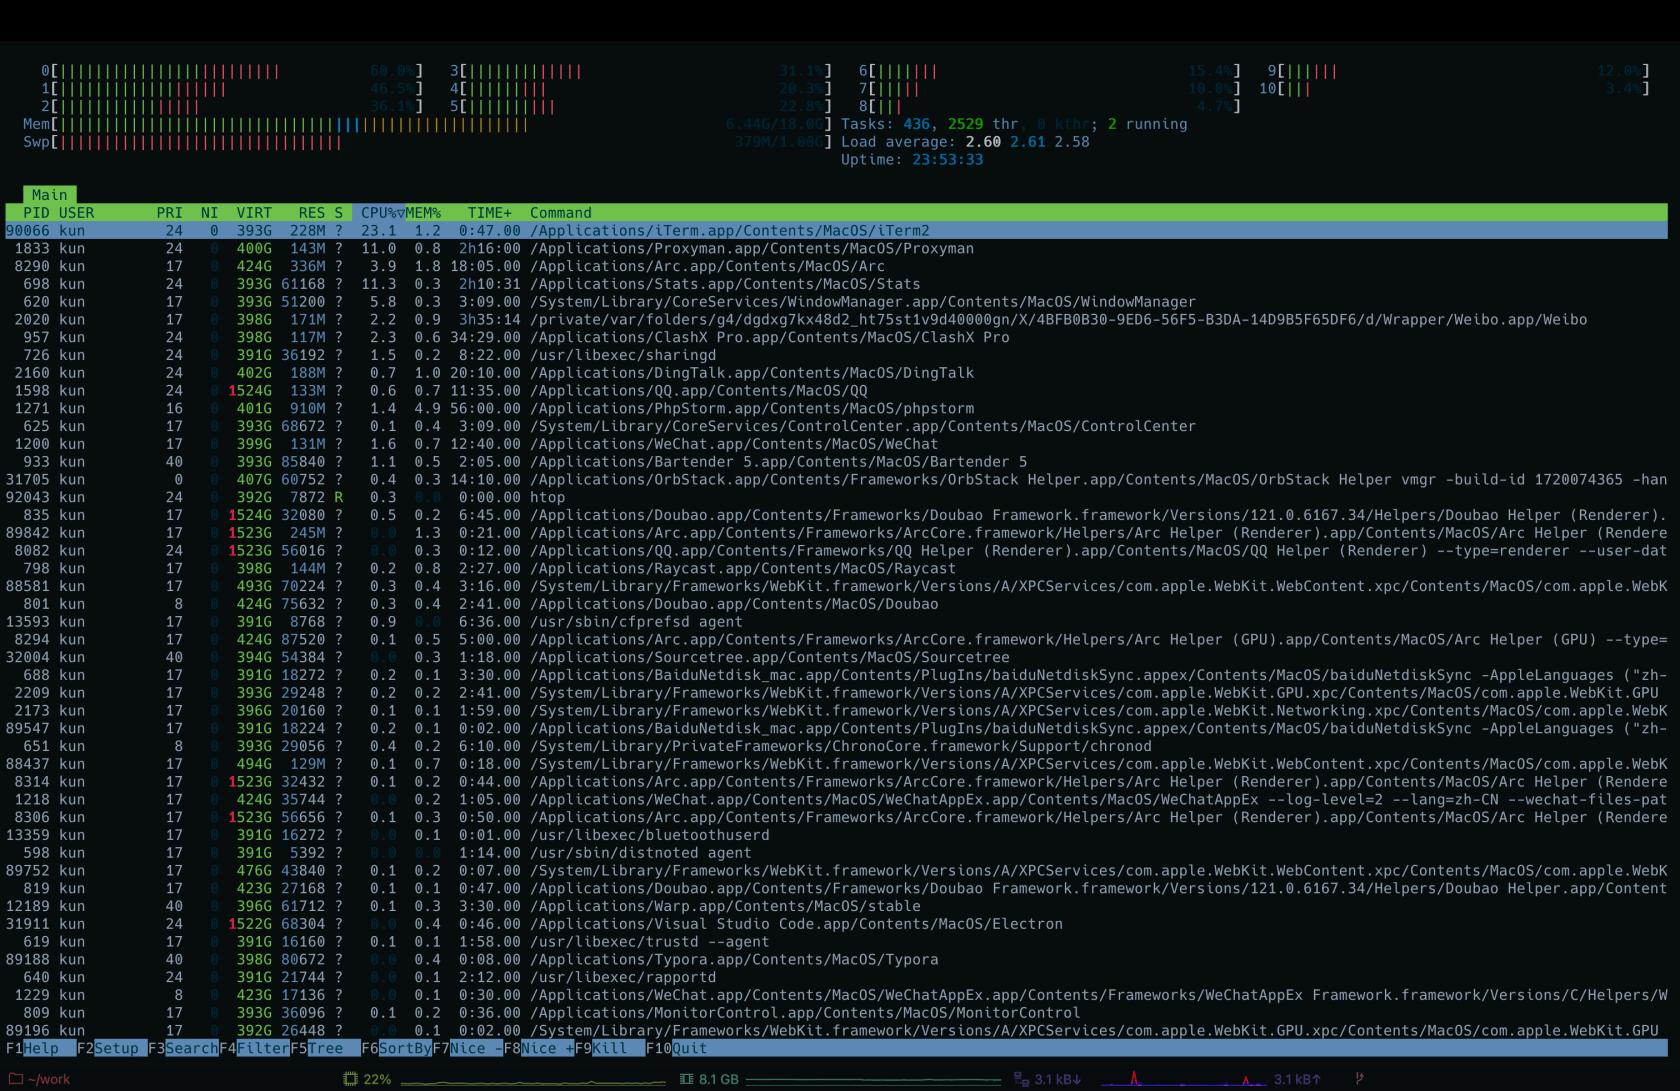
查看本机运行资源
brew install htop
VS Code 配置
如果你用的是 VS Code,需要再配置一下字体:
{
“terminal.integrated.fontFamily”: “Hack Nerd Font”
}
本作品采用《CC 协议》,转载必须注明作者和本文链接


 关于 LearnKu


推荐文章: