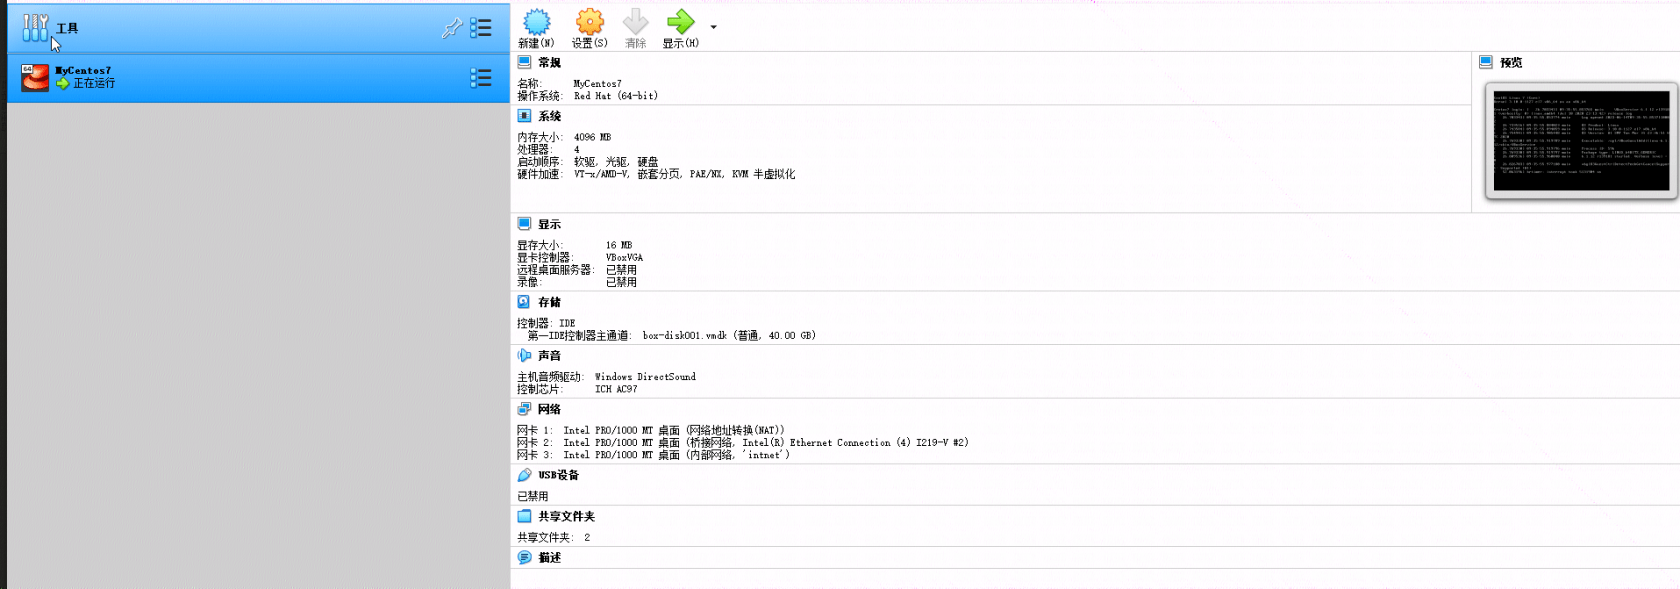
Virtualbox Vagrant 本地开发太难用了,每次启动贼慢,今天环境崩了,打算用 Docker Desktop 试试看

- 记录一下配置
# -*- mode: ruby -*-
# vi: set ft=ruby :

# All Vagrant configuration is done below. The "2" in Vagrant.configure
# configures the configuration version (we support older styles for
# backwards compatibility). Please don't change it unless you know what
# you're doing.
Vagrant.configure("2") do |config|
  # The most common configuration options are documented and commented below.
  # For a complete reference, please see the online documentation at
  # https://docs.vagrantup.com.

  # Every Vagrant development environment requires a box. You can search for
  # boxes at https://vagrantcloud.com/search.
  config.vm.box = "MyCentos7"

    # 系统的主机名
    config.vm.hostname = "MyCentos7"
    # root
    config.ssh.username = "vagrant"

    # Vagrant等待机器启动并可访问的时间
    config.vm.boot_timeout = 360

    # 批量转发范围端口 端口 guest 自己连接端口   host 映射外部的端口
    config.vm.network "forwarded_port", guest: 80,host: 80
    config.vm.network "forwarded_port", guest: 443,host: 443
    config.vm.network "forwarded_port", guest: 8080, host: 8080
    # Mysql
    config.vm.network "forwarded_port", guest: 3306,host: 3306
    # Redis
    config.vm.network "forwarded_port", guest: 6379,host: 6379
    # Mongodb
    config.vm.network "forwarded_port", guest: 27017, host: 27017
    # PHP
    config.vm.network "forwarded_port", guest: 9501, host: 9501
    config.vm.network "forwarded_port", guest: 9502, host: 9502
    # 其他
    config.vm.network "forwarded_port", guest: 37001, host: 37001


    # NAT 模式的网络适配器配置
    config.vm.network "public_network", type: "dhcp", interface: "en0"

    # Host-only 模式的网络适配器配置
    config.vm.network "private_network", ip: "192.168.33.10", virtualbox__intnet: true


    # 共享目录
    config.vm.synced_folder "D:/work", "/apps/"


    # 防止重新安装更新
    config.vbguest.auto_update = false
    # 不从远程web端下载
    config.vbguest.no_remote = true

    # 分配虚拟机资源
    config.vm.provider "virtualbox" do |vb|
        vb.name   = "MyCentos7"
        # 启动时显示图形界面,一般都选择关闭
        vb.gui = false
        # 指定vm内存,单位为MB
        vb.memory = "4096"
        # 设置CPU个数
        vb.cpus   = "4"
    end

  # Disable automatic box update checking. If you disable this, then
  # boxes will only be checked for updates when the user runs
  # `vagrant box outdated`. This is not recommended.
  # config.vm.box_check_update = false

  # Create a forwarded port mapping which allows access to a specific port
  # within the machine from a port on the host machine. In the example below,
  # accessing "localhost:8080" will access port 80 on the guest machine.
  # NOTE: This will enable public access to the opened port
  # config.vm.network "forwarded_port", guest: 80, host: 8080

  # Create a forwarded port mapping which allows access to a specific port
  # within the machine from a port on the host machine and only allow access
  # via 127.0.0.1 to disable public access
  # config.vm.network "forwarded_port", guest: 80, host: 8080, host_ip: "127.0.0.1"

  # Create a private network, which allows host-only access to the machine
  # using a specific IP.
  # config.vm.network "private_network", ip: "192.168.33.10"

  # Create a public network, which generally matched to bridged network.
  # Bridged networks make the machine appear as another physical device on
  # your network.
  # config.vm.network "public_network"

  # Share an additional folder to the guest VM. The first argument is
  # the path on the host to the actual folder. The second argument is
  # the path on the guest to mount the folder. And the optional third
  # argument is a set of non-required options.
  # config.vm.synced_folder "../data", "/vagrant_data"

  # Provider-specific configuration so you can fine-tune various
  # backing providers for Vagrant. These expose provider-specific options.
  # Example for VirtualBox:
  #
  # config.vm.provider "virtualbox" do |vb|
  #   # Display the VirtualBox GUI when booting the machine
  #   vb.gui = true
  #
  #   # Customize the amount of memory on the VM:
  #   vb.memory = "1024"
  # end
  #
  # View the documentation for the provider you are using for more
  # information on available options.

  # Enable provisioning with a shell script. Additional provisioners such as
  # Ansible, Chef, Docker, Puppet and Salt are also available. Please see the
  # documentation for more information about their specific syntax and use.
  # config.vm.provision "shell", inline: <<-SHELL
  #   apt-get update
  #   apt-get install -y apache2
  # SHELL
end


 关于 LearnKu


这个时代肯定是docker了
讲真的 laravel 在ui 和部署其实不需要搞那么复杂
顺带给你一个自用的 docker-compose.yml
Dockerfile
Makefile
装好docker desktop,保存这三个文件 用make命令就可以安装和启动了
wsl+docker 就好。