Laravel Zero -- 简单制作 CLI 应用程序

CLI 应用程序很酷。 能够在任何地方打开终端,只需运行命令即可完成一项可能花费很多时间的工作。打开浏览器到正确的页面,登录并找到你需要做的事情,然后等待页面加载......你得到了图片。
过去几年,终端投入了大量资金; 从 ZSH 到自动完成,从 FIG 到 Warp - CLI 是我们无法逃避的。 我构建 CLI 应用程序来帮助我更高效地处理小任务或按计划完成工作。
每当我在网上看到任何与 Laravel 相关的东西时,它总是一个网络应用程序,这很有意义。 毕竟,Laravel 是一个很棒的 Web 应用程序框架! 然而,我们对 Laravel 的喜爱也可用于 CLI 应用程序。 现在我们可以使用 Laravel 的完整安装并运行调度程序来运行我们需要的 artisan 命令——但这有时是多余的。 如果你不需要 Web 界面,则不需要 Laravel。 相反,让我们谈谈 Laravel Zero,Nuno Maduro 的另一个创意。
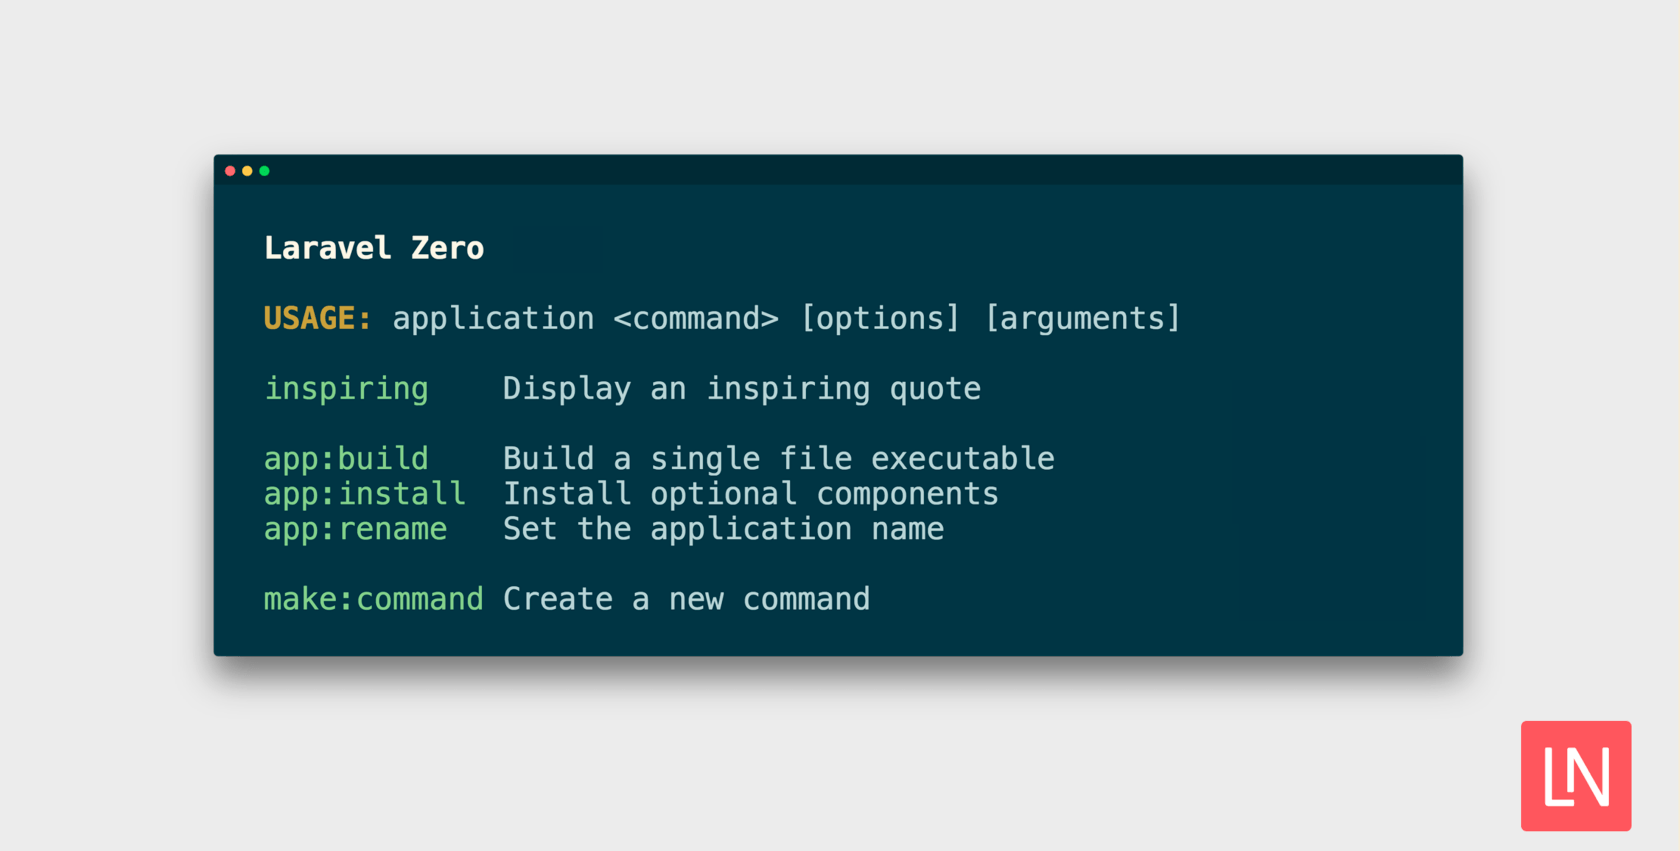
Laravel Zero 将自己描述为「控制台应用程序的微框架」——这非常准确。 它允许你使用经过验证的框架来构建 CLI 应用程序 - 这比使用 Laravel 之类的工具要小。它有完整的文档、健壮且积极维护——在你想要构建的任何 CLI 应用程序时,它可能是完美选择。
在本教程中,我将介绍一个使用 Laravel Zero 的简单示例,希望它能向您展示它的实用性。 我们将构建一个 CLI 应用程序,使我们能够在我的 Todoist 帐户中查看项目和任务,这样我就不必打开应用程序或网络浏览器。
首先,我们需要进入 Todoist 的网络应用程序并打开集成设置以获取我们的 API 令牌。 我们稍后会需要这个。 我们的第一步是创建一个可以使用的新 Laravel Zero 项目。
composer create-project --prefer-dist laravel-zero/laravel-zero todoist在 IDE 中打开这个新项目,以便我们可以开始构建 CLI 应用程序。 我们知道我们要做的第一件事是存储我们的 API 令牌,因为我们不想每次运行新命令时都必须粘贴它。 这里的一个常用方法是将 API 令牌存储在用户主目录的隐藏目录中的配置文件中。 因此,我们将研究如何实现这一目标。
我们首先创建 ConfigurationRepository ,用来与本地的文件系统交互:设置,读取我们将在 CLI 应用中要用到的值。与我通常写的代码一样,我将会先创建一个 contract/interface。使用 interface 的话,一旦我想将实现修改为其他的文件系统, 我可以方便的切换绑定。
declare(strict_types=1);

namespace App\Contracts;

interface ConfigurationContract
{
    public function all(): array;

    public function clear(): ConfigurationContract;

    public function get(string $key, mixed $default = null): array|int|string|null;

    public function set(string $key, array|int|string $value): ConfigurationContract;
}
接下来要做什么很明显了,我们可以先看看本地文件系统的实现类:
declare(strict_types=1);

namespace App\Repositories;

use App\Contracts\ConfigurationContract;
use App\Exceptions\CouldNotCreateDirectory;
use Illuminate\Support\Arr;
use Illuminate\Support\Facades\File;

final class LocalConfiguration implements ConfigurationContract
{
    public function __construct(
        protected readonly string $path,
    ) {}

    public function all(): array
    {
        if (! is_dir(dirname(path: $this->path))) {
            if (! mkdir(
                    directory: $concurrentDirectory = dirname(
                        path: $this->path,
                    ),
                    permissions: 0755,
                    recursive: true
                ) && !is_dir(filename: $concurrentDirectory)) {
                throw new CouldNotCreateDirectory(
                    message: "Directory [$concurrentDirectory] was not created",
                );
            }
        }

        if (file_exists(filename: $this->path)) {
            return json_decode(
                json: file_get_contents(
                    filename: $this->path,
                ),
                associative: true,
                depth: 512,
                flags: JSON_THROW_ON_ERROR,
            );
        }

        return [];
    }

    public function clear(): ConfigurationContract
    {
        File::delete(
            paths: $this->path,
        );

        return $this;
    }

    public function get(string $key, mixed $default = null): array|int|string|null
    {
        return Arr::get(
            array: $this->all(),
            key: $key,
            default: $default,
        );
    }

    public function set(string $key, array|int|string $value): ConfigurationContract
    {
        $config = $this->all();

        Arr::set(
            array: $config,
            key: $key,
            value: $value,
        );

        file_put_contents(
            filename: $this->path,
            data: json_encode(
                value: $config,
                flags: JSON_THROW_ON_ERROR | JSON_PRETTY_PRINT,
            ),
        );

        return $this;
    }
}
我们使用 Laravel 中的一些辅助方法和一些基本的 PHP 来获取内容和检查文件——然后在需要的地方读取和写入内容。 有了这个,我们可以在本地文件系统的任何地方管理文件。 我们的下一步是将它绑定到我们的容器中,以便我们可以设置当前的实现以及我们希望如何从容器中解决这个问题。
declare(strict_types=1);

namespace App\Providers;

use App\Contracts\ConfigurationContract;
use App\Repositories\LocalConfiguration;
use Illuminate\Support\ServiceProvider;

final class AppServiceProvider extends ServiceProvider
{
    public array $bindings = [
        ConfigurationContract::class => LocalConfiguration::class,
    ];

    public function register(): void
    {
        $this->app->singleton(
            abstract: LocalConfiguration::class,
            concrete: function (): LocalConfiguration {
                $path = isset($_ENV['APP_ENV']) && $_ENV['APP_ENV'] === 'testing'
                    ? base_path(path: 'tests')
                    : ($_SERVER['HOME'] ?? $_SERVER['USERPROFILE']);

                return new LocalConfiguration(
                    path: "$path/.todo/config.json",
                );
            },
        );
    }
}
我们在此处使用 service providers bindings 属性将我们的 contract 绑定到我们的实现。 然后在 register 方法中,设置我们希望如何构建我们的实现。 现在,当我们将 ConfigurationContract 注入命令时,我们将得到一个 LocalConfiguration 的实例,该实例已被解析为单例。
我们现在想要对 Laravel Zero 应用程序做的第一件事是给它一个名称,以便我们可以使用与我们正在构建的内容相关的名称来调用 CLI 应用程序。 我将把我的称为「待办事项」。
php application app:rename todo现在我们可以使用 php todo ... 调用我们的命令,并开始构建想要使用的 CLI 命令。 在构建命令之前,我们需要创建一个与 Todoist API 集成的类。 同样,如果要从 Todoist 切换到另一个 provider,我将为此制定一个interface/contract 。
declare(strict_types=1);

namespace App\Contracts;

interface TodoContract
{
    public function projects(): ResourceContract;

    public function tasks(): ResourceContract;
}我们有两个方法,projects 和 tasks,它们将返回一个资源类供我们使用。 和往常一样,这个资源类需要一个 contract。 资源 contract 将使用数据对象合同,但我不会创建它,而是使用我内置的一个包:
composer require juststeveking/laravel-data-object-tools现在我们可以自己创建资源 contract:
declare(strict_types=1);

namespace App\Contracts;

use Illuminate\Support\Collection;
use JustSteveKing\DataObjects\Contracts\DataObjectContract;

interface ResourceContract
{
    public function list(): Collection;

    public function get(string $identifier): DataObjectContract;

    public function create(DataObjectContract $resource): DataObjectContract;

    public function update(string $identifier, DataObjectContract $payload): DataObjectContract;

    public function delete(string $identifier): bool;
}
这些是资源本身的基本 CRUD 选项,命名很有帮助。当然,如果我们想要一个更易于访问的 API,我们可以在实现中扩展它。 现在让我们开始构建我们的 Todoist 实现。
declare(strict_types=1);

namespace App\Services\Todoist;

use App\Contracts\ResourceContract;
use App\Contracts\TodoContract;
use App\Services\Todoist\Resources\ProjectResource;
use App\Services\Todoist\Resources\TaskResource;

final class TodoistClient implements TodoContract
{
    public function __construct(
        public readonly string $url,
        public readonly string $token,
    ) {}

    public function projects(): ResourceContract
    {
        return new ProjectResource(
            client: $this,
        );
    }

    public function tasks(): ResourceContract
    {
        return new TaskResource(
            client: $this,
        );
    }
}
我会将这个项目发布到 Github 上以便你们能够看到完整的工作例子。
我们的 TodoistClient 将会返回一个将我们的客户端实例传递给构造函数的新的 ProjectResource 实例, 以便我们能够访问URL和token, 这就是为何这些属性是 protected 而不是 private 的原因。
让我们看一下我们的 ProjectResource 会是什么样子。然后我们就可以了解它是怎么工作的。
declare(strict_types=1);

namespace App\Services\Todoist\Resources;

use App\Contracts\ResourceContract;
use App\Contracts\TodoContract;
use Illuminate\Support\Collection;
use JustSteveKing\DataObjects\Contracts\DataObjectContract;

final class ProjectResource implements ResourceContract
{
    public function __construct(
        private readonly TodoContract $client,
    ) {}

    public function list(): Collection
    {
        // TODO: 实现 list() 函数
    }

    public function get(string $identifier): DataObjectContract
    {
        // TODO: 实现 get() 函数
    }

    public function create(DataObjectContract $resource): DataObjectContract
    {
        // TODO: 实现 create() 函数
    }

    public function update(string $identifier, DataObjectContract $payload): DataObjectContract
    {
        // TODO: 实现 update() 函数
    }

    public function delete(string $identifier): bool
    {
        // TODO: 实现 delete() 函数
    }
}这是一个非常简单的结构,非常符合我们的接口/契约。现在,我们可以开始了解我们希望如何构建请求并发送它们。我喜欢这样做,而且可以自由地以不同的方式做这件事,就是创建一个特征,我的资源使用它来发送发送请求。然后,我可以在资源合同上设置这个新的发送方法,这样资源要么使用特征,要么必须实现自己的发送方法。Todoist API有几个资源,因此在一个特征中共享此行为更有意义。让我们来看一下这个trait:
declare(strict_types=1);

namespace App\Services\Concerns;

use App\Exceptions\TodoApiException;
use App\Services\Enums\Method;
use Illuminate\Http\Client\PendingRequest;
use Illuminate\Http\Client\Response;
use Illuminate\Support\Facades\Http;

trait SendsRequests
{
    public function send(
        Method $method,
        string $uri,
        null|array $data = null,
    ): Response {
        $request = $this->makeRequest();

        $response = $request->send(
            method: $method->value,
            url: $uri,
            options: $data ? ['json' => $data] : [],
        );

        if ($response->failed()) {
            throw new TodoApiException(
                response: $response,
            );
        }

        return $response;
    }

    protected function makeRequest(): PendingRequest
    {
        return Http::baseUrl(
            url: $this->client->url,
        )->timeout(
            seconds: 15,
        )->withToken(
            token: $this->client->token,
        )->withUserAgent(
            userAgent: 'todo-cli',
        );
    }
}
我们有两种方法,一种用于构建请求,另一种用于发送请求——因为我们想要一种标准的方式来完成这两种方法。现在让我们将 send 方法添加到 ResourceContract 中,以跨提供者强制执行此方法。
declare(strict_types=1);

namespace App\Contracts;

use App\Services\Enums\Method;
use Illuminate\Http\Client\Response;
use Illuminate\Support\Collection;
use JustSteveKing\DataObjects\Contracts\DataObjectContract;

interface ResourceContract
{
    public function list(): Collection;

    public function get(string $identifier): DataObjectContract;

    public function create(DataObjectContract $resource): DataObjectContract;

    public function update(string $identifier, DataObjectContract $payload): DataObjectContract;

    public function delete(string $identifier): bool;

    public function send(
        Method $method,
        string $uri,
        null|array $data = null,
    ): Response;
}
现在我们的资源要么必须创建自己的创建和发送请求的方式,要么他们可以实现这个特征。正如你从代码示例中看到的那样,我为请求方法创建了一个帮助程序 Enum - 此代码位于存储库中,因此请随时深入研究那里的代码以获取更多信息。
在我们深入了解集成端之前,可能是时候创建一个命令来登录了。毕竟,本教程是关于Laravel Zero!
在你的终端中使用以下命令创建一个新命令:
php todo make:command Todo/LoginCommand此命令需要获取 API 令牌并将其存储在配置存储库中以供将来使用。让我们看看这个命令是如何工作的:
declare(strict_types=1);

namespace App\Commands\Todo;

use App\Contracts\ConfigurationContract;
use LaravelZero\Framework\Commands\Command;

final class LoginCommand extends Command
{
    protected $signature = 'login';

    protected $description = 'Store your API credentials for the Todoist API.';

    public function handle(ConfigurationContract $config): int
    {
        $token = $this->secret(
            question: 'What is your Todoist API token?',
        );

        if (! $token) {
            $this->warn(
                string: "You need to supply an API token to use this application.",
            );

            return LoginCommand::FAILURE;
        }

        $config->clear()->set(
            key: 'token',
            value: $token,
        )->set(
            key: 'url',
            value: 'https://api.todoist.com/rest/v1',
        );

        $this->info(
            string: 'We have successfully stored your API token for Todoist.',
        );

        return LoginCommand::SUCCESS;
    }
}
我们将 ConfigurationContract 注入到handle方法中,它将为我们解析配置。然后我们要求提供一个 API 令牌作为秘密,这样它就不会在用户键入时显示在用户的终端上。清除任何当前值后,我们可以使用配置为令牌和 URL 设置新值。
一旦我们可以进行身份验证,我们就可以创建一个额外的命令来列出我们的项目。现在让我们创建它:
php todo make:command Todo/Projects/ListCommand此命令需要使用 TodoistClient 来获取所有项目并在表格中列出它们。让我们看看这是什么样子的。
declare(strict_types=1);

namespace App\Commands\Todo\Projects;

use App\Contracts\TodoContract;
use App\DataObjects\Project;
use LaravelZero\Framework\Commands\Command;
use Throwable;

final class ListCommand extends Command
{
    protected $signature = 'projects:list';

    protected $description = 'List out Projects from the Todoist API.';

    public function handle(
        TodoContract $client,
    ): int {
        try {
            $projects = $client->projects()->list();
        } catch (Throwable $exception) {
            $this->warn(
                string: $exception->getMessage(),
            );

            return ListCommand::FAILURE;
        }

        $this->table(
            headers: ['ID', 'Project Name', 'Comments Count', 'Shared', 'URL'],
            rows: $projects->map(fn (Project $project): array => $project->toArray())->toArray(),
        );

        return ListCommand::SUCCESS;
    }
}
如果您查看 GitHub 上存储库中的代码,您会看到 ProjectResource 上的 list 命令会返回 Project 数据对象的集合。这允许我们映射集合中的每个项目,将对象转换为数组,并将集合作为数组返回,因此我们可以很容易地以表格格式查看我们有哪些项目。使用正确的终端,如果需要,我们还可以单击项目的 URL 以在浏览器中打开它。
从上面的方法中你可以看到,使用 Laravel Zero 构建 CLI 应用程序非常简单——你可以构建的唯一限制是你的想象力。
如本教程中所述,你可以找到 GitHub Repository online here , 这样你就可以克隆完整的工作示例。
本文中的所有译文仅用于学习和交流目的,转载请务必注明文章译者、出处、和本文链接
我们的翻译工作遵照 CC 协议,如果我们的工作有侵犯到您的权益,请及时联系我们。


 关于 LearnKu


