
DingoApi 中使用 JWT
4 / 1 / 创建于 6年前 /
 Adil-ly 的个人博客
DingoApi中使用JWT
首先需要安装laravel框架到本地(laravel 7为例 )
一.composer 安装准备包DingApi
安装DingoApi:
composer require dingo/api发布 API 的配置文件到 config 文件
php artisan vendor:publish --provider="Dingo\Api\Provider\LaravelServiceProvider"生成 api.php文件在config下
然后你可以在 .env中配置DingoApi
API_STANDARDS_TREE=vnd
API_SUBTYPE=myapp
API_PREFIX=api
API_VERSION=v1
API_NAME=My API
API_CONDITIONAL_REQUEST=false
API_STRICT=false
之后你可以通过DingApi方式访问接口:
1.创建端点
$api = app('Dingo\Api\Routing\Router');
$api->version('v1', function ($api) {
$api->group(['namespace' => 'App\Http\Api\Controllers'], function ($api) {
$api->post('login', 'LoginController@login');//定义登录方法
}
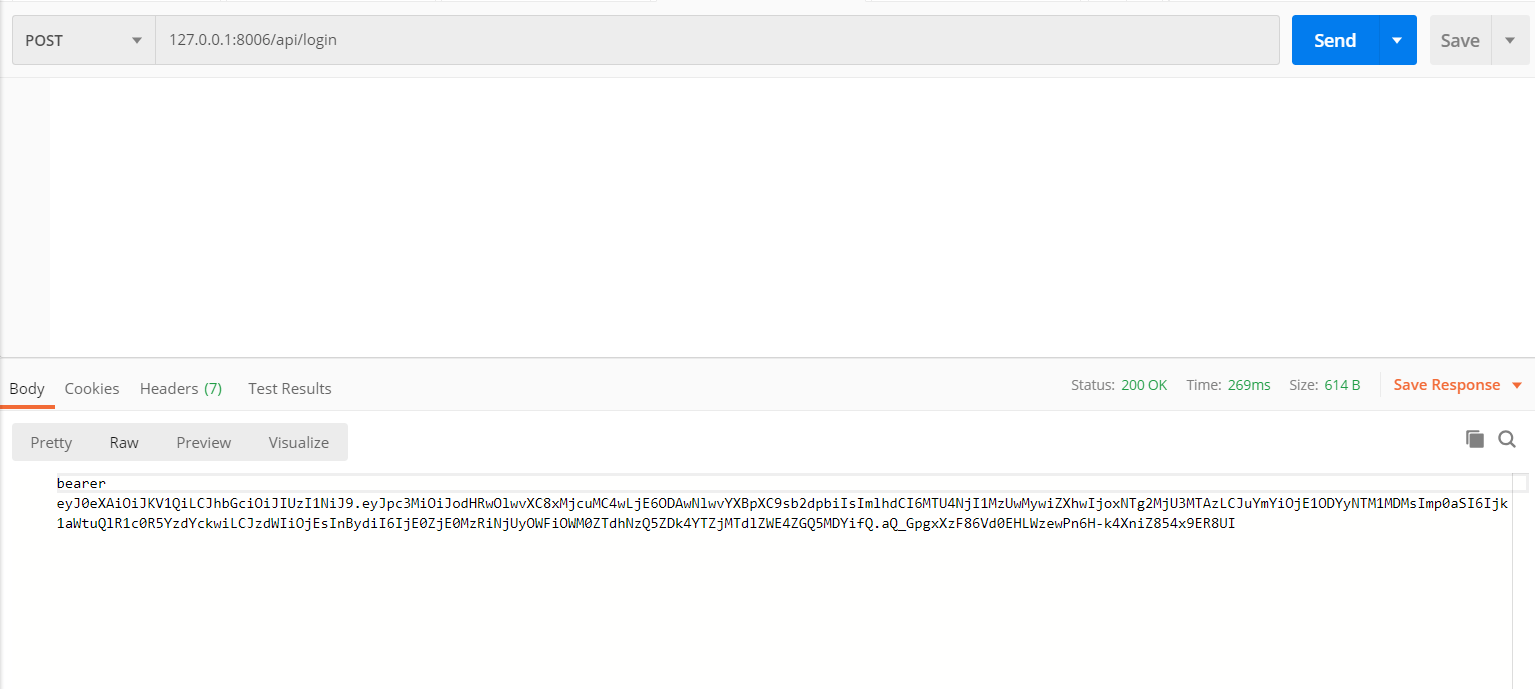
}2.通过postman能访问定义端点
127.0.0.1:8006/api/login二.安装 tymon/jwt-auth 扩展包
laravel 5.5或以上:
composer require tymon/jwt-auth:dev-develop --prefer-source发布配置文件运行,生成 jwt.php在config下生成,可在里面配置过期时间等配置信息
php artisan vendor:publish --provider="Tymon\JWTAuth\Providers\LaravelServiceProvider"生成jwt密钥
php artisan jwt:secret注册中间件
在 app/Http/Kernel.php 中注册 auth.jwt 中间件:
protected $routeMiddleware = [
    ....
    'auth.jwt' => \Tymon\JWTAuth\Http\Middleware\Authenticate::class,
];
设置路由
在路由中需要验证token的地方,将创建的路由修改成:
$api = app('Dingo\Api\Routing\Router');
$api->version('v1', function ($api) {
    $api->group(['namespace' => 'App\Http\Api\Controllers'], function ($api) {
        $api->post('login', 'LoginController@login');//定义登录方法
        $api->group(['middleware' => 'api.auth'], function ($api) {//退出登录
            $api->post('login_out', 'LoginController@login_out');
        });
    }
}
更新 User 模型
WT 需要在 User 模型中实现 TymonJWTAuthContractsJWTSubject 接口。 此接口需要实现两个方法 getJWTIdentifier 和 getJWTCustomClaims。使用以下内容更新 app/User.php
<?php

namespace App;

use Illuminate\Foundation\Auth\User as Authenticatable;
use Illuminate\Notifications\Notifiable;
use Tymon\JWTAuth\Contracts\JWTSubject;

class User extends Authenticatable implements JWTSubject
{
    use Notifiable;

    /**
     * The attributes that are mass assignable.
     *
     * @var array
     */
    protected $fillable = [
        'name', 'email', 'password',
    ];

    /**
     * The attributes that should be hidden for arrays.
     *
     * @var array
     */
    protected $hidden = [
        'password', 'remember_token',
    ];

    /**
     * Get the identifier that will be stored in the subject claim of the JWT.
     *
     * @return mixed
     */
    public function getJWTIdentifier()
    {
        return $this->getKey();
    }

    /**
     * Return a key value array, containing any custom claims to be added to the JWT.
     *
     * @return array
     */
    public function getJWTCustomClaims()
    {
        return [];
    }
}将config下的auth.php修改成
 'defaults' => [
        'guard' => 'api',
        'passwords' => 'users',
    ],

    'guards' => [
        ...
        'api' => [
            'driver' => 'jwt',
            'provider' => 'users',
            'hash' => false,
        ],
],将User.php模型放入自己新创建的文件夹中路径App\Http\Models中
记得修改config下的Auth.php文件中的
'providers' => [
        'users' => [
            'driver' => 'eloquent',
            'model' => App\Http\Models\User::class, //修改成你指定的命名空间
        ],

        // 'users' => [
        //     'driver' => 'database',
        //     'table' => 'users',
        // ],
    ],
此时在去运行创建好的login路由login方法
/**
*登录
**/
 public function login(Request $request)
    {
        $input = $request->only('name', 'password');
        $jwt_token = null;

        if (!$jwt_token = auth()->attempt($input)) {
            return response()->json([
                'success' => false,
                'message' => 'Invalid Email or Password',
            ], 401);
        }
        die('bearer '.$jwt_token);
}传入正确的登录参数后此时$jwt_token会返回一个token值token值需要前面拼接"bearer "字符串,
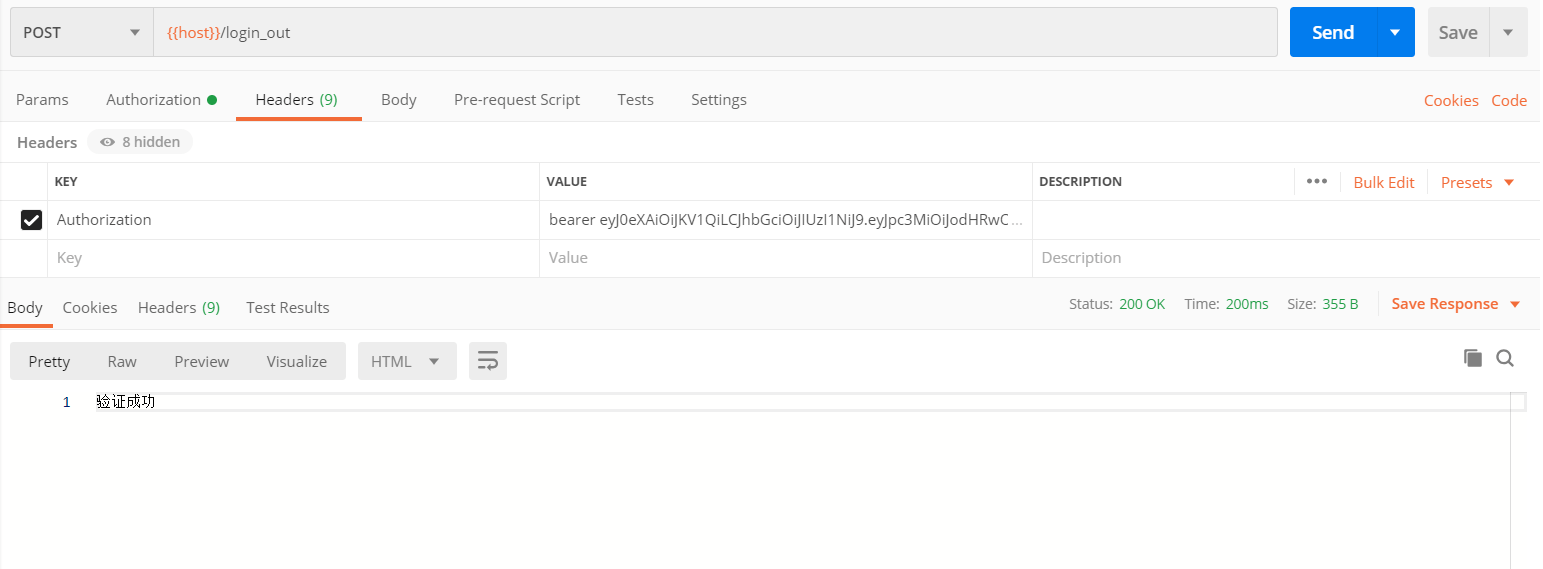
之后需要验证的接口通过在Header中传入参数则能通过访问
本作品采用《CC 协议》,转载必须注明作者和本文链接


 关于 LearnKu


推荐文章: