
Masonite 熟悉步骤小记录 (三、数据库迁移)
0 / 0 / 创建于 6年前
 Galois 的个人博客
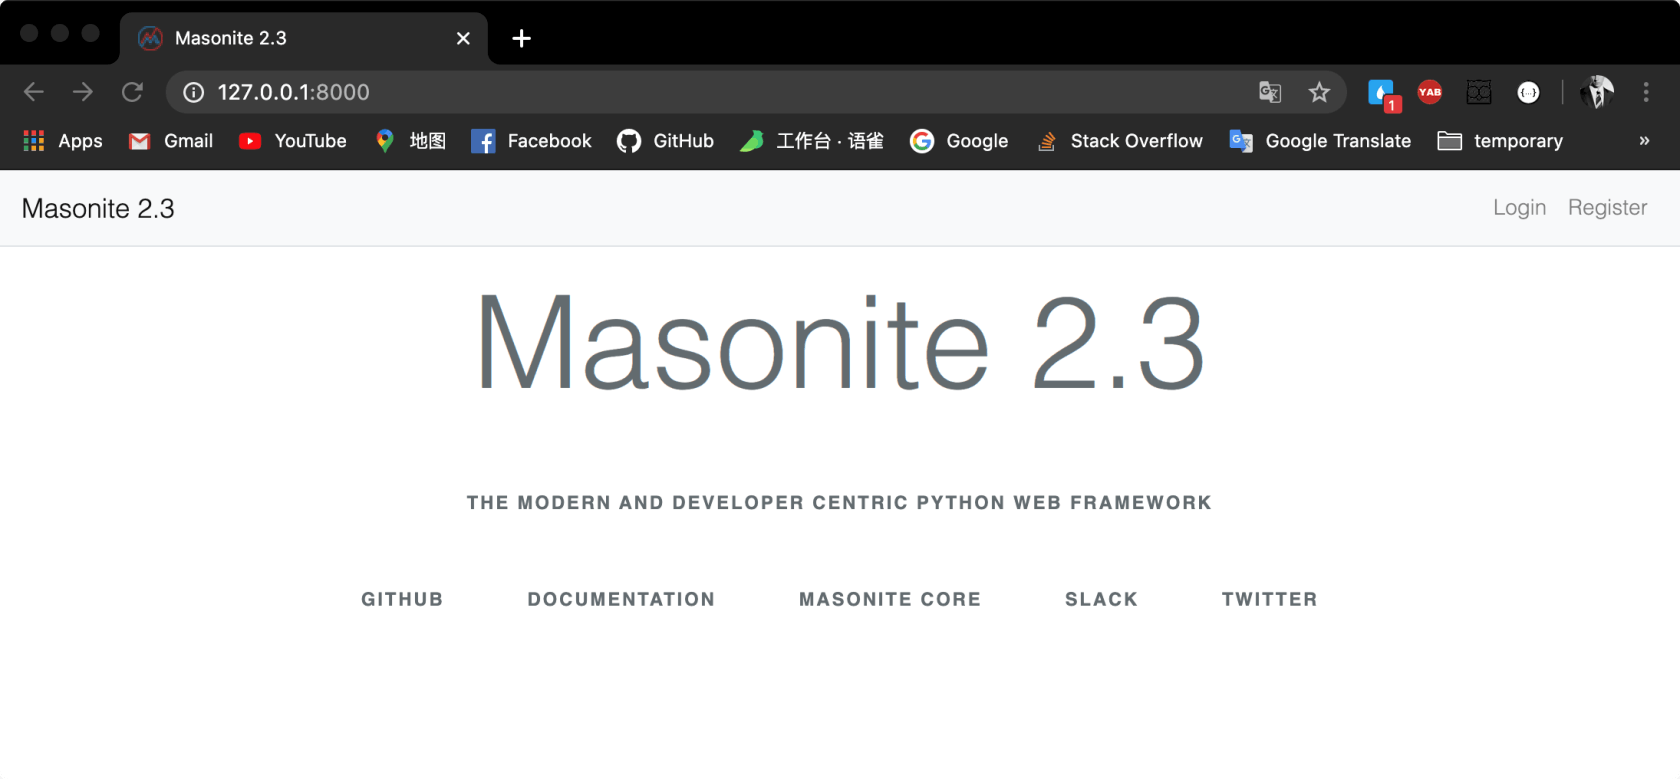
在进行了身份验证系统的数据库迁移之后,可以 craft serve 后进入 127.0.0.1:8000 看一下页面的变化:
点击页面右上角的 Register 进入到 localhost:8000/register :
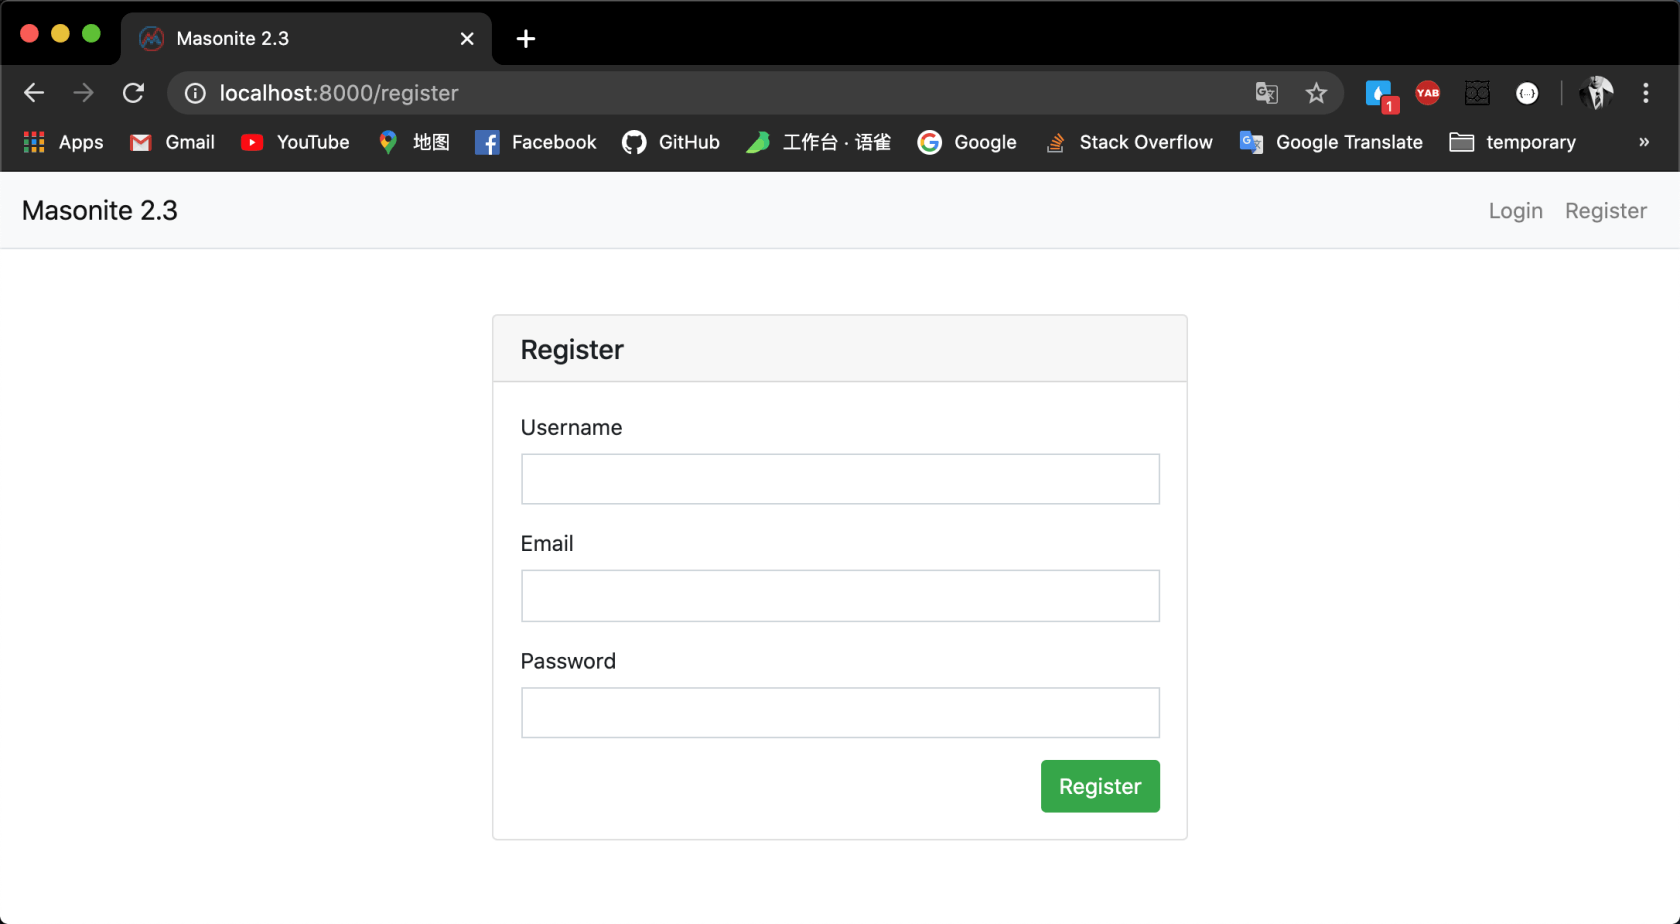
随意注册一个用户账号测试一下:
- Username: demo
- Email: demo@email.com
- Password: Password0000.
注册后页面显示:

在 blog.db 这个数据库里可以看到 users 表里多了一行数据,表示用户注册的数据被记载到了数据库的用户数据表里。
接着熟悉一下新的数据库迁移命令:
(env) $ craft migration create_posts_table --create posts这时候会生成一个迁移文件 masapp/databases/migrations/2020_06_07_053843_create_posts_table.py:
from orator.migrations import Migration

class CreatePostsTable(Migration):

    def up(self):
        with self.schema.create('posts') as table:
            table.increments('id')
            table.timestamps()

    def down(self):
        self.schema.drop('posts')
按照惯例,表名为复数形式,模型为单数形式。
给这个 posts 数据表加字段:
table.string('title')
table.integer('author_id').unsigned()
table.foreign('author_id').references('id').on('users')
table.string('body')
现在的 masapp/databases/migrations/2020_06_07_053843_create_posts_table.py 文件内容应该是:
from orator.migrations import Migration

class CreatePostsTable(Migration):

    def up(self):
        with self.schema.create('posts') as table:
            table.increments('id')
            table.string('title')
            table.integer('author_id').unsigned()
            table.foreign('author_id').references('id').on('users')
            table.string('body')
            table.timestamps()

    def down(self):
        self.schema.drop('posts')
现在再执行一次迁移命令:
(env) $ craft migrate本作品采用《CC 协议》,转载必须注明作者和本文链接
本帖由 Galois
于 6年前 加精


 关于 LearnKu


