
使用 laravel-translatable 实现 Laravel 中的模型翻译(多语言模型)
一些客户要求我们提供一项新功能——拥有多语言模型的能力。我们本可以将它内置到我们的生成器中,但是有一个包可以完成 99% 的工作,那么为什么要重新发明轮子而不是推荐一个好的替代方案呢?所以这里有一篇带有演示版本的文章如何添加Astrotomic/laravel-translatable (例如 dimsav/laravel-translatable) 进入我们的管理面板。
即使您没有使用我们的生成器,本文也将展示这个流行的多语言包是如何工作的,以及它是多么容易设置。
首先,我们所拥有的 - 一个使用 QuickAdminPanel生成的简单管理面板,其中有一个名为 articles 的 CRUD 项目 - 每篇文章都有一个标题和全文。
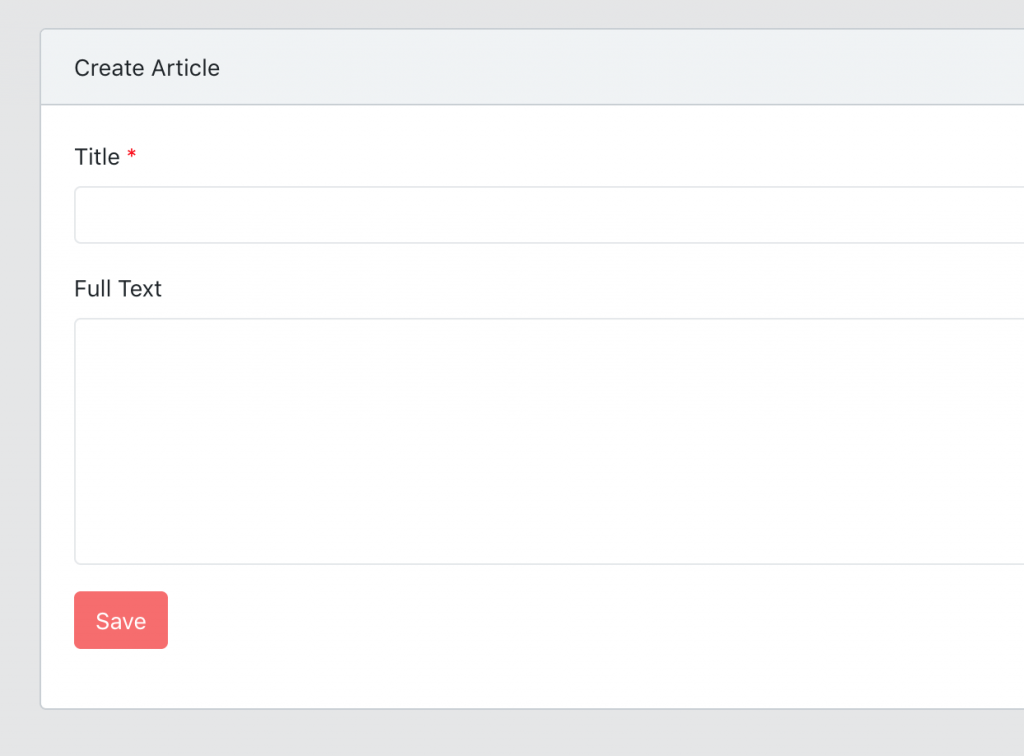
最重要的是,我们增加了使文章多语言的可能性。
步骤1. 安装包
composer require astrotomic/laravel-translatable步骤2. 迁移翻译表
在此示例中,我们正在使用 Article 模型,因此我们将相应地创建迁移 - 包要求它是 XXXTranslation。
php artisan make:model ArticleTranslation -m它将创建一个翻译模型和迁移,我们填充如下:
public function up()
{
   Schema::create('article_translations', function (Blueprint $table) {
       // 必须填写
       $table->bigIncrements('id'); // Laravel 5.8+ use bigIncrements() instead of increments()
       $table->string('locale')->index();

       // 主模型的外键
       $table->unsignedInteger('article_id');
       $table->unique(['article_id', 'locale']);
       $table->foreign('article_id')->references('id')->on('articles')->onDelete('cascade');

       // 您要翻译的实际字段
       $table->string('title');
       $table->longText('full_text');
   });
}此外,如果您在主文章模型中有这些字段,你需要在迁移中删除它们。
Schema::table('articles', function (Blueprint $table) {
    $table->dropColumn('title');
    $table->dropColumn('full_text');
});
注意:如果您有真实的文章,请提前 备份/导出 您的文章数据。
同时,在模型的 $fillable 数组中删除它们:
class Article extends Model
{
    // You don't need these anymore
    protected $fillable = [
      // 'title',
      // 'full_text'
    ];
现在,完事,运行:
php artisan migrate步骤 3. 模型设置
让我们开始模型设置 – 在我们的例子使用 app/Article.php 。
现在您需要在类签名之后,添加带有所谓 use 关键字的 trait。我们将使用 Translatable trait。并确保您在命明空间下声明了 use Astrotomic\Translatable\Translatable; 。
另一件事是添加 $translatedAttributes 属性,它分配有要翻译的属性数组。内容如下所示:
public $translatedAttributes = ['title', 'full_text']. 所以这是最终的 Article.php 模型和需要注意的三个要点 —— 请参考备注:
namespace App;

use Illuminate\Database\Eloquent\Model;

// 1. 指定你正在使用的包的类
use Astrotomic\Translatable\Contracts\Translatable as TranslatableContract;
use Astrotomic\Translatable\Translatable;

class Article extends Model implements TranslatableContract
{
    use Translatable; // // 2. 添加翻译方法

    //  3. 定义哪些属性需要翻译
    public $translatedAttributes = ['title', 'full_text'];
}
现在我们需要设置一个翻译模型—— app/ArticleTranslation.php. 在这里,您只需将与我们在之前模型中分配给 $translatedAttributes的数组相同的数组分配给 protected $fillable , 并使用 public $timestamps = false; 指定我们不需要时间戳。
namespace App;

use Illuminate\Database\Eloquent\Model;

class ArticleTranslation extends Model
{
   protected $fillable = ['title', 'full_text'];
   public $timestamps = false;
}
步骤 4. 配置包
让我们回到终端来完成配置。
- 运行 php artisan vendor:publish ‐‐tag=translatable
- 打开 config/translatable.php 来决定我们使用什么语言。在这个案例中我们将仅使用英语和西班牙语。但是您可以随意地使用您想要的语言。
- 改动 locales 数组,添加您想要的语言代码。
// ...
'locales' => [
   'en',
   'es'
],
步骤 5. 创建视图 – 选择语言
现在我们将准备一个 resources/views/admin/articles/create.blade.php 文件,用于创建新制作的多语言文章。后续设计方案,它只是众多可用的解决方案之一。
首先,我们将添加用于语言和数据之间的引导选项卡:
<ul class="nav nav-tabs">
   <li class="nav-item">
       <a class="nav-link bg-aqua-active" href="#" id="english-link">EN</a>
   </li>
   <li class="nav-item">
       <a class="nav-link" href="#" id="spanish-link">ES</a>
   </li>
</ul>
现在我们为输入字段添加两个相同样式的面板——英语和西班牙语:
<div class="card-body" id="english-form">
    <div class="form-group">
        <label class="required" for="en_title">{{ trans('cruds.article.fields.title') }} (EN)</label>
        <input class="form-control {{ $errors->has('en_title') ? 'is-invalid' : '' }}" type="text" name="en_title" id="en_title" value="{{ old('en_title', '') }}" required>
        @if($errors->has('en_title'))
            <div class="invalid-feedback">
                {{ $errors->first('en_title') }}
            </div>
        @endif
        <span class="help-block">{{ trans('cruds.article.fields.title_helper') }}</span>
    </div>
    <div class="form-group">
        <label for="en_full_text">{{ trans('cruds.article.fields.full_text') }} (EN)</label>
        <textarea class="form-control {{ $errors->has('en_full_text') ? 'is-invalid' : '' }}" name="en_full_text" id="en_full_text">{{ old('en_full_text') }}</textarea>
        @if($errors->has('en_full_text'))
            <div class="invalid-feedback">
                {{ $errors->first('en_full_text') }}
            </div>
        @endif
        <span class="help-block">{{ trans('cruds.article.fields.full_text_helper') }}</span>
    </div>
</div>

<div class="card-body d-none" id="spanish-form">
    <div class="form-group">
        <label class="required" for="title">{{ trans('cruds.article.fields.title') }} (ES)</label>
        <input class="form-control {{ $errors->has('es_title') ? 'is-invalid' : '' }}" type="text" name="es_title" id="es_title" value="{{ old('es_title', '') }}" required>
        @if($errors->has('es_title'))
            <div class="invalid-feedback">
                {{ $errors->first('es_title') }}
            </div>
        @endif
        <span class="help-block">{{ trans('cruds.article.fields.title_helper') }}</span>
    </div>
    <div class="form-group">
        <label for="es_full_text">{{ trans('cruds.article.fields.full_text') }} (ES)</label>
        <textarea class="form-control {{ $errors->has('es_full_text') ? 'is-invalid' : '' }}" name="es_full_text" id="es_full_text">{{ old('es_full_text') }}</textarea>
        @if($errors->has('es_full_text'))
            <div class="invalid-feedback">
                {{ $errors->first('es_full_text') }}
            </div>
        @endif
        <span class="help-block">{{ trans('cruds.article.fields.full_text_helper') }}</span>
    </div>
</div>
注意事项 1:字段名称以语言代码为前缀并带有符号“_”,例如 en_title 或 es_full_text。它将帮助我们以后保存数据。
注意事项 2: 一个面板有一个来自Bootstrap 4的代码class=“d-None”。
您可以通过动态地从配置中获取语言来进一步自定义它,但在本文中,我们将其简化为这两种语言。
现在只需添加几行jQuery代码:
   var $englishForm = $('#english-form');
   var $spanishForm = $('#spanish-form');
   var $englishLink = $('#english-link');
   var $spanishLink = $('#spanish-link');

   $englishLink.click(function() {
     $englishLink.toggleClass('bg-aqua-active');
     $englishForm.toggleClass('d-none');
     $spanishLink.toggleClass('bg-aqua-active');
     $spanishForm.toggleClass('d-none');
   });

   $spanishLink.click(function() {
     $englishLink.toggleClass('bg-aqua-active');
     $englishForm.toggleClass('d-none');
     $spanishLink.toggleClass('bg-aqua-active');
     $spanishForm.toggleClass('d-none');
   });
您应该会看到如下内容:
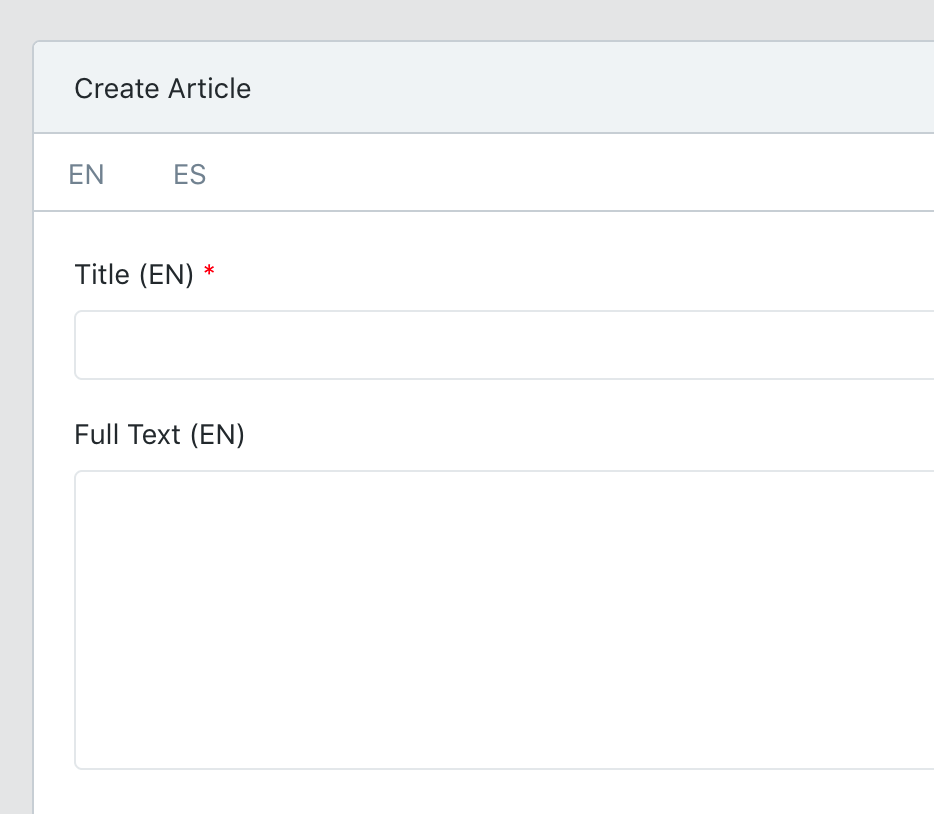
现在,编辑 表单几乎与创建表单相同,但有以下改变:
1. 不同的头部和操作路径:
<form action="{{ route('admin.articles.update', $article->id) }}" method="PUT">也相应的更改每个 old() 函数的参数以加载模型的旧数据:
<label class="required" for="en_title">{{ trans('cruds.article.fields.title') }} (EN)</label>
<input type="text" name="en_title" value="{{ $article->translate('en')->title }}" class="form-control" />
步骤 6. 在控制器中保存翻译
直接前往 app/Http/Controllers/Admin/ArticlesController.php 来保存我们的表单数据,然后我们就可以开始了。
创建我们的模型时,关键点是指定那种语言获取哪种数据,此代码应放在以下位置:
public function store(Request $request) {
    $article_data = [
       'en' => [
           'title'       => $request->input('en_title'),
           'full_text' => $request->input('en_full_text')
       ],
       'es' => [
           'title'       => $request->input('es_title'),
           'full_text' => $request->input('es_full_text')
       ],
    ];

    // 现在只需将此数组传递给常规的 Eloquent 函数,瞧
    Article::create($article_data);

    // 重定向到上一页
    return redirect()->route('admin.articles.index');
}
从现在开始,当您想要访问模型的翻译属性时,只需在您代码中的任何位置键入
$article->translate('en')->title获得英文版的标题。或者,如果您想要当前语言环境(语言)的翻译版本,只需键入:
$article->title此外,update() 方法也非常相似:
public function update($id, Request $request) {
    $article_data = [
       'en' => [
           'title'       => $request->input('en_title'),
           'full_text' => $request->input('en_full_text')
       ],
       'es' => [
           'title'       => $request->input('es_title'),
           'full_text' => $request->input('es_full_text')
       ],
    ];

    $article = Article::findOrFail($id);
    $article->update($article_data);

    // Redirect to the previous page successfully
    return redirect()->route('admin.articles.index');
}最后的小提示。如果您想改变当前应用程序语言环境,它就像这样简单:
App::locale('es');进一步了解这么棒的语言包,请访问 github.com/Astrotomic/laravel-tran... 以获得更深入的文档。
本文中的所有译文仅用于学习和交流目的,转载请务必注明文章译者、出处、和本文链接
我们的翻译工作遵照 CC 协议,如果我们的工作有侵犯到您的权益,请及时联系我们。


 关于 LearnKu


推荐文章: