
Laravel 项目:使用 TDD 构建论坛 Chapter 3
2 / 2 / 创建于 8年前 /
 洛未必达 的个人博客
0.写在前面
- 本系列文章为
laracasts.com的系列视频教程——Let's Build A Forum with Laravel and TDD 的学习笔记。若喜欢该系列视频,可去该网站订阅后下载该系列视频, 支持正版 。 - 视频源码地址:https://github.com/laracasts/Lets-Build-a-Forum-in-Laravel
- *本项目为一个 forum(论坛)项目,与本站的第二本实战教程 Laravel 教程 - Web 开发实战进阶 ( Laravel 5.5 ) 类似,可互相参照
- 项目开发模式为
TDD开发,教程简介为:A forum is a deceptively complex thing. Sure, it's made up of threads and replies, but what else might exist as part of a forum? What about profiles, or thread subscriptions, or filtering, or real-time notifications? As it turns out, a forum is the perfect project to stretch your programming muscles. In this series, we'll work together to build one with tests from A to Z.
- 项目版本为
laravel 5.4,教程后面会进行升级到laravel 5.5的教学 - 视频教程共计 102 个小节,笔记章节与视频教程一一对应
1.本节说明
对应视频第 3 小节:A Thread Can Have Replies
2.本节内容
上一节我们新建了两个功能测试:a_user_can_view_all_threads和a_user_can_read_a_single_thread,会发现均为读取的功能性测试,于是可以将该文件重命名为ReadThreadsTest.php。这样会更具可读性。
接下来在ReadThreadsTest.php中增加一个新的功能测试:
.
.
/** @test */
public function a_user_can_read_replies_that_are_associated_with_a_thread()
{
   // 如果有 Thread
   // 并且该 Thread 有回复
   // 那么当我们看 Thread 时
   // 我们也要看到回复
}发现我们总是在重复初始化Thread:
.
$thread = factory('App\Thread')->create();
.把这一过程抽离出来,新建setUp方法:
.
.
use DatabaseMigrations;

public function setUp()
{
    parent::setUp(); // TODO: Change the autogenerated stub

    $this->thread = factory('App\Thread')->create();
}
.
.重构a_user_can_view_all_threads方法:
{
    $response = $this->get('/threads');
    $response->assertSee($this->thread->title);
}重构a_user_can_read_a_single_thread方法:
{
    $response = $this->get('/threads/' . $this->thread->id);
    $response->assertSee($this->thread->title);
}运行测试phpunit,测试通过:
根据写好的逻辑,将代码补充完整:
/** @test */
public function a_user_can_read_replies_that_are_associated_with_a_thread()
{
    // 如果有 Thread
    // 并且该 Thread 有回复
    $reply = factory('App\Reply')
        ->create(['thread_id' => $this->thread->id]);
    // 那么当我们看 Thread 时
    // 我们也要看到回复
    $this->get('/threads/'.$this->thread->id)
        ->assertSee($reply->body);
}在上面的代码中,我们没有将测试的结果赋值给$response,因为我们不要这么做。于是再次重构a_user_can_view_all_threads和a_user_can_read_a_single_thread方法:
.
.
/** @test */
public function a_user_can_view_all_threads()
{
    $this->get('/threads')
        ->assertSee($this->thread->title);
}

/** @test */
public function a_user_can_read_a_single_thread()
{
    $this->get('/threads/' . $this->thread->id)
        ->assertSee($this->thread->title);
}
.
.运行phpunit,发现有报错: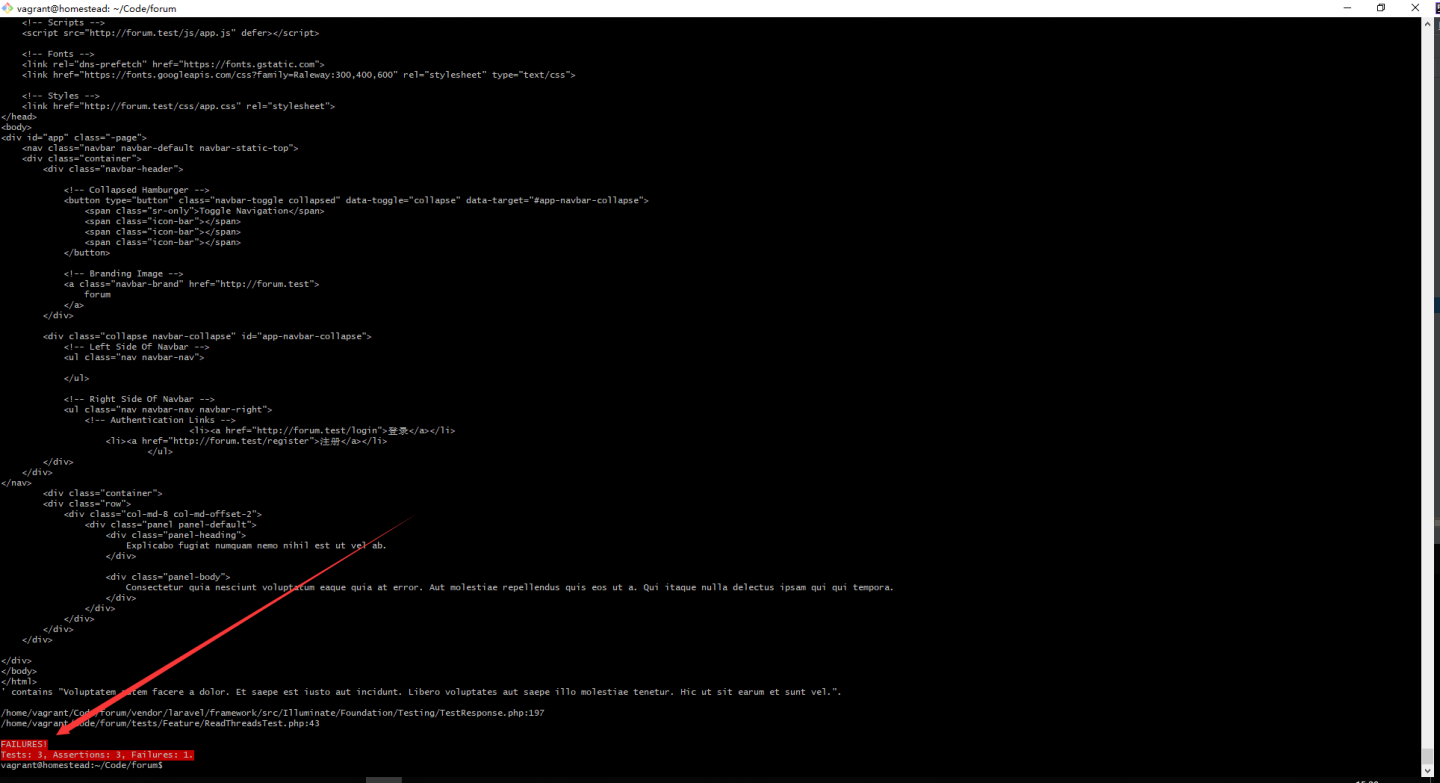
给出的是失败的信息,说明我们的功能测试没有通过,我们需要在\..\views\threads\show.blade.php视图文件中加上回复区域:
.
.
<div class="row">
    <div class="col-md-8 col-md-offset-2">
        @foreach($thread->replies as $reply)
            <div class="panel panel-default">
                <div class="panel-body">
                    {{ $reply->body }}
                </div>
            </div>
        @endforeach
    </div>
</div>
.
.注意,我们使用了$thread->replies模型关联的方式取出回复,但此时关系还未建立。进行模型关联:app\Thread.php
.
.
public function replies()
{
    return $this->hasMany(Reply::class);
}再次运行phpunit即可测试通过,这意味着访问 http://forum.test/threads/1 将看到内容与回复: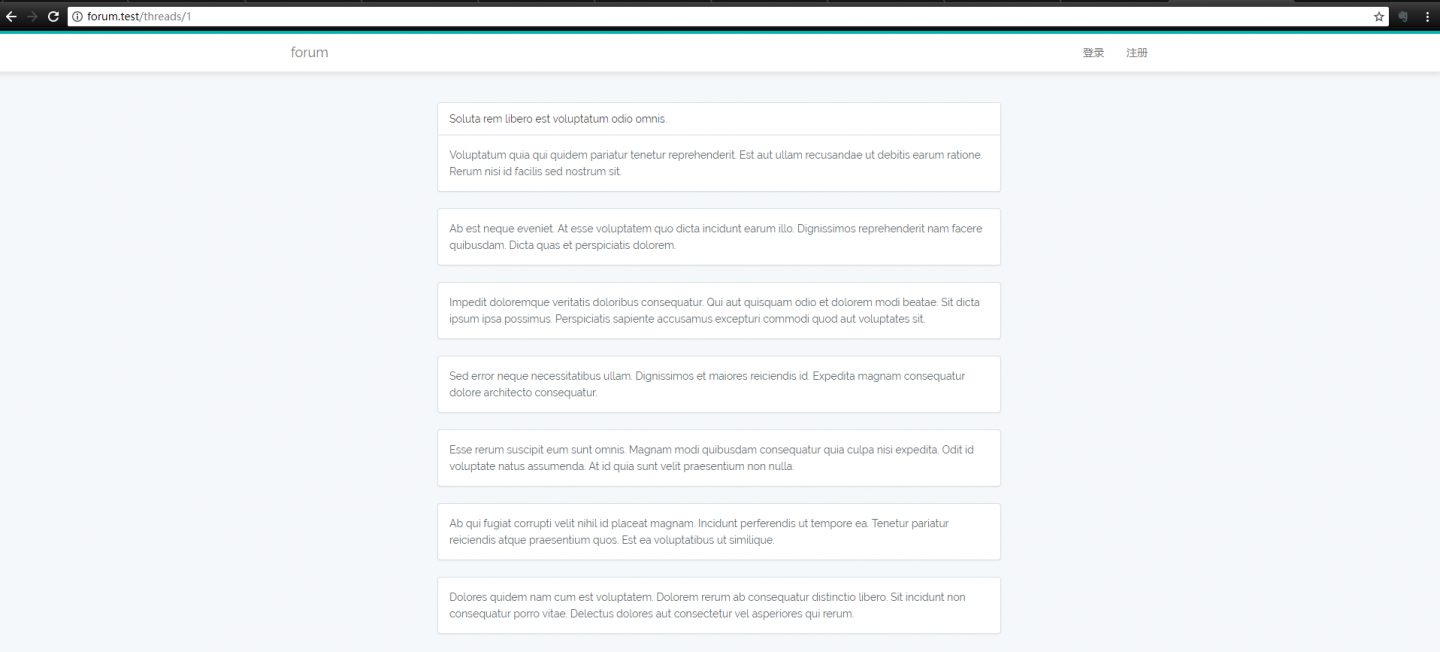
我们可以给回复加上作者与时间:
.
.
<div class="row">
    <div class="col-md-8 col-md-offset-2">
        [@foreach](https://learnku.com/users/5651) ($thread->replies as $reply)
            <div class="panel panel-default">
                <div class="panel-heading">
                    {{ $reply->owner->name }} 回复于
                    {{ $reply->created_at->diffForHumans() }}
                </div>

                <div class="panel-body">
                    {{ $reply->body }}
                </div>
            </div>
        @endforeach
    </div>
</div>
.
.
此时仍有两个问题需要解决:
$reply->owner的模型关联关系未建立;- 虽然我们使用了
$reply->created_at->diffForHumans()对日期进行友好化处理,但页面显示的日期为英文形式。
不过既然采用的是 TDD 的开发理念,那就让我们先于编写代码之前,先行编写一个单元测试:
$ php artisan make:test ReplyTest --unitapp\tests\Unit\Replytest.php:
<?php

namespace Tests\Unit;

use Tests\TestCase;
use Illuminate\Foundation\Testing\DatabaseMigrations;

class ReplyTest extends TestCase
{
    use DatabaseMigrations;

    function test_it_has_an_owner()
    {
        $reply = factory('App\Reply')->create();

        $this->assertInstanceOf('App\User',$reply->owner);
    }
}
运行单元测试:
$ phpunit tests/Unit/ReplyTest.php
现在着手解决这两个问题。首先进行模型关联:app\Reply.php
<?php

namespace App;

use Illuminate\Database\Eloquent\Model;

class Reply extends Model
{
    protected $guarded = [];

    public function owner()
    {
        return $this->belongsTo(User::class,'user_id');  // 使用 user_id 字段进行模型关联
    }

}
再次运行单元测试:
$ phpunit tests/Unit/ReplyTest.php测试通过:
再来解决日期英文显示的问题:
如果要使用中文时间,则需要对 Carbon 进行本地化设置。Carbon 是 PHP DateTime 的一个简单扩展,Laravel 将其默认集成到了框架中。对 Carbon 进行本地化的设置很简单,只需要在 AppServiceProvider 中调用 Carbon 的 setLocale 方法即可,AppServiceProvider 是框架的核心,在 Laravel 启动时,会最先加载该文件。
app/Providers/AppServiceProvider.php
<?php

namespace App\Providers;

use Illuminate\Support\ServiceProvider;
use Carbon\Carbon;

class AppServiceProvider extends ServiceProvider
{
    /**
     * Bootstrap any application services.
     *
     * @return void
     */
    public function boot()
    {
        Carbon::setLocale('zh');
    }

    /**
     * Register any application services.
     *
     * @return void
     */
    public function register()
    {
        //
    }
}
刷新页面即可看到效果: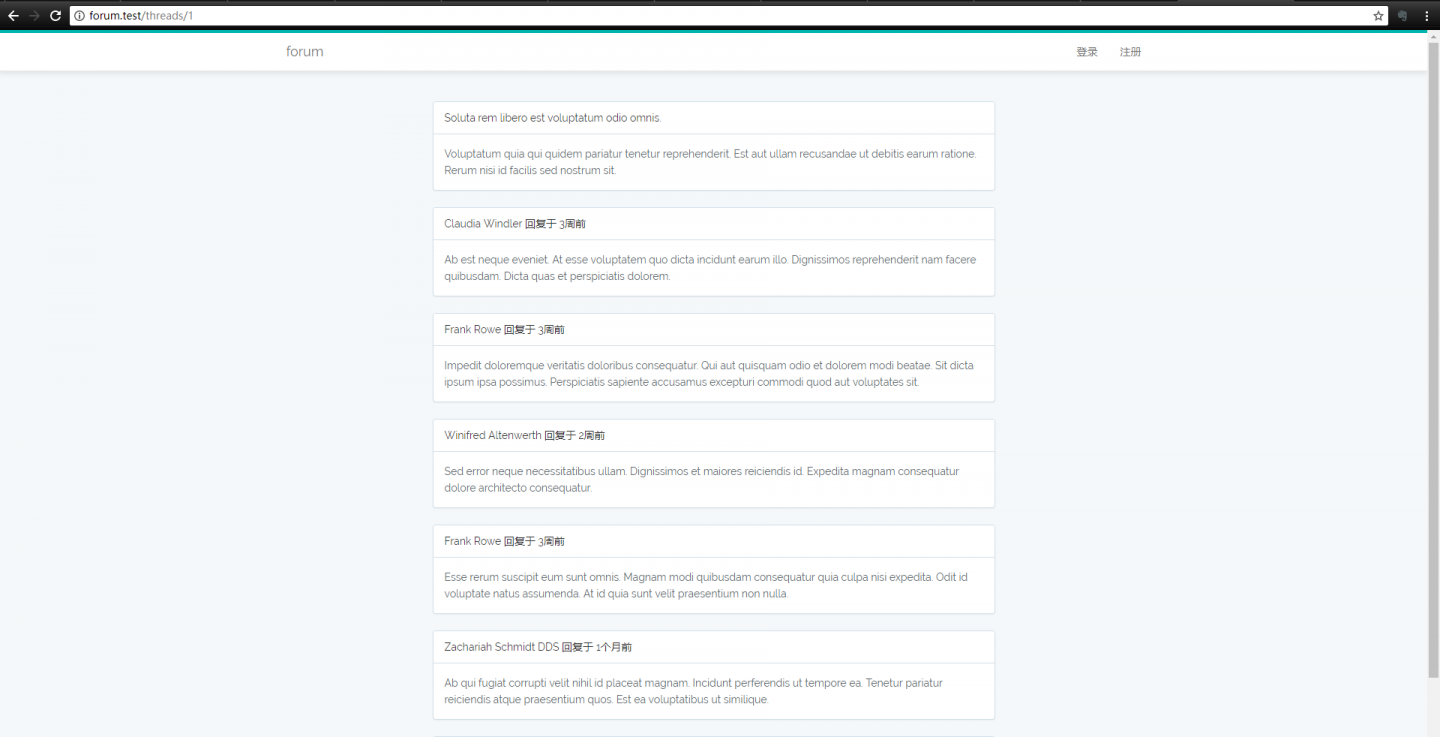
3.笔记心得
- 又是美好的一周啊 :relaxed:
4.写在后面
- 如有建议或意见,欢迎指出~
- 如果觉得文章写的不错,请点赞鼓励下哈,你的鼓励将是我的动力!
本作品采用《CC 协议》,转载必须注明作者和本文链接


 关于 LearnKu


推荐文章: