
腾讯云 创建 Laravel5.4 项目
0 / 0 / 创建于 9年前
 andu 的个人博客
腾讯云 创建laravel5.4项目
1.使用ubuntu主机,因为homestead都是使用的这个。

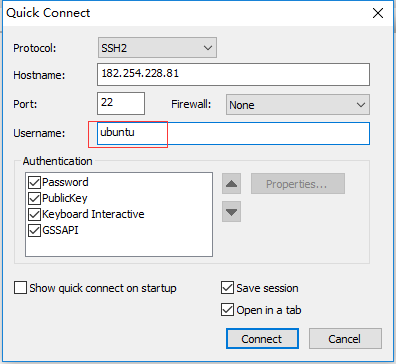
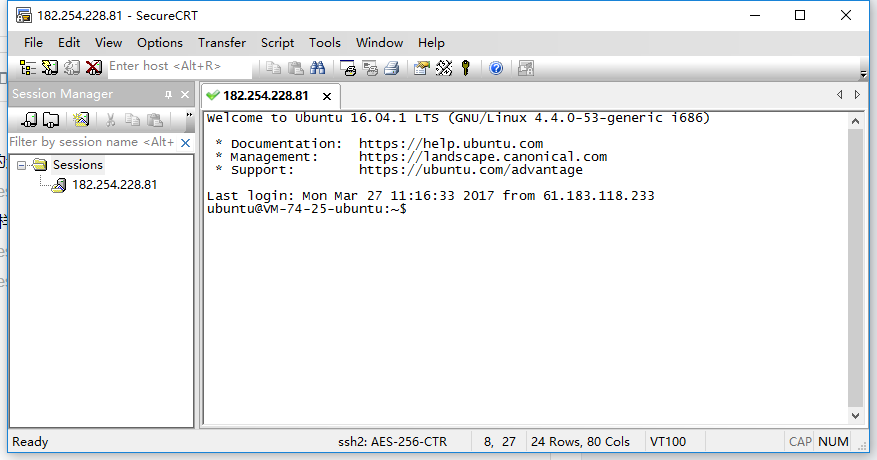
2.使用SecureCRT登陆腾讯云(其他工具的一样)

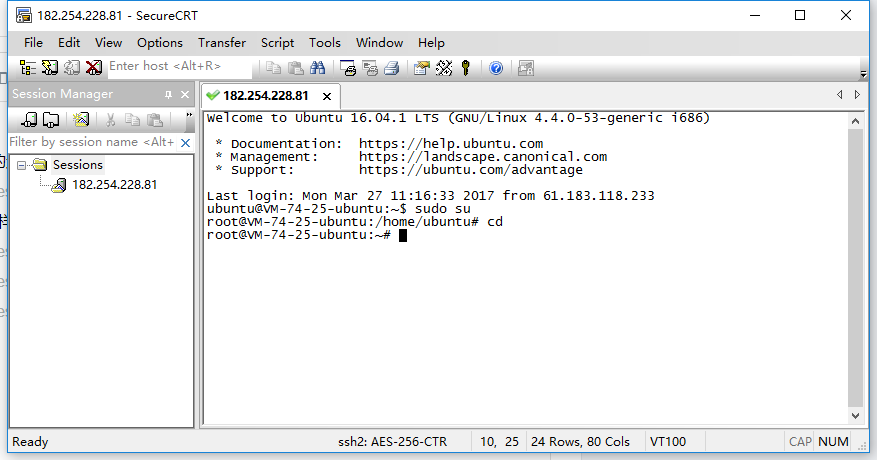
3.切换到root用户,并到根目录
sudo su
cd
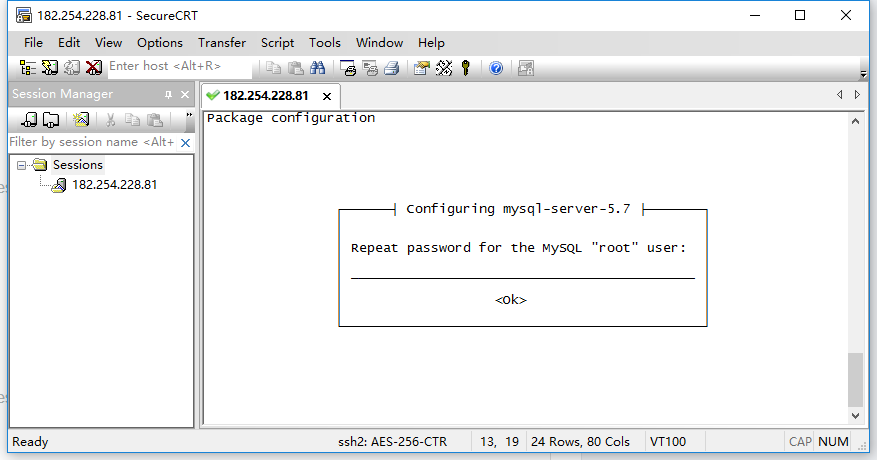
4.安装mysql数据库
sudo apt-get install mysql-server
设置数据库用户名、密码
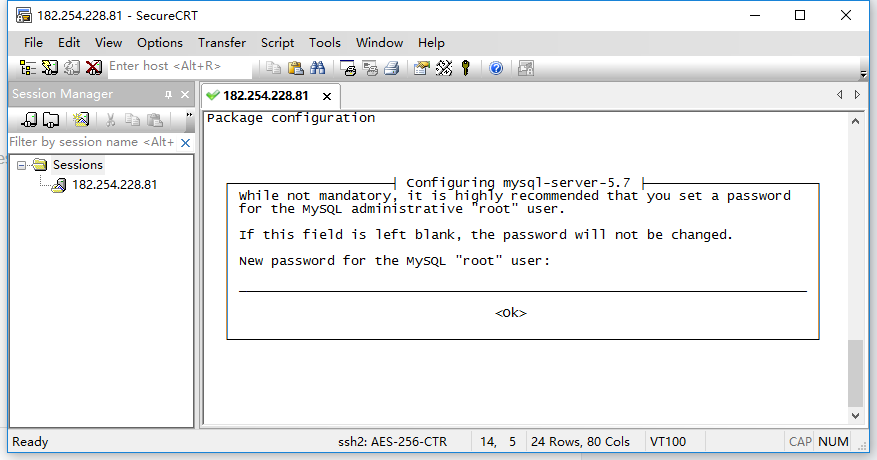
确认密码(再次输入)
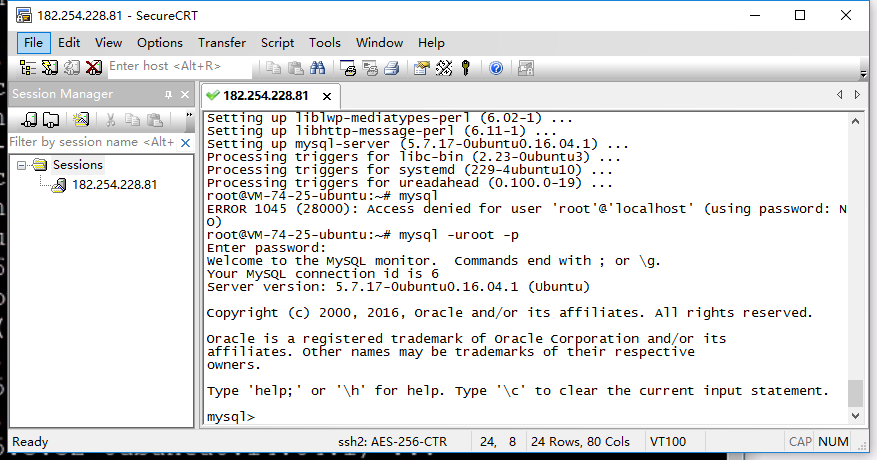
5.进入新建的mysql数据库(要输入刚才设置的mysql密码,输入状态不可见,按回车确认)
mysql -uroot -p
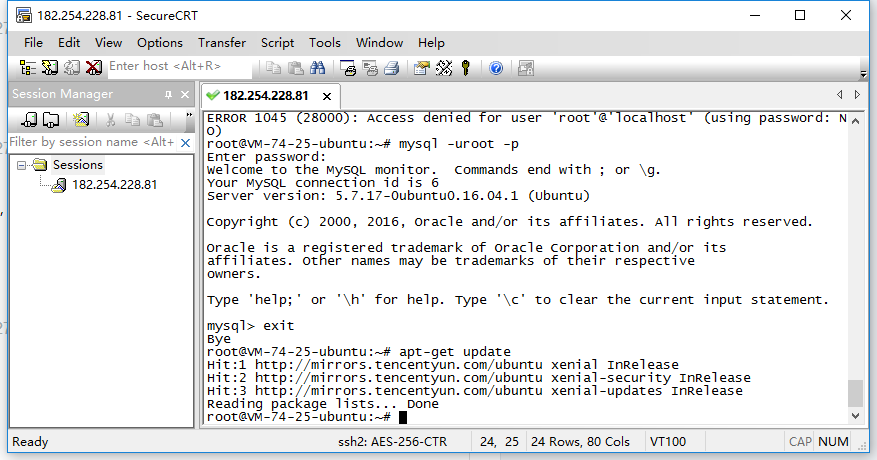
6.使用 exit 退出mysql,更新ubuntu系统的apt的源
apt-get update
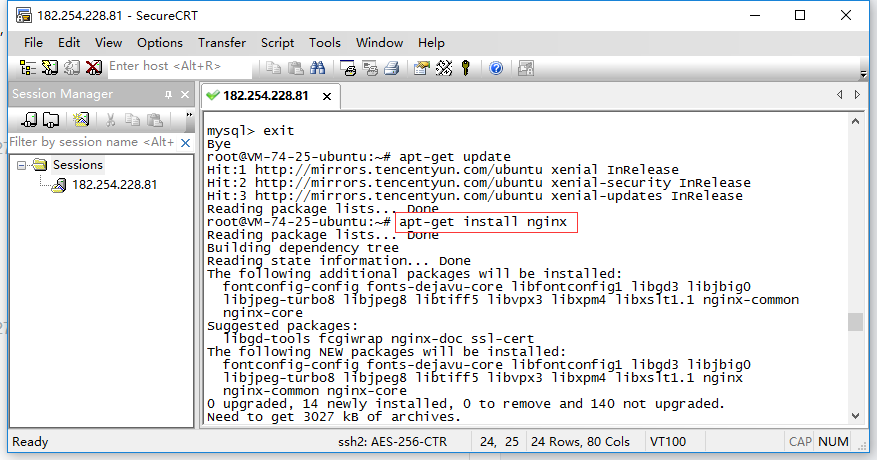
7.安装nginx
apt-get install nginx
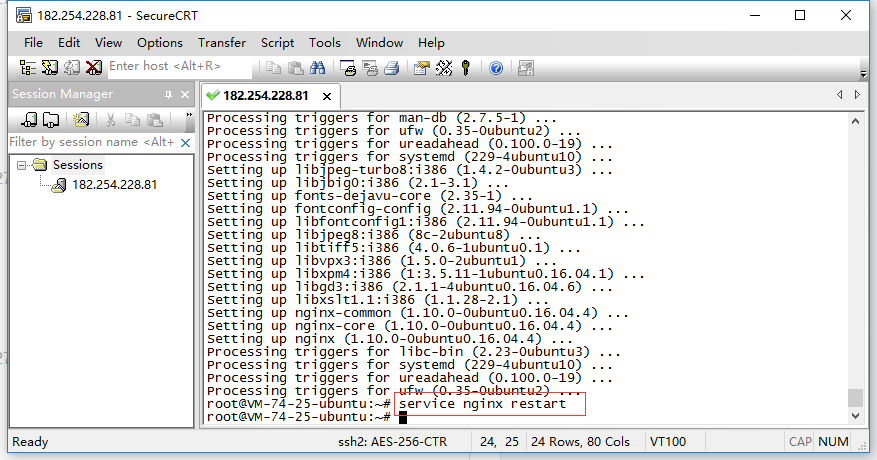
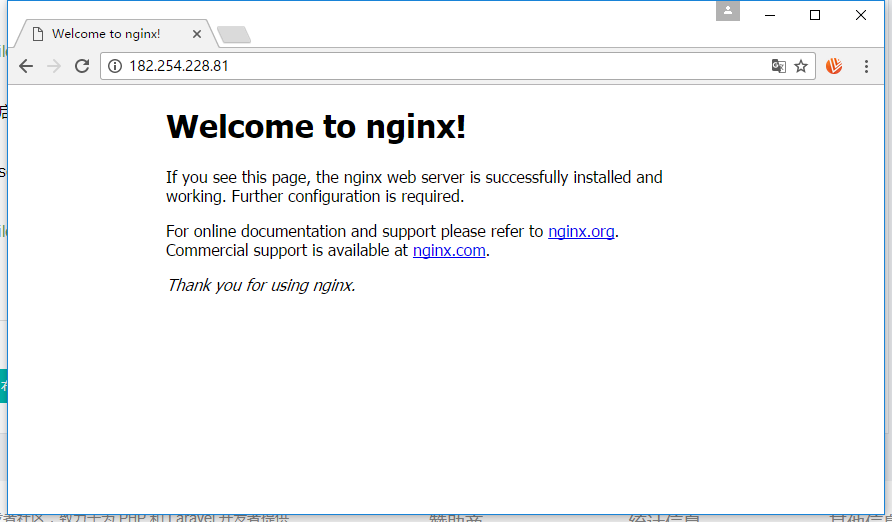
8.启动nginx服务器,并在浏览器里使用公网ip地址查看
service nginx restart
9.如果不能访问,说明腾讯云没有开放80端口,需要自己添加,先点左边的安全组,然后在右边克隆一个Linux 22端口组的配置。
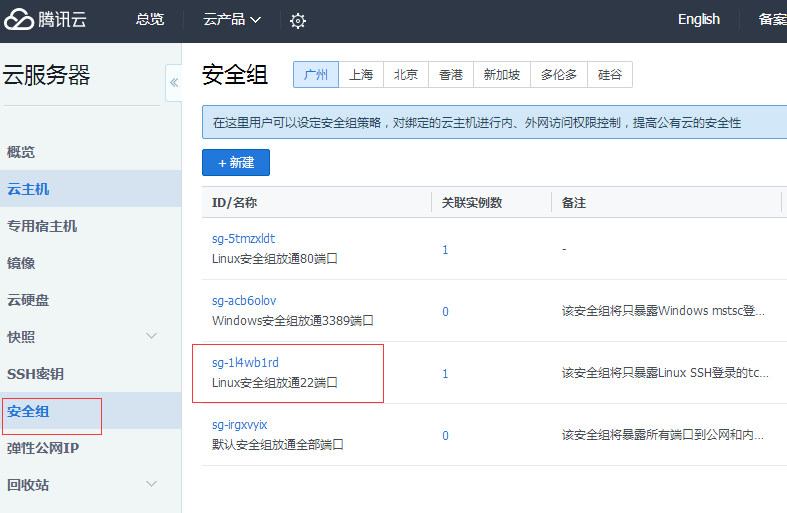
修改克隆组的名称,在右边有编辑规则,点中并修改规则,在入站规则里,点中编辑按钮(很小)
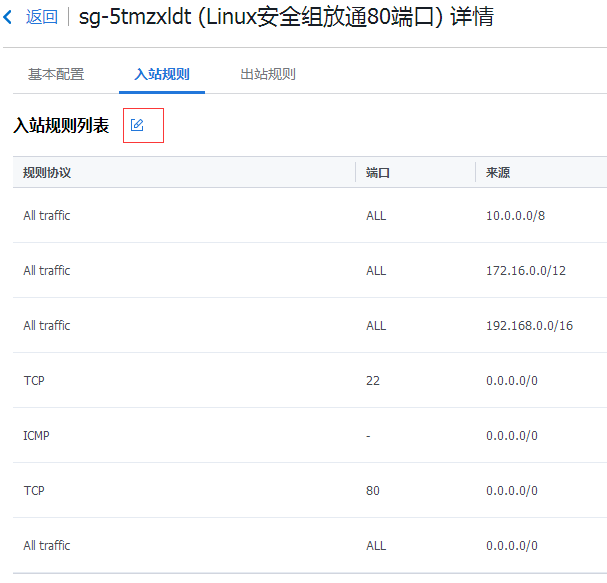
添加一个,即 新增一行,选择 http ,会自动选择80端口,保存。记得要关联实例,就是选择要用的云服务器
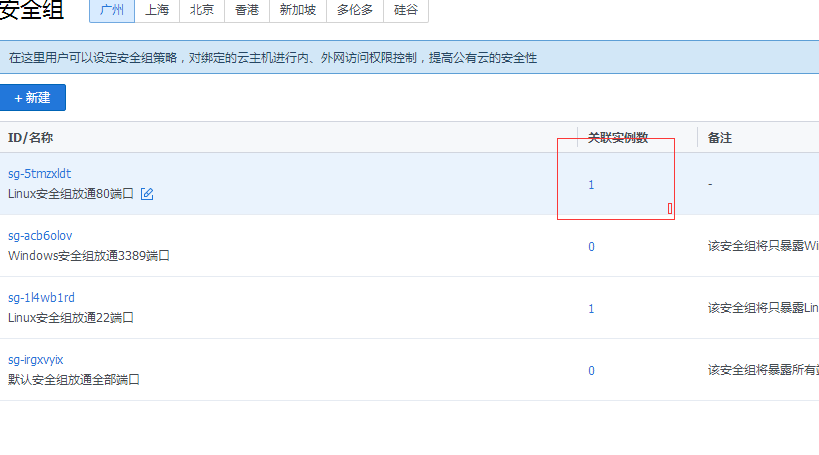
开启80端口后,腾讯云才能通过80端口访问web等。开启其他端口同样设置。
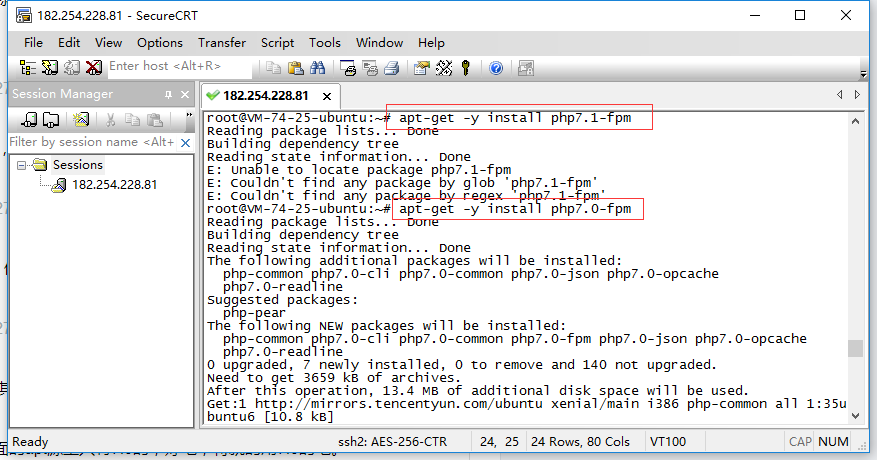
10.安装php7.0。当前php最新版本是7.1.13,但腾讯云里面的apt源里只有7.0的,好吧,将就的用7.0的吧。
apt-get -y install php7.0-fpm
查看php版本

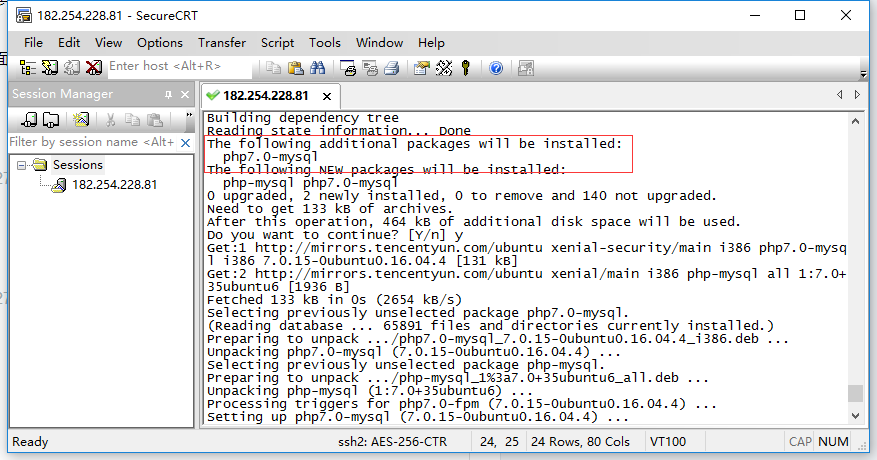
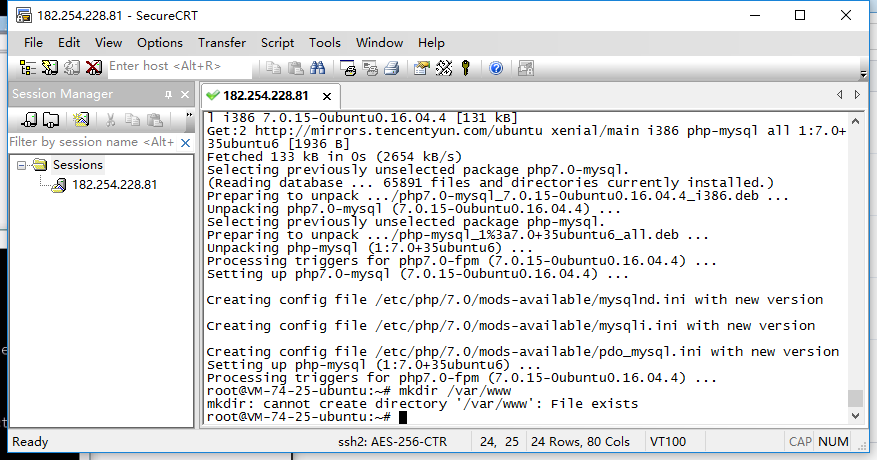
11.安装php-mysql
apt-get install php-mysql
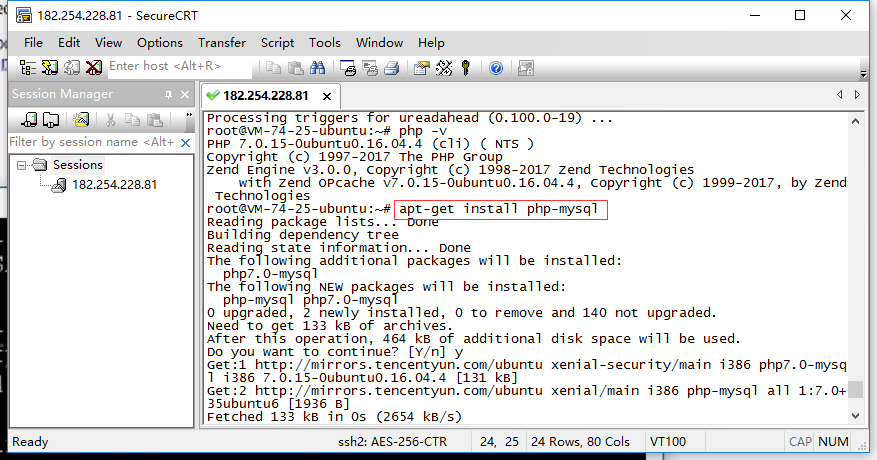
自动安装了 php7.0-mysql了
12.创建web根目录,默认安装nginx就自动创建了,创建info.php测试文件
mkdir /var/www
cd /var/www/html
touch info.php
vi info.php
在info.php中输入
<?php
phpinfo();
?>
在浏览器中浏览: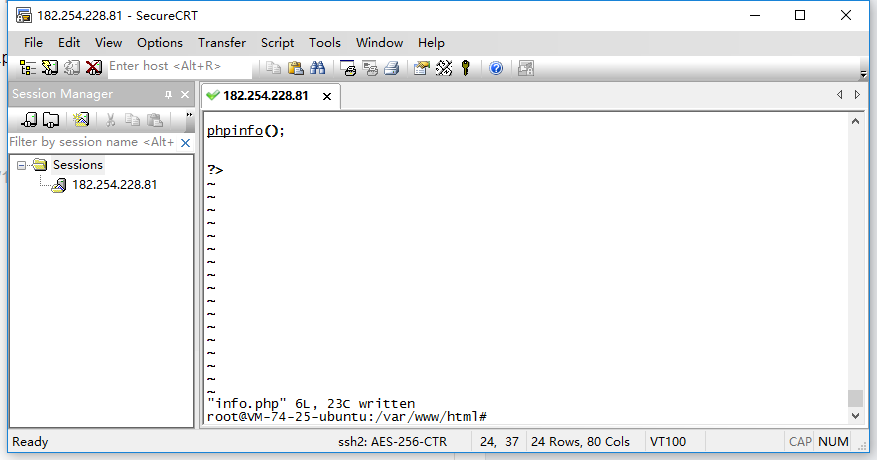
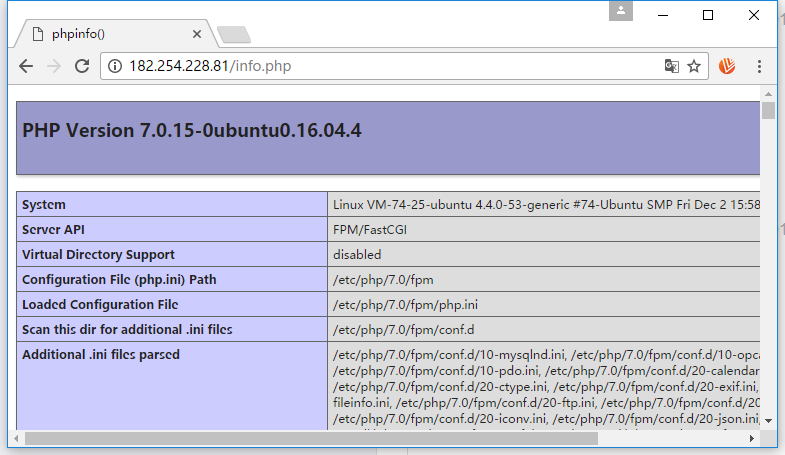
说明php可以用……
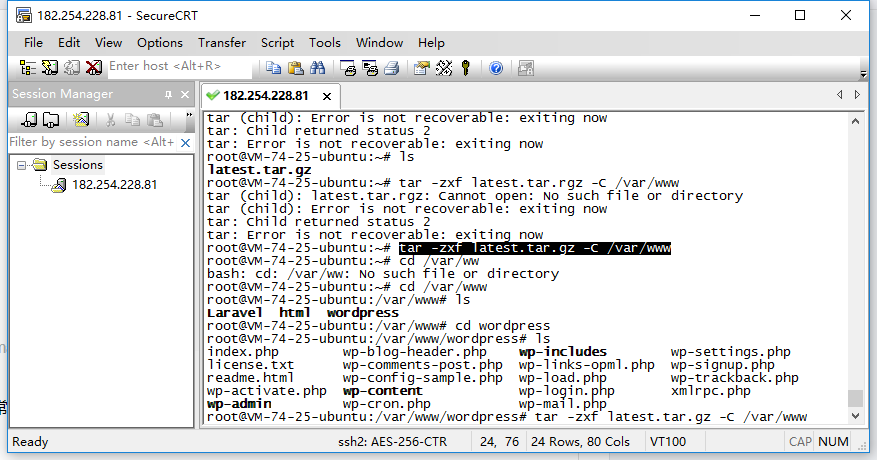
13.部署wordpress博客(腾讯云教程:https://www.qcloud.com/document/product/21...)
wget http://wordpress.org/latest.tar.gz //下载最新的wordpress博客
tar -zxf latest.tar.gz -C /var/www //解压wordpress到www目录下
chown -R www-data:www-data /var/www //修改目录权限
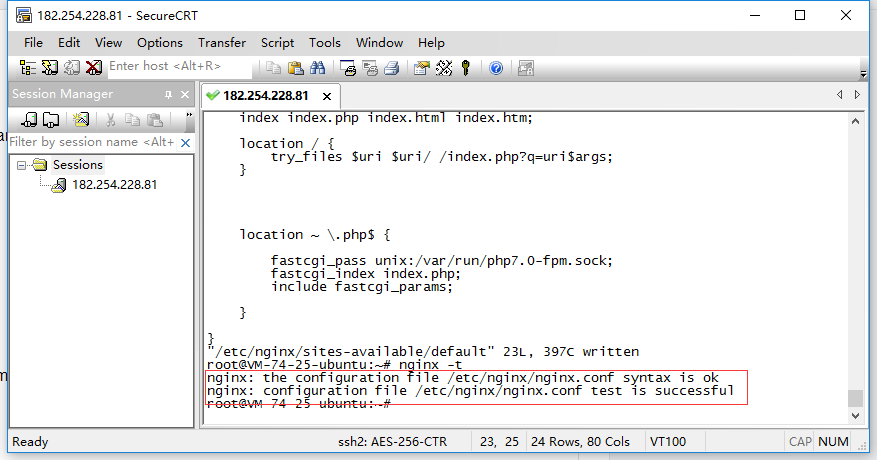
nginx -t //检查配置文件是否出错
mysql -uroot -p //登录mysql数据库
create database wordpress; //创建一个名为wordpress的数据库(注意分号结尾 ;)
create user wordpress@wp_db_user; //创建一个用户,叫做 wp_db_user
set password for wordpress@wp_db_user = password("wp_db_password"); //为用户设置密码
grant all privileges on wordpress.* to wordpress@wp_db_user identified by 'wp_db_password' //授权
flush privileges; //刷新权限
exit //退出mysql
配置wordpress数据库连接
cd /var/www/wordpress
cp wp-config-sample.php wp-config.php //创建配置文件
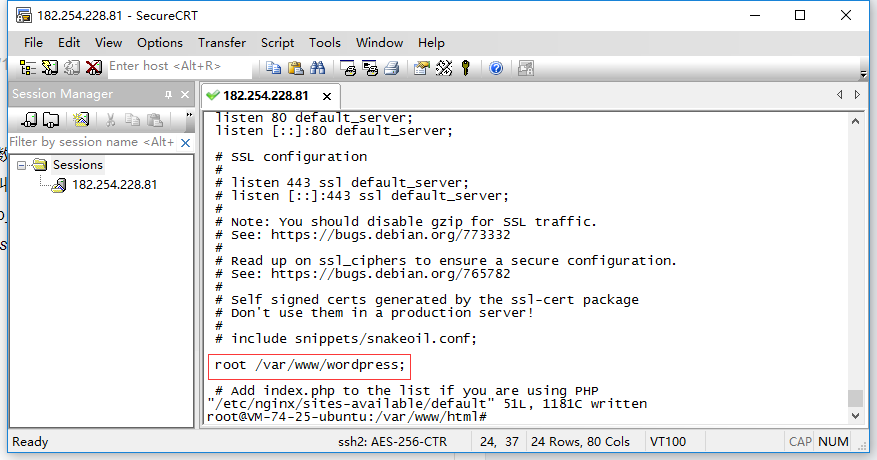
vi /etc/nginx/sites-available/default //修改nginx配置文件,将目录修改为wordpress
nginx配置内容为:
server {
listen 80 default_server;
listen [::]:80 default_server;SSL configuration
#
listen 443 ssl default_server;
listen [::]:443 ssl default_server;
#
Note: You should disable gzip for SSL traffic.
See: https://bugs.debian.org/773332
#
Read up on ssl_ciphers to ensure a secure configuration.
See: https://bugs.debian.org/765782
#
Self signed certs generated by the ssl-cert package
Don't use them in a production server!
#
include snippets/snakeoil.conf;
root /var/www/wordpress;
Add index.php to the list if you are using PHP
index index.html index.htm index.nginx-debian.html;
servername ;
location / {
First attempt to serve request as file, then
as directory, then fall back to displaying a 404.
try_files $uri $uri/ =404;
}pass the PHP scripts to FastCGI server listening on 127.0.0.1:9000
#
location ~ .php$ {
include snippets/fastcgi-php.conf;With php7.0-cgi alone:
fastcgi_pass 127.0.0.1:9000;
With php7.0-fpm:
fastcgi_pass unix:/run/php/php7.0-fpm.sock;
}deny access to .htaccess files, if Apache's document root
concurs with nginx's one
#
location ~ /.ht {
deny all;
}
}
这个时候准备安装wordpress的时候,报403或者404错误,这并不是网上说的权限问题,而是nginx配置文件的问题,使用默认的配置文件,只需要添加 index.php,把root目录修改为 /var/www/wordpress等即可。
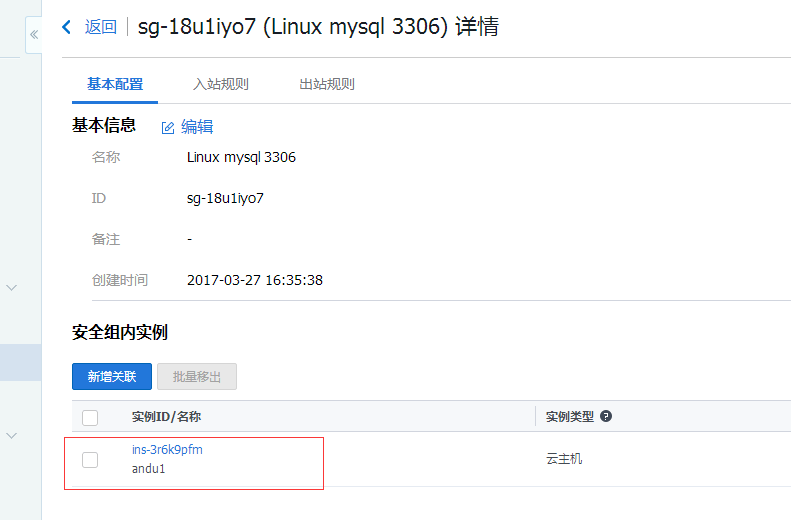
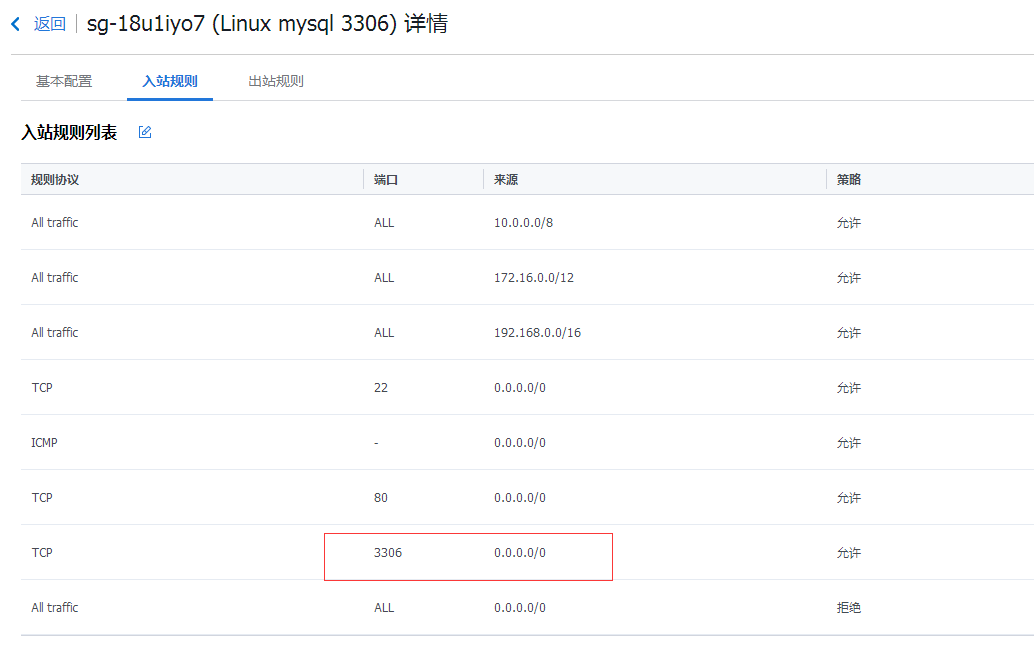
然后发现数据库链接错误,还要开放腾讯云的3306端口,和上面开放80端口一样,克隆,编辑规则,新增一行,选择mysql,自动为3306端口,注意,要添加对应的实例。
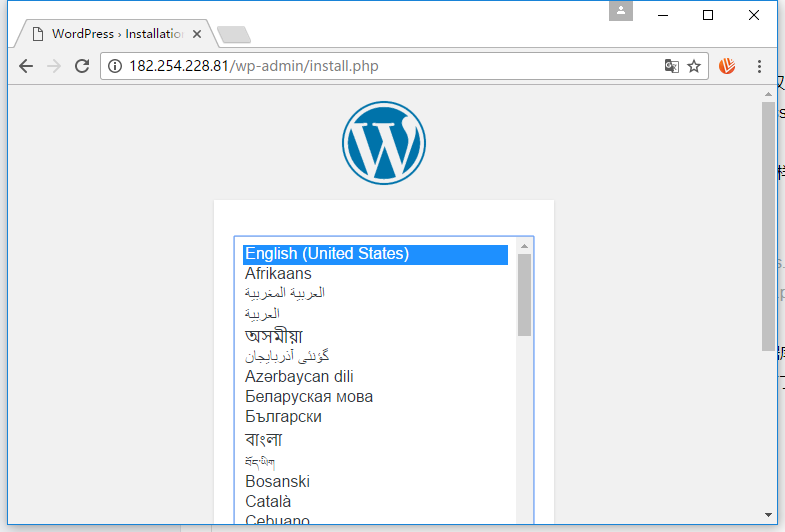
配置wp-config.php文件,修改数据库连接。如果使用刚刚创建的wordpress数据库用户还是出错,那就使用root账户吧,估计是上面的用户权限配置出错(me too)。然后就可以看到安装wordpress界面了。
14.安装最新的laravel项目
首先是安装composer,配置镜像等,安装laravel
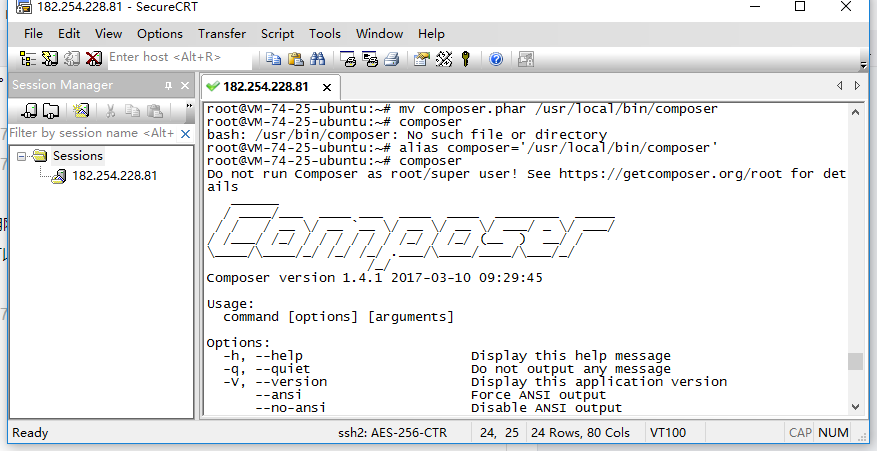
curl -sS https://getcomposer.org/installer | php //安装composer
chmod +x composer.phar
mv composer.phar /usr/local/bin/composer
alias composer='/usr/local/bin/composer' //这一步很重要
composer
composer config -g repo.packagist composer https://packagist.phpcomposer.com //配置composer镜像
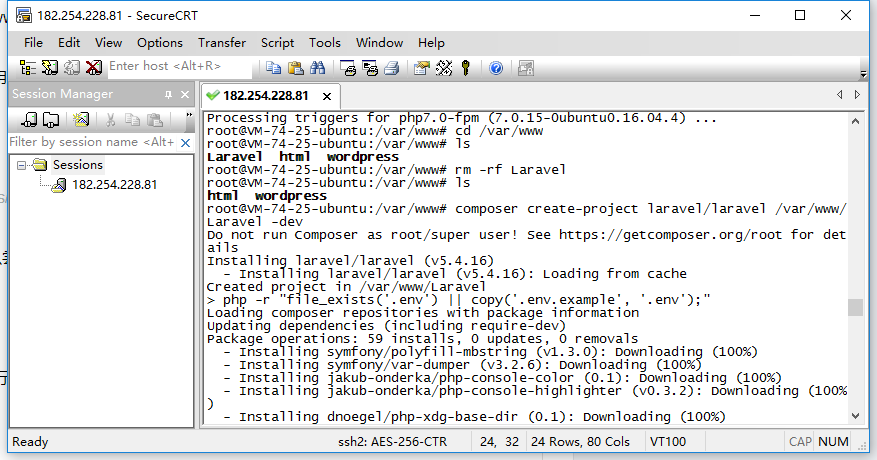
cd /var/www
rm -rf Laravel //删除已创建的目录
composer create-project laravel/laravel /var/www/Laravel -dev //创建最新的laravel 开发版
这个时候会提示composer不能在root用户下使用,不用管它,过一会儿还是会执行代码(上面的镜像也是会提示,无视他)
这个时候如果出现缺少依赖项错误:
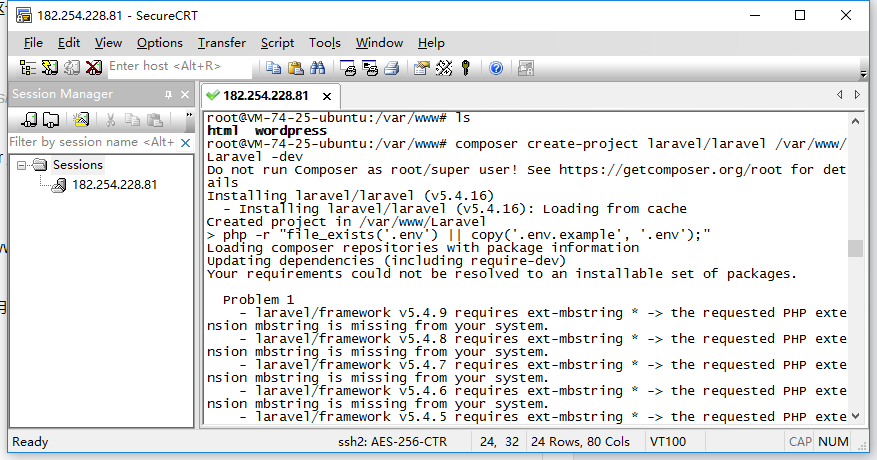
比如说缺少mbstring,如果搜索不到答案,可以尝试着去安装,比如代码:
sudo apt-get install php7.0-mbstring
安装好后再次删除已经创建的目录Laravel,执行composer create-project ……
创建成功后,记得要修改nginx的配置文件,让root 目录定位到 /var/www/Laravel/public
然后访问网站,会发现出现500错误:
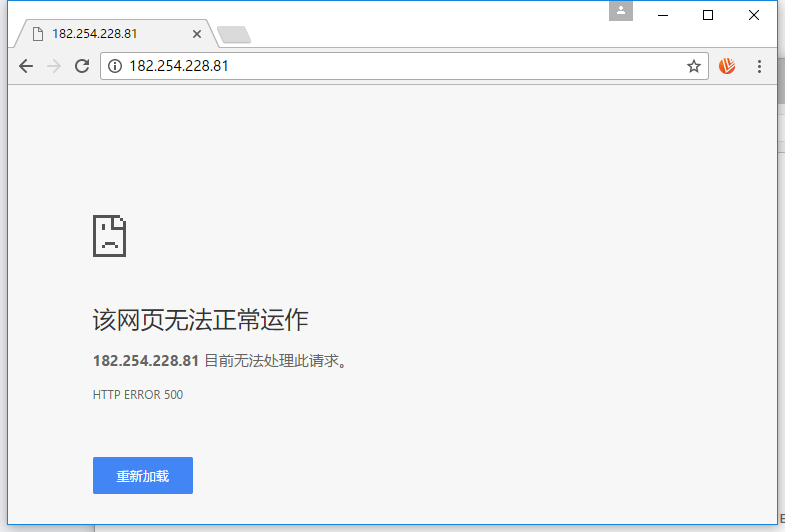
谷歌了好久,设置 php.ini 的display_errors=On 还是出现500错误,这个时候看到说要设置权限:
(原文链接:http://serverfault.com/questions/597763/ng...)
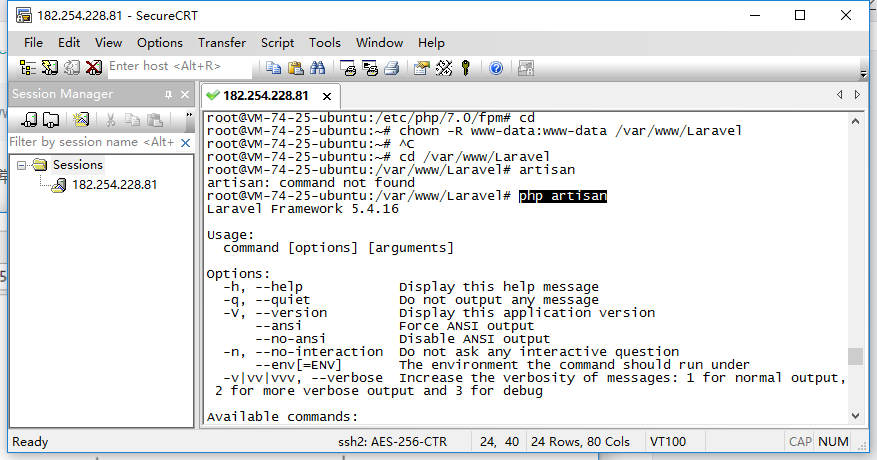
chown -R www-data:www-data /var/www/Laravel
再次访问,ok,终于正常了!!!

对于我这个新手来说真不容易。
期间要不断重复的操作还挺多的,学会了vi的部分操作
vi wp-config.php //使用vim编辑 /display_errors //在vim中搜索,按上下键可以使用上次的输入内容 G //非编辑状态 直接到文档末尾 1, .d //如果编辑了(就是按了 i),要按Esc退出编辑状态,然后按冒号:,1,逗号(,),点(.),和d,删除全部内容 wq //保存退出,或者大小状态下 ZZ (两个Z)service php7.0-fpm restart
service nginx restart
之前对nginx是完全陌生,现在还知道去里面查找目录文档,吼吼……
下次把 老大Summer(还有Aufree老大)的教程用laravel5.4做一遍,git上去试试看……
本作品采用《CC 协议》,转载必须注明作者和本文链接


 关于 LearnKu


推荐文章: