
记录一下用PHP搭建webhook的过程
10 / 0 / 创建于 2年前 /
 Steven1998 的个人博客
webhook搭建基于gitee
效果:

设置钩子:
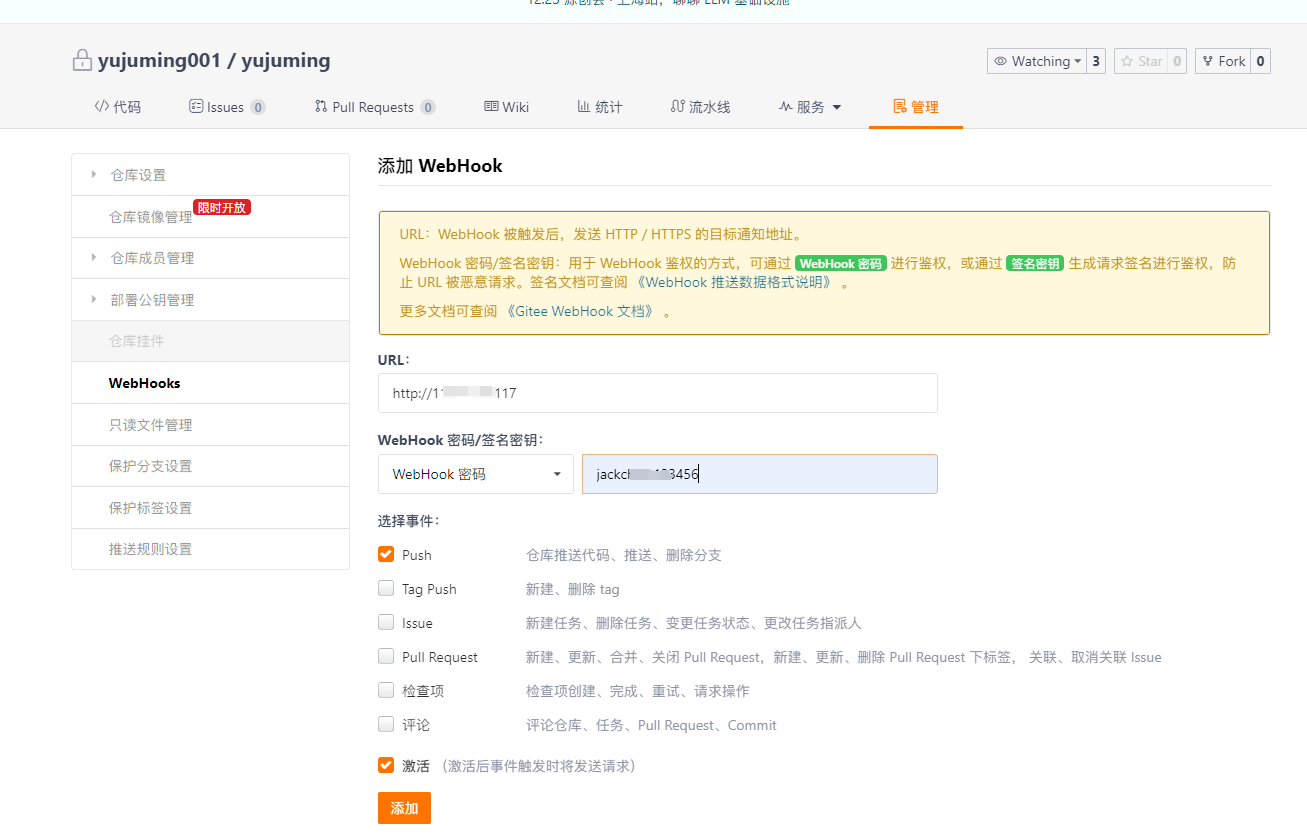
假如设置的端口是:8001记得去服务器开放对应的端口号
准备步骤
- 去把php.ini中的shell_exec的函数禁用取消掉
- 使用服务器的www用户创建秘钥ssh-keygen,并配置到项目上(!!最重要,不然因为权限问题处理不了git命令)方法是把
/etc/passwd中的www的nologin设置成/bin/bash,然后去执行ssh-keygen -t rsa -b 4096 -C "your_email@example.com"生成秘钥,查看生成的秘钥去配置好就可以。
处理脚本
<?php
// 秘钥
$secret = "xxx";
// 接入钉钉发布通知
$webhook = "https://oapi.dingtalk.com/robot/send?access_token=xxx";
$json = file_get_contents("php://input");
if(empty($json)){
die("require is empty!");
}
$data = json_decode($json, true);
if($data['password'] != $secret){
die("password error!");
}
// 如果是test分支提交,才进行操作
if($data['ref'] == 'refs/heads/test'){
shell_exec("cd your_project && git checkout test && git pull");
$message="测试环境代码自动发布成功!\n版本号:{$data['after']}\n发布内容:{$data['head_commit']['message']}\n推送者:{$data['user_name']}";
$data = array ('msgtype' => 'text','text' => array ('content' => $message));
$result = request_by_curl($webhook, $data, $secret);
echo $result;
}
function request_by_curl($remote_server, $data, $secret) {
$microtime = microtime();
list($millisecond, $timestamp) = explode(' ', $microtime);
$millisecond_time = sprintf('%.0f',($timestamp+$millisecond)*1000);
$signToSign = $millisecond_time . "\n".$secret;
$sign = hash_hmac('sha256',$signToSign,$secret,true);
$sign = urlencode(base64_encode($sign));
$remote_server .= "×tamp=".$millisecond_time;
$remote_server .= "&sign=".$sign;
$ch = curl_init();
curl_setopt($ch, CURLOPT_URL, $remote_server);
curl_setopt($ch, CURLOPT_POST, 1);
curl_setopt($ch, CURLOPT_CONNECTTIMEOUT, 5);
curl_setopt($ch, CURLOPT_HTTPHEADER, array ('Content-Type: application/json;charset=utf-8'));
curl_setopt($ch, CURLOPT_POSTFIELDS, json_encode($data));
curl_setopt($ch, CURLOPT_RETURNTRANSFER, true);
// 线下环境不用开启curl证书验证, 未调通情况可尝试添加该代码
curl_setopt ($ch, CURLOPT_SSL_VERIFYHOST, 0);
curl_setopt ($ch, CURLOPT_SSL_VERIFYPEER, 0);
$data = curl_exec($ch);
curl_close($ch);
return $data;
}本作品采用《CC 协议》,转载必须注明作者和本文链接


 关于 LearnKu


推荐文章: