
 Django Girls 教程
Django 模板
这是一篇协同翻译的文章,你可以点击『我来翻译』按钮来参与翻译。
《Django Girls》的 中文翻译 1.8 版本 已经翻译完成,请在参考 1.8 版本的基础上进行校正和翻译。
是时候展示一些数据了!Django 提供了一些非常有用的内置模板标签
什么是模板标签呢?
你知道的,在HTML中,实际上并不能写 Python 代码,因为浏览器不能理解, 它只理解 HTML。 我们知道,HTML 是很静态的,而 Python 则显得更加动态。
Django 模板标签允许我们将 Python 之类的内容翻译成 HTML,所以你可以更快地建立动态网站。很棒!
展现文章列表模板
在之前的章节,我们给我们的模板一系列文章,它们在 post 变量里。现在我们将在 HTML 里展现它。
为了用模板标签在 HTML 中显示变量, 我们会使用两个大括号, 并将变量包含在里面,正如这样:
{{ posts }}
在你的 blog/templates/blog/post_list.html模板中尝试如下的操作。 在代码编辑器中打开它,从第二个
中的所有内容用{{ posts }} 代替。 保存文件并刷新页面,去看看效果。
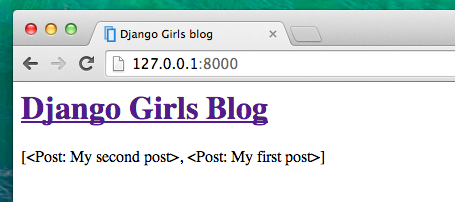
如你所见,我们得到如下:
<QuerySet [<Post: My second post>, <Post: My first post>]>
这意味着 Django 视它为对象的列表。 还记得在 Python 入门介绍 里我们怎么展现列表的吗? 是的, 我们可以使用循环! 在 Django 模板中,你可以这样做:
{% for post in posts %}
    {{ post }}
{% endfor %}
在你的模板里尝试。
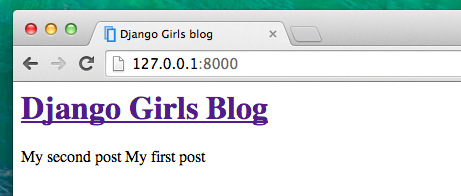
它正常工作! 但是想让他们展现的像我们之前在 HTML 介绍章节里创建的静态文章一样,你可以混合 HTML 和模板标签。 我们的 body 将长得像这样:
<div>
    <h1><a href="/">Django Girls Blog</a></h1>
</div>

{% for post in posts %}
    <div>
        <p>published: {{ post.published_date }}</p>
        <h2><a href="">{{ post.title }}</a></h2>
        <p>{{ post.text|linebreaksbr }}</p>
    </div>
{% endfor %}
在 {% for %} 和 {% endfor %} 之间的所有内容将会被 Django 对象列表中的每个对象所代替。刷新页面去看看:
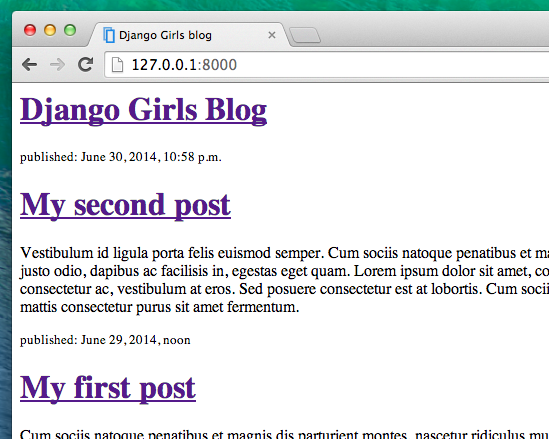
你已经注意到这次我们使用了一个稍微不同的标记 {{ post.title }} (或 {{ post.text }})? 我们正在获取定义在 Post 模型中的每一个域的数据。 此外,|linebreaksbr 通过一个过滤器,将文本的换行转换为段落。

One more thing
It'd be good to see if your website will still be working on the public Internet, right? Let's try deploying to PythonAnywhere again. Here's a recap of the steps…
- First, push your code to GitHub
$ git status
[...]
$ git add --all .
$ git status
[...]
$ git commit -m "Modified templates to display posts from database."
[...]
$ git push
- Then, log back in to PythonAnywhere and go to your Bash console (or start a new one), and run:
$ cd <your-pythonanywhere-domain>.pythonanywhere.com
$ git pull
[...]
(Remember to substitute <your-pythonanywhere-domain> with your actual PythonAnywhere subdomain, without the angle-brackets.)
- Finally, hop on over to the "Web" page and hit Reload on your web app. (To reach other PythonAnywhere pages from the console, use the menu button in the upper right corner.) Your update should be live on https://subdomain.pythonanywhere.com -- check it out in the browser! If the blog posts on your PythonAnywhere site don't match the posts appearing on the blog hosted on your local server, that's OK. The databases on your local computer and Python Anywhere don't sync with the rest of your files.
Congrats! Now go ahead and try adding a new post in your Django admin (remember to add published_date!) Make sure you are in the Django admin for your pythonanywhere site, https://subdomain.pythonanywhere.com/admin. Then refresh your page to see if the post appears there.
Works like a charm? We're proud! Step away from your computer for a bit – you have earned a break. :)

本文中的所有译文仅用于学习和交流目的,转载请务必注明文章译者、出处、和本文链接
我们的翻译工作遵照 CC 协议,如果我们的工作有侵犯到您的权益,请及时联系我们。


 关于 LearnKu


推荐文章: