
 Django Girls 教程
你的第一个Django 项目
我们将要创建一个小的博客 !
第一步是创建一个新的 Django 项目。 首先,这意味着我们将运行一些由 Django 提供的脚本,为我们的 Django 项目建立主要框架。 它(框架)是一系列的文件夹和文件,后面我们会使用它们。
一些文件和目录的名字在 Django 是非常重要的。 你不应该重命名我们将要创建的这些文件。 将它们移动到一个不同的地方也不是一个好主意。 Django 需要维护固定的结构,以便 Django 能够找到重要的东西。
在 windows 下面运行命令:myvenv\Scripts\activate,在OS X 或 Linux 环境下运行命令:source myvenv/bin/activate
记住要在 virtualenv(虚拟环境)中运行一切。如果你没有在控制台看到一个(myvenv)前缀,你需要激活你的 virtualenv (虚拟环境). 我们已经在 Django 安装 一节里的 Working with virtualenv 部分解释过如何去做。在 windows 环境下运行命令:myvenv\Scripts\activate,在 Mac OS X 或 Linux 环境下运行命令:source myvenv/bin/activate将会为你激活。
创建项目: OS X 或 Linux
在 Mac OS X 或 Linux 控制台,你应该运行下面的命令。 不要忘记在结尾加句点 .
(myvenv) ~/djangogirls$ django-admin startproject mysite .
句点
.是至关重要的,它告诉程序在当前目录安装 Django (因为句点.是一个简写引用)。注意 当运行以上命令时,记得你只需要写入以
django-admin. 开始的部分,前面的(myvenv) ~/djangogirls$部分只是在命令行输入的一种提示符。
创建项目: Windows
在 Windows 上, 你应该运行下面的命令。 不要忘记在结尾加句点 .:
(myvenv) C:\Users\Name\djangogirls> django-admin.exe startproject mysite .
句点
.是至关重要的,它告诉程序在当前目录安装 Django (因为句点.是一个简写引用)注意 当运行以上命令时,记得你只需要写入以
django-admin. 开始的部分,前面的(myvenv) ~/djangogirls$部分只是在命令行输入的一种提示符。
django-admin.py 是一个为你创建目录和文件的脚本。你现在应该有一个目录结构,看起来像下面这样:
djangogirls
├── manage.py
├── mysite
│   ├── __init__.py
│   ├── settings.py
│   ├── urls.py
│   └── wsgi.py
├── myvenv
│   └── ...
└── requirements.txt
注意: 在你的目录结构中,你也会看到之前创建的
venv目录 。
manage.py 是一个帮助管理站点的脚本。除此之外,在它的帮助下我们能够在我们的计算机上启动一个 web 服务器,而无需安装任何东西。
settings.py 包含你的网站的配置。
还记得我们谈到一名邮差确定去哪里邮一封信的例子吗? urls.py 文件包含 urlresolver 使用的模块的列表。
现在让我们暂时忽略其他文件,因为我们不会改变它们。唯一要记得的是不要意外地删除他们!
更改设置
让我们在 mysite/settings.py中做些修改。使用你前面安装了的代码编辑器打开文件。
注意: 记住 settings.py 是一个常规文件。你可以使用“文件 -> 打开”的菜单功能,在代码编辑器内部打开它。像往常一样,这会打开一个窗口,你可以导航到 settings.py 文件并选择打开它。或者,你可以在桌面上导航到 djangogirls 文件夹并右击它。然后从选项列表中选择代码编辑器。编辑器的选择是很重要的,因为你可能安装了其他可以打开它但是无法编辑它的程序。
在我们的网站上有一个正确的时间是不错的。访问 Wikipedia's list of time zones 并复制你所在的时区 (TZ) (比如 Europe/Berlin).
在 settings.py,找到包含 TIME_ZONE 的行并将其修改为你的时区。比如:
TIME_ZONE = 'Europe/Berlin'
语言代码包含语言设置,比如, en 表示英语, de 表示德语;国家代码 包含国家设置,比如 de 表示德国, ch 表示瑞士。假如英语不是你的母语,你可以添加这样的设置来修改 Django 的默认的按钮和通知以你的语言显示。所以“取消”按钮将会被翻译为你在这里设定的语言。 Django comes with a lot of prepared translations.
假如你想要不同的语言,通过下面的代码修改语言代码:
LANGUAGE_CODE = 'de-ch'
我们需要为静态文件添加路径(在后面的教程,我们将会弄清楚关于静态文件与 CSS 的一切。)到文件的末尾,就在 STATIC_URL 设置行的下面,添加一行新代码 STATIC_ROOT:
STATIC_URL = '/static/'
STATIC_ROOT = os.path.join(BASE_DIR, 'static')
当 DEBUG 是 True , ALLOWED_HOSTS 是空的,主机将会被 ['localhost', '127.0.0.1', '[::1]'] 验证。一旦将我们的应用部署到 PythonAnywhere ,我们的主机名将不会被匹配,所以修改为下面的设置:
ALLOWED_HOSTS = ['127.0.0.1', '.pythonanywhere.com']
注意: 假如你正在使用 Chromebook ,在你的 settings.py 文件底部加入下面这行代码:
MESSAGE_STORAGE = 'django.contrib.messages.storage.session.SessionStorage'并且加入
.amazonaws.com到ALLOWED_HOSTS如果你使用的是 cloud9。
设置一个数据库
有很多的不同的数据库软件,可以用来为你的网站存储数据。我们将使用默认的那个, sqlite3。
这已经在 mysite/settings.py 文件的部分设置了:
DATABASES = {
    'default': {
        'ENGINE': 'django.db.backends.sqlite3',
        'NAME': os.path.join(BASE_DIR, 'db.sqlite3'),
    }
}
为了给我们的博客创建一个数据库,让我们在控制台中运行以下命令: python manage.py migrate (我们需要在 djangogirls 目录中,该目录包含 manage.py 文件)。 如果运行顺利,你看到的将会像下面这样:
(myvenv) ~/djangogirls$ python manage.py migrate
Operations to perform:
  Apply all migrations: auth, admin, contenttypes, sessions
Running migrations:
  Rendering model states... DONE
  Applying contenttypes.0001_initial... OK
  Applying auth.0001_initial... OK
  Applying admin.0001_initial... OK
  Applying admin.0002_logentry_remove_auto_add... OK
  Applying contenttypes.0002_remove_content_type_name... OK
  Applying auth.0002_alter_permission_name_max_length... OK
  Applying auth.0003_alter_user_email_max_length... OK
  Applying auth.0004_alter_user_username_opts... OK
  Applying auth.0005_alter_user_last_login_null... OK
  Applying auth.0006_require_contenttypes_0002... OK
  Applying auth.0007_alter_validators_add_error_messages... OK
  Applying auth.0008_alter_user_username_max_length... OK
  Applying auth.0009_alter_user_last_name_max_length... OK
  Applying sessions.0001_initial... OK
这样我们就完成了!启动 web 服务器来看看我们的网站是否正在工作!
启动 web 服务器
你需要在包含 manage.py 文件的目录( djangogirls目录)下操作。在控制台,我们可以通过运行 python manage.py runserver来启动 web 服务器:
(myvenv) ~/djangogirls$ python manage.py runserver
如果你使用 Chromebook , 用下面的指令代替:
(myvenv) ~/djangogirls$ python manage.py runserver 0.0.0.0:8080
如果你在 Windows 上操作并且报错UnicodeDecodeError, 用下面的指令代替:
(myvenv) ~/djangogirls$ python manage.py runserver 0:8000
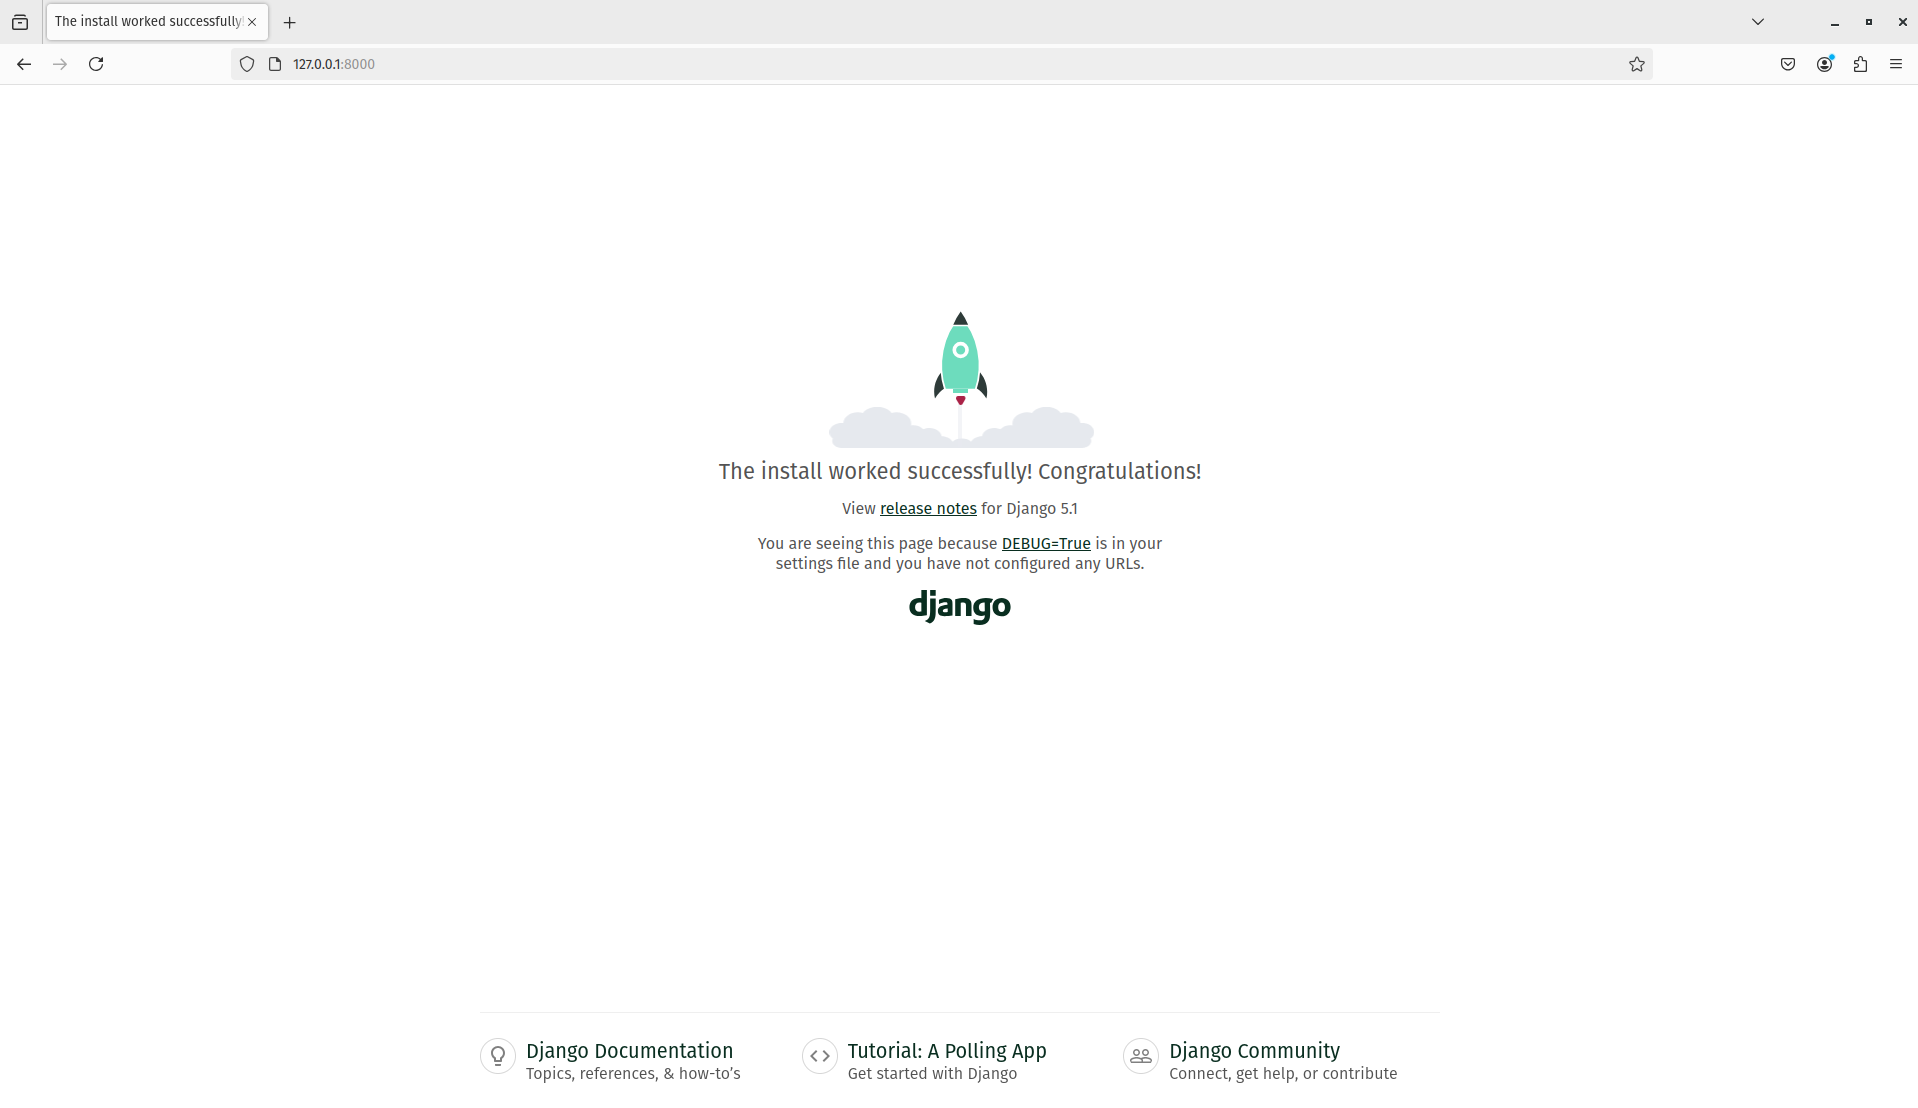
现在,你需要检测你的站点的服务器是否已经在运行了。打开你的浏览器(火狐,Chrome,Safari,IE 或者其他你惯用的浏览器)输入这个网址:
http://127.0.0.1:8000/
如果你正在使用 Chromebook 或 Cloud9,点击弹框里的 URL ,它应该已经出现在了运行 web 服务器的命令窗口的右上角。 URL 看起来应该是:
https://<a bunch of letters and numbers>.vfs.cloud9.us-west-2.amazonaws.com
祝贺你 !你已经创建您的第一个网站,并使用 web 服务器运行它!这超级赞吧?
请注意,命令窗口只能同时运行一个任务,之前打开的命令窗口正在运行 web 服务器。只要 web 服务器正在运行并且等待更多的命令输入,终端就会接收新的文本,但是不会执行新命令。
回顾 web 服务器如何工作,访问 互联网是如何工作的 章.
Web 服务器将接管你的命令行提示符,直到我们停止它。 为了尝试更多命令,我们应该同时打开一个新的终端,并激活虚拟环境。 想要停止 web 服务器,我们应该切换到刚才在运行程序的窗口,并且按下 CTRL+C - 同时按下 CTRL 键和字母 C 键 (如果你的操作系统是 windows,那么应当按下 Ctrl+Break)。
要在 web 服务器运行时输入更多的命令,打开一个新的终端窗口,并激活你的 virtualenv (虚拟环境)-- 需要回顾如何打开第二个终端窗口的指令,访问 Introduction to the command line。如果要停止 web 服务器运行,返回运行它的窗口,按下 CTRL+C - 控制键和 C 键(在 Windows 系统,可能需要按 Ctrl+Break)。
准备前往下一步了吗?是创造一些内容的时候了!
本译文仅用于学习和交流目的,转载请务必注明文章译者、出处、和本文链接
我们的翻译工作遵照 CC 协议,如果我们的工作有侵犯到您的权益,请及时联系我们。


 关于 LearnKu


推荐文章: